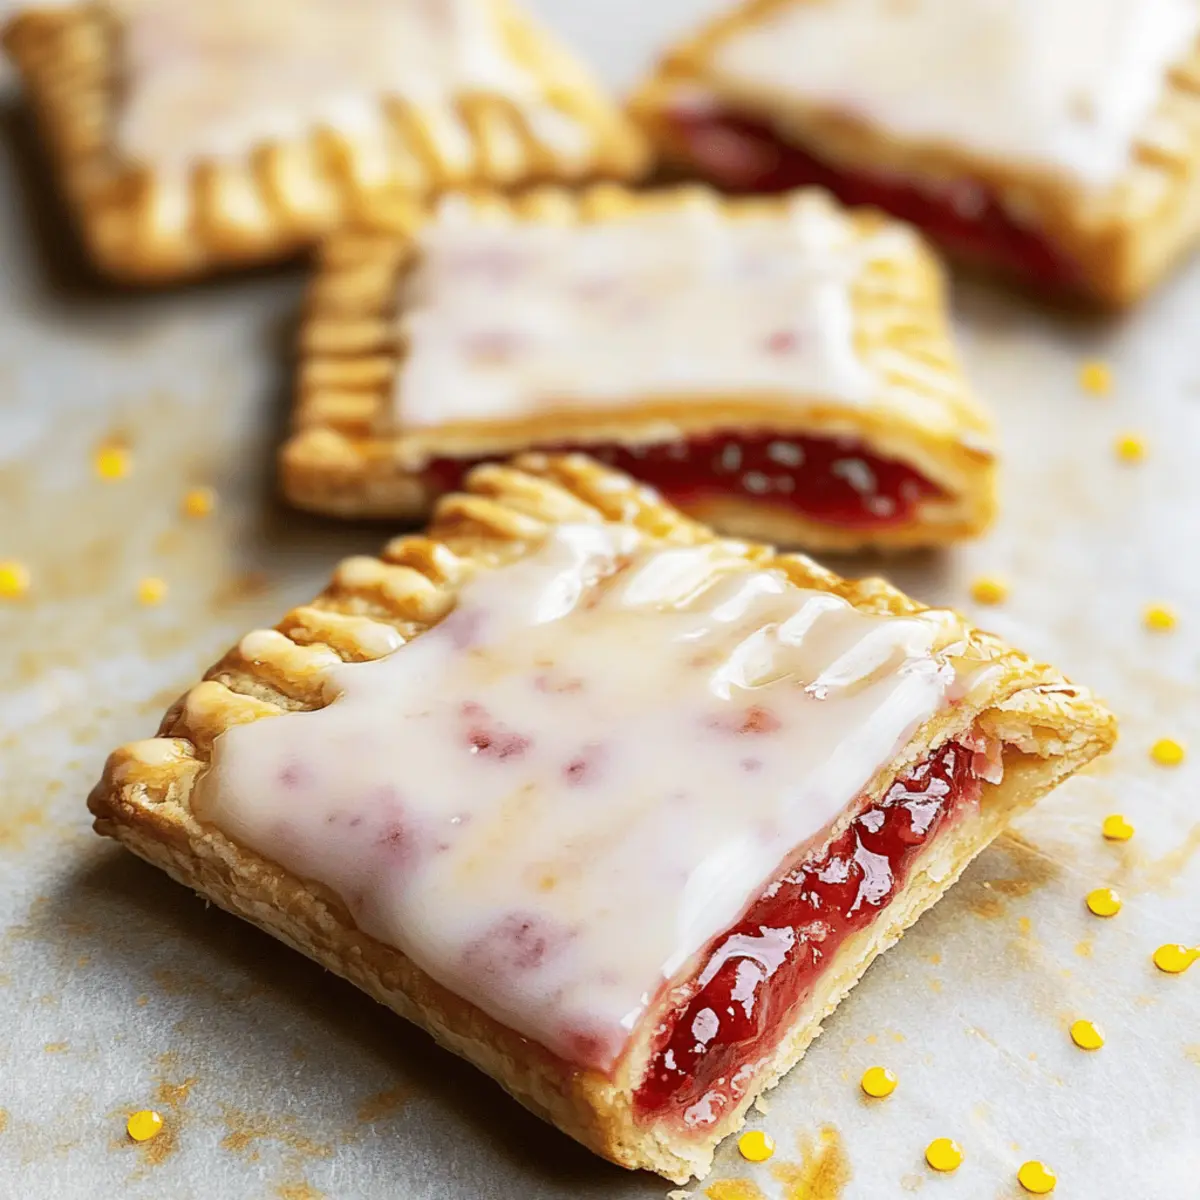
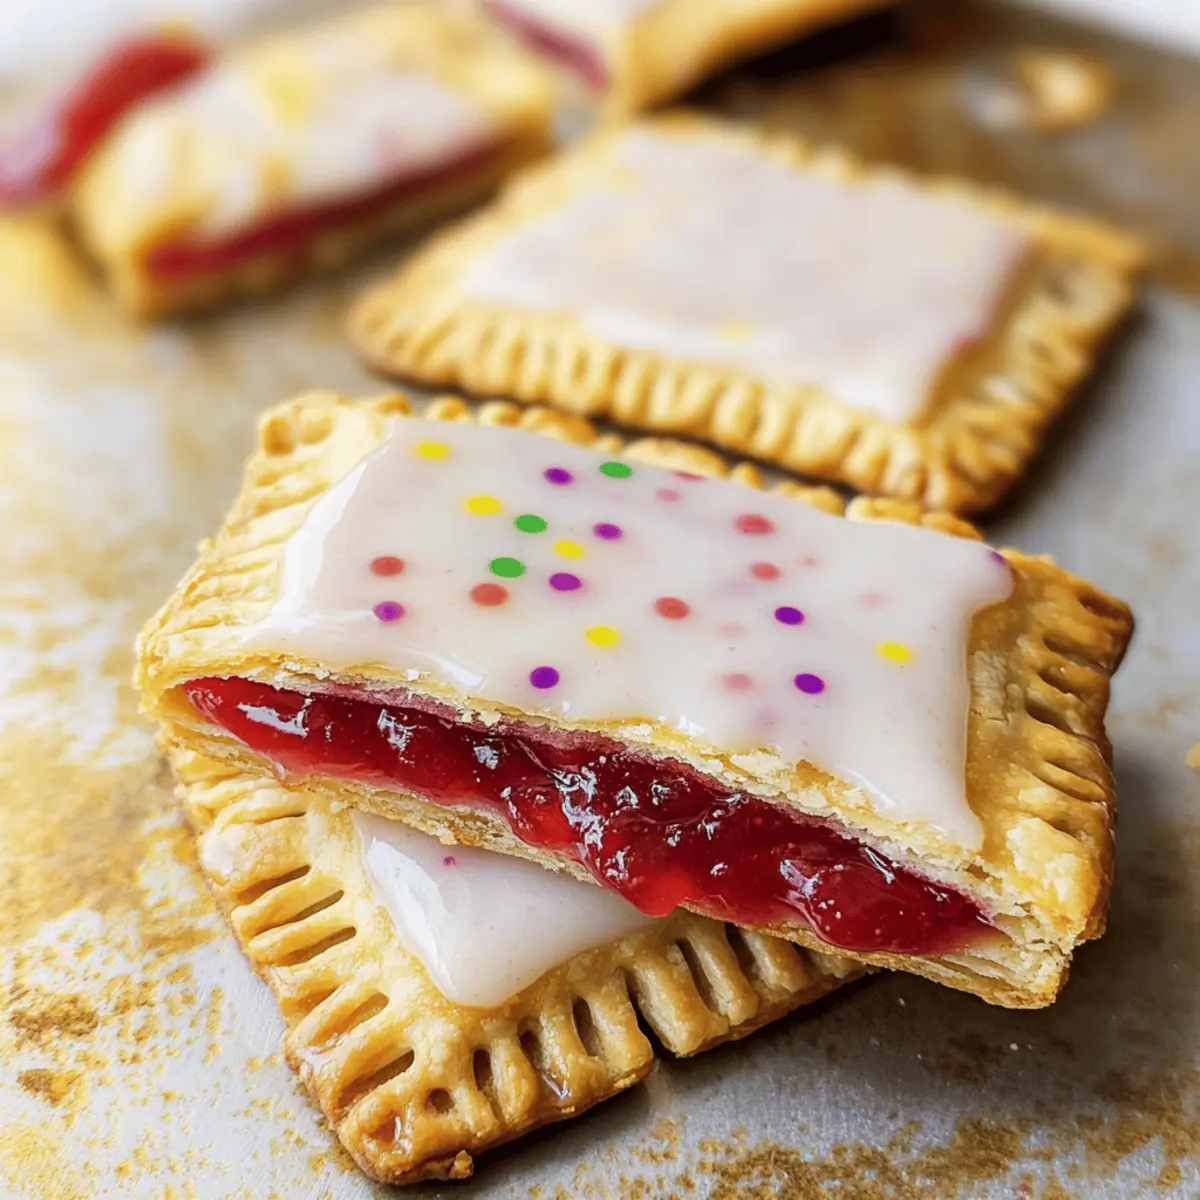
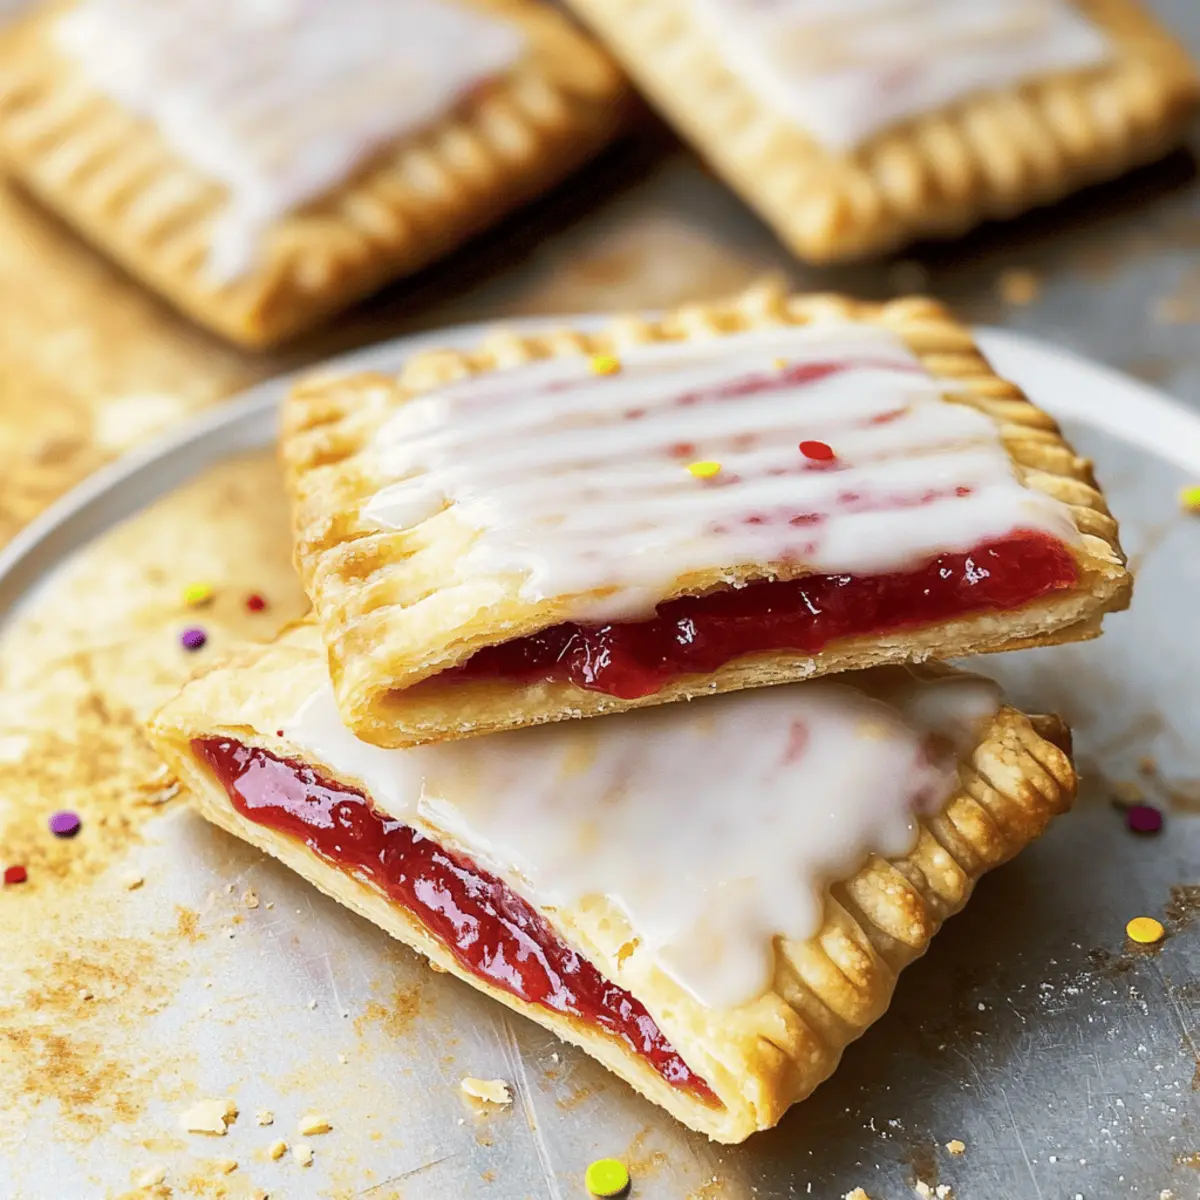
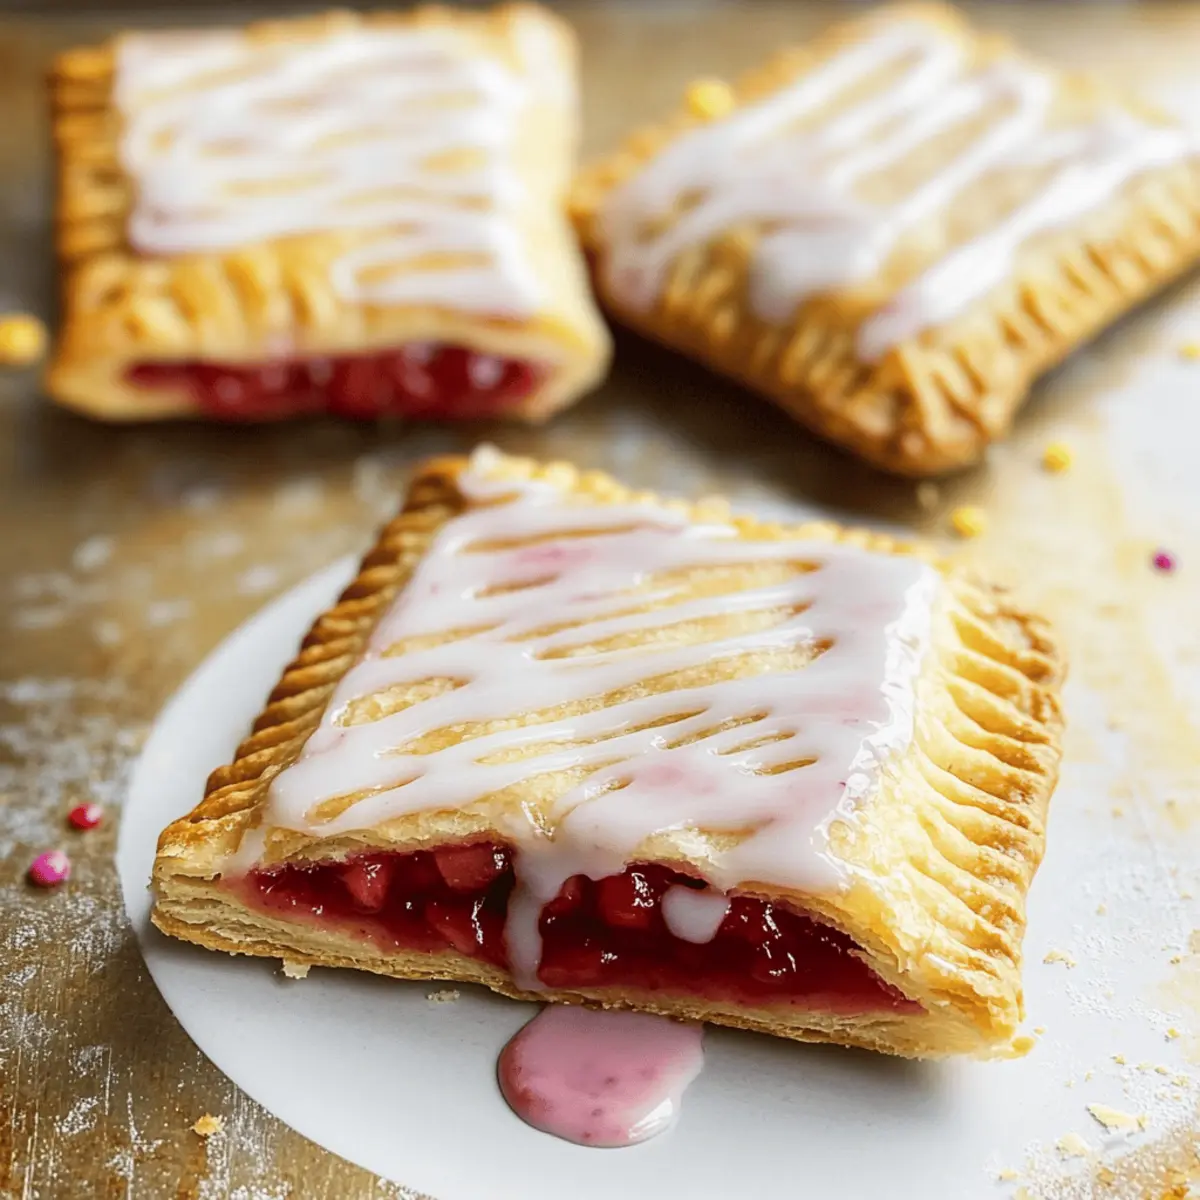
As I rummaged through my pantry, a wave of nostalgia hit me. I couldn’t shake the craving for something sweet and flaky, reminiscent of childhood breakfasts. That’s when I decided to whip up these Gluten-Free Strawberry Pop Tarts with Vanilla Glaze. This delightful recipe marries classic charm with a modern twist, perfect for those seeking a homemade treat without the gluten. The best part? They’re a breeze to make! Not only are these pastries ideal for a quick breakfast, but they also double as a fun after-school snack that kids love. Trust me, they won’t even realize they’re gluten-free! Ready to discover the joy of baking from scratch? Let’s dive in!

Why Are These Pop Tarts Irresistible?
Homemade Joy: These gluten-free pop tarts capture the nostalgia of your favorite childhood treat while being safe for those with dietary restrictions.
Quick and Easy: With simple steps and common ingredients, you’ll find the process a breeze—even on busy mornings!
Delicious Versatility: Feel free to switch up the filling with raspberry or chocolate hazelnut for a unique twist each time!
Beautifully Sweet Glaze: The rich vanilla glaze on top adds a sweet finish that’s simply mesmerizing.
Family-Friendly Fun: These delightful pastries make breakfast a treat and are perfect for after-school snacks; your kids will ask for more!
Homemade Satisfaction: Just like our delicious Butter Cornbread Poppers, you’ll feel accomplished whipping these up right in your own kitchen!
Gluten-Free Pop Tarts Ingredients
Discover the delightful components of your homemade treats!
For the Pastry Dough
- Gluten-Free All-Purpose Rice Flour Blend – Provides the structure; Pillsbury yields the best results.
- Granulated Sugar – Adds sweetness with no substitutions needed.
- Salt – Enhances flavor; it’s essential for a balanced taste.
- Unsalted Butter (very cold) – Contributes to flakiness; for a dairy-free option, use Smart Balance.
- Shortening (very cold) – Essential for moisture and texture; avoid substituting with butter.
- Large Eggs – Provides binding and moisture for the dough.
- Apple Cider Vinegar – Helps with the dough’s texture and rising.
- Ice Cold Water – Keeps the dough hydrated; ensure it stays cold for optimal results.
For the Filling
- Gluten-Free Seedless Strawberry Jam – Adds a sweet filling; substitute with any preferred jam or preserve.
For the Egg Wash
- Egg Wash (1 large egg + 1 tbsp water) – Gives the pastry a golden finish.
For the Vanilla Glaze
- Powdered Sugar – Offers sweetness and texture for the glaze.
- Pure Vanilla Extract – Essential for that rich flavor; don’t skip it for authentic taste.
- Additional Water (for glaze) – Adjust as needed for desired consistency.
Now you’re ready to create these luscious gluten-free pop tarts that will fill your home with joy and nostalgia!
Step‑by‑Step Instructions for Gluten-Free Strawberry Pop Tarts
Step 1: Prepare Dough
Start by freezing the very cold butter and shortening along with the ice water for about 5 minutes. In a large mixing bowl, combine the gluten-free all-purpose rice flour blend, granulated sugar, and salt. Cut in the chilled butter and shortening, mixing until the texture resembles coarse crumbs, ensuring a flaky crust for your gluten-free pop tarts.
Step 2: Incorporate Wet Ingredients
Add the large eggs, apple cider vinegar, and the chilled water into the dry mixture, stirring until just combined. The dough will be sticky at this point, so don’t worry! This sticky consistency is vital as it contributes to the tender texture of the filling.
Step 3: Chill Dough
Shape the dough into a ball and wrap it tightly in plastic wrap. Refrigerate the wrapped dough for at least 45 minutes, allowing it to firm up. This chilling step is crucial for creating a flaky pastry in your delightful gluten-free pop tarts.
Step 4: Roll and Cut Dough
Once chilled, preheat your oven to 350°F (175°C). On a well-floured parchment surface, roll out the dough to a thickness of 1/4 inch. Use a sharp knife or a pastry cutter to cut the dough into rectangles measuring 3×4 inches, totaling 16 pieces. This will form the bases and tops of each pop tart.
Step 5: Assemble Pastries
Spread a thin layer of gluten-free seedless strawberry jam onto half of the rectangles, leaving a border for sealing. Place another rectangle on top and press down lightly around the edges to seal. Crimp the edges with a fork and poke a few holes in the top to allow steam to escape during baking.
Step 6: Egg Wash
Whisk together the egg and 1 tablespoon of water to create an egg wash. Using a pastry brush, gently apply the egg wash over the tops of the pastries. This creates a beautiful golden finish for your gluten-free strawberry pop tarts as they bake.
Step 7: Bake
Place the assembled pastries on a baking sheet lined with parchment paper, ensuring they have room to expand. Bake in your preheated oven for 20-25 minutes, or until they turn a lovely golden brown. The aroma will fill your kitchen, indicating they are nearly ready!
Step 8: Glaze
Allow the baked pop tarts to cool for about 5 minutes on a wire rack. In the meantime, mix the powdered sugar, pure vanilla extract, and a little water in a bowl until smooth. Drizzle the glaze generously over the cooled pop tarts, allowing it to set before serving. Enjoy your homemade gluten-free strawberry pop tarts!

Expert Tips for Gluten-Free Pop Tarts
-
Measure Correctly: Use the “spoon & level” technique for gluten-free flour to avoid too much flour, which can lead to dense pastries.
-
Chill, Chill, Chill: Ensure your butter, shortening, and water are very cold to achieve that perfect flaky texture in your gluten-free pop tarts.
-
Aim for Consistency: Roll your dough to an even thickness to prevent puffing and ensure even baking for every delightful bite.
-
Avoid Common Mistakes: Don’t swap butter for shortening, as it can compromise the moisture and texture of your gluten-free pop tarts.
-
Experiment with Fillings: Feel free to try different jams like raspberry or chocolate hazelnut to add variety and excitement to your baked goods!
Gluten-Free Pop Tarts Variations
Feel free to let your creativity shine as you personalize these pastries to fit your family’s taste buds!
-
Berry Blast: Substitute strawberry jam with a mix of mixed berry preserves for a burst of fruity goodness. The combination of flavors adds a delightful complexity to each bite.
-
Chocolate Delight: Use chocolate hazelnut spread instead of jam for a rich, indulgent twist that kids adore. Imagine biting into a chocolatey center with a flaky crust—pure bliss!
-
Nut Butter: Swap out the filling for your favorite nut butter, like almond or peanut butter, for a lovely protein boost that kids will love for breakfast or snacks.
-
Spicy Kick: Add a sprinkle of cayenne pepper to the glaze for a surprising spicy kick! It plays beautifully off the sweetness, creating an unforgettable flavor experience.
-
Cinnamon Sugar: Brush the tops with melted butter and sprinkle with cinnamon sugar before baking for an extra layer of flavor. These will remind you of classic cinnamon rolls!
-
Dairy-Free: For a full dairy-free version, opt for a dairy-free butter alternative in place of the regular butter and follow suit with dairy-free milk in the glaze. It’s a delicious option for those with lactose intolerance!
-
Fruity Glaze: Combine powdered sugar with a bit of pure orange juice or lemon juice to make a fruity glaze. This adds a zesty note that complements the sweet filling beautifully.
-
Nutty Crunch: Add some finely chopped nuts to the pastry dough for added texture and flavor. Pecans or almonds work beautifully, giving the pop tarts a delightful crunch.
Embrace the joy of homemade creations like these delightful pop tarts alongside other family favorites such as my Butter Cornbread Poppers. Each variation offers something deliciously unique!
What to Serve with Gluten-Free Strawberry Pop Tarts
These delightful pastries are just the beginning of a breakfast spread or snack feast that will leave your taste buds dancing!
- Fresh Fruit Salad: A medley of vibrant seasonal fruits adds a refreshing, juicy contrast to the sweet pop tarts.
- Yogurt Parfait: Creamy yogurt layered with granola and fresh berries makes a delightful complement and adds a healthy twist.
- Scrambled Eggs: Light and fluffy scrambled eggs provide savory balance, creating a satisfying meal that’s both filling and tasty.
- Maple Bacon: Crispy, sweet-and-salty bacon adds a wonderful crunch and richness that pairs beautifully with the fruity pastries.
- Milk or Dairy-Free Alternatives: A glass of refreshing milk or a nut milk blends perfectly with the richness of the glaze, enhancing your treat.
- Herbal Tea: A warm cup of chamomile or mint tea brings calming notes that contrast beautifully with the sweet pop tarts.
- Chocolate Drizzle: For those with a sweet tooth, a drizzle of dark chocolate over your pop tarts elevates the flavor profile, creating an indulgent experience.
- Vanilla Ice Cream: For a decadent treat, serve with a scoop of vanilla ice cream on the side for a nostalgic dessert moment.
Storage Tips for Gluten-Free Pop Tarts
Room Temperature: Keep the gluten-free pop tarts in an airtight container at room temperature for up to 3 days to maintain their flaky texture.
Fridge: For extended freshness, store them in the fridge for up to 6 days. Ensure they are well wrapped to prevent drying out.
Freezer: These delightful pastries freeze well for up to 3 months. Wrap each pop tart tightly in plastic wrap and place them in an airtight freezer bag.
Reheating: To enjoy them warm, simply pop the frozen gluten-free pop tarts in a preheated oven at 350°F (175°C) for about 10 minutes, or until heated through.
Make Ahead Options
These delicious gluten-free pop tarts are perfect for meal prep, allowing you to save time during busy mornings! You can prepare the dough up to 24 hours in advance by wrapping it tightly in plastic wrap and refrigerating it; this not only simplifies your baking process but also enhances the flakiness of the pastry. Additionally, the assembled but unbaked pop tarts can be stored in the refrigerator for up to 3 days before baking. Just remember to brush the tops with the egg wash just before they go into the oven for that golden finish. When you’re ready to bake, simply preheat the oven and follow the baking instructions for fresh, irresistible pastries that taste just as delicious as when made on the same day!

Gluten-Free Strawberry Pop Tarts Recipe FAQs
How do I select the right gluten-free flour blend?
Absolutely! When choosing a gluten-free all-purpose flour blend for your pop tarts, I recommend opting for a brand like Pillsbury for the best structure and flavor. Not all blends perform the same; some may be too gritty or not provide the right rise. Look for a blend that contains xanthan gum, as it helps mimic the properties of gluten, ensuring a flaky and tender pastry.
What is the best way to store gluten-free pop tarts?
Very! For optimal freshness, store the gluten-free pop tarts in an airtight container at room temperature for up to 3 days. If you’re planning to keep them longer, refrigerate them for up to 6 days. Make sure they are well-wrapped to avoid drying out; then, they’ll maintain their delicious texture!
Can gluten-free pop tarts be frozen?
Absolutely! You can freeze these pop tarts for up to 3 months. To do this, wrap each pop tart tightly in plastic wrap, then place them in an airtight freezer bag to prevent freezer burn. When you’re ready to enjoy them, simply preheat your oven to 350°F (175°C) and bake the frozen pop tarts for about 10 minutes until heated through.
What should I do if my dough is too sticky?
No worries! If your dough is too sticky, dust it lightly with more gluten-free flour while rolling it out. However, be cautious not to add too much flour, as it can lead to a denser pastry. If the dough remains sticky after chilling, simply let it rest for an additional few minutes before rolling out.
Are these pop tarts safe for those with allergies?
Absolutely! This recipe is designed to be gluten-free, but be mindful of the specific ingredients you use. Always check labels for allergens, particularly in the gluten-free flour blend and jams. If you’re making them for someone with nut allergies, ensure any substitutes you choose are nut-free, like using a different brand of shortening or jam.
Can I use different fillings for my gluten-free pop tarts?
Very! The beauty of these pop tarts lies in their versatility. Feel free to experiment with various fillings like raspberry, apricot, or even chocolate hazelnut spread! Just ensure that whichever filling you choose is also gluten-free and matches your taste preferences.

Irresistibly Flaky Gluten-Free Pop Tarts with Sweet Strawberry Bliss
Ingredients
Equipment
Method
- Start by freezing the very cold butter and shortening along with the ice water for about 5 minutes. In a large mixing bowl, combine the gluten-free all-purpose rice flour blend, granulated sugar, and salt. Cut in the chilled butter and shortening, mixing until the texture resembles coarse crumbs.
- Add the large egg, apple cider vinegar, and the chilled water into the dry mixture, stirring until just combined. The dough will be sticky.
- Shape the dough into a ball and wrap it tightly in plastic wrap. Refrigerate for at least 45 minutes.
- Preheat your oven to 350°F (175°C). Roll out the dough to a thickness of 1/4 inch and cut into rectangles measuring 3x4 inches, totaling 16 pieces.
- Spread a thin layer of gluten-free seedless strawberry jam onto half of the rectangles, leaving a border for sealing. Place another rectangle on top and press down lightly around the edges to seal.
- Whisk together the egg and 1 tablespoon of water to create an egg wash. Apply over the tops of the pastries.
- Place the assembled pastries on a baking sheet lined with parchment paper and bake for 20-25 minutes or until golden brown.
- Allow to cool for about 5 minutes. Mix powdered sugar, vanilla extract, and water until smooth. Drizzle over the cooled pop tarts.

Leave a Reply