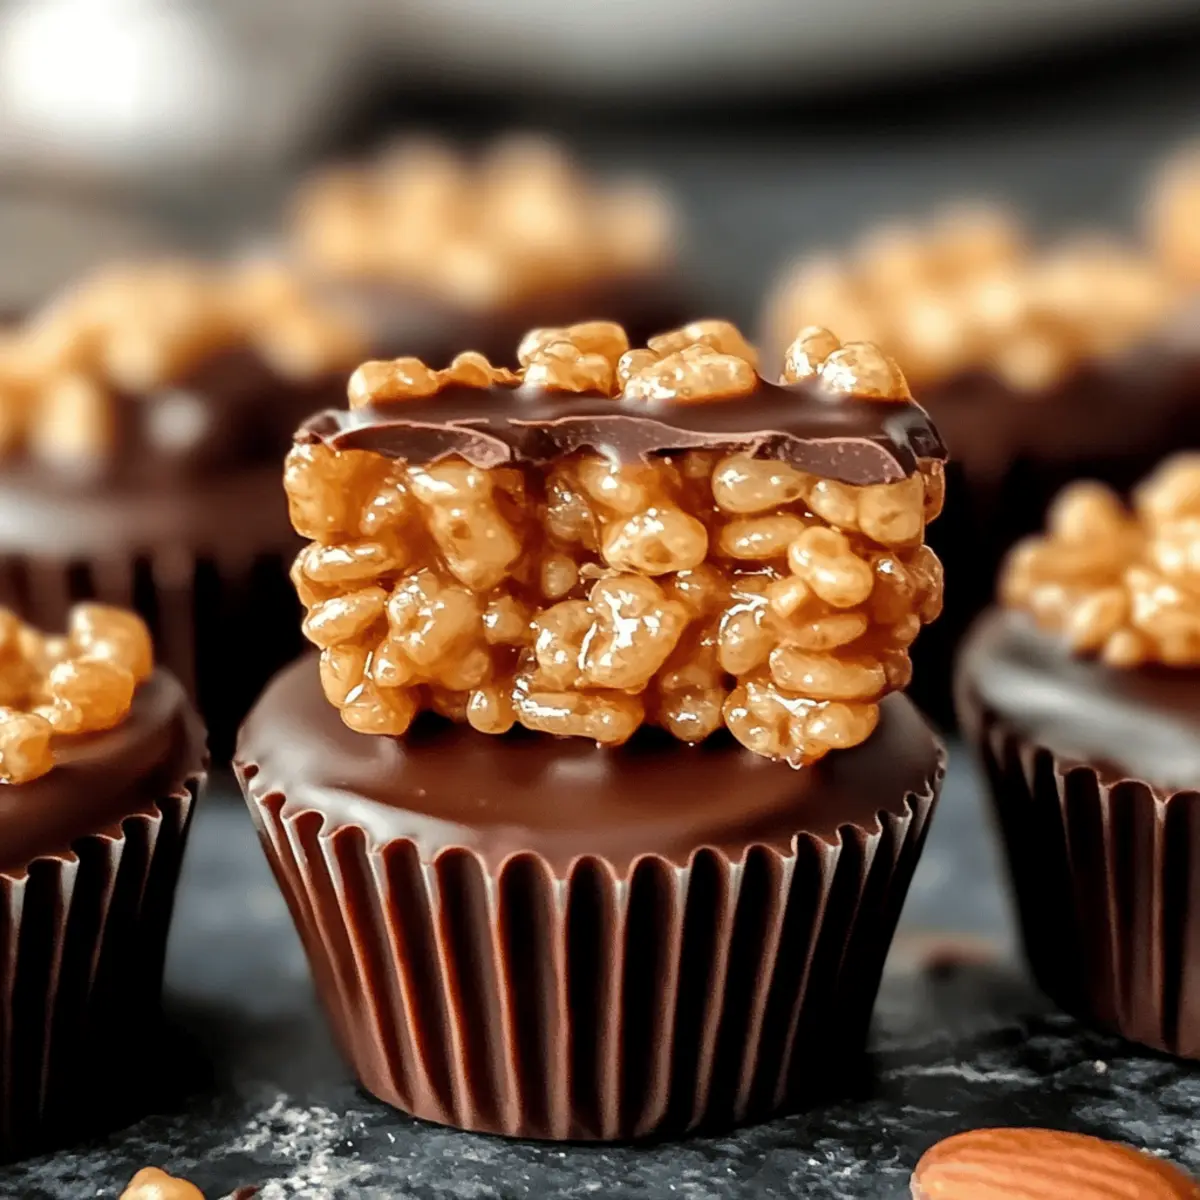
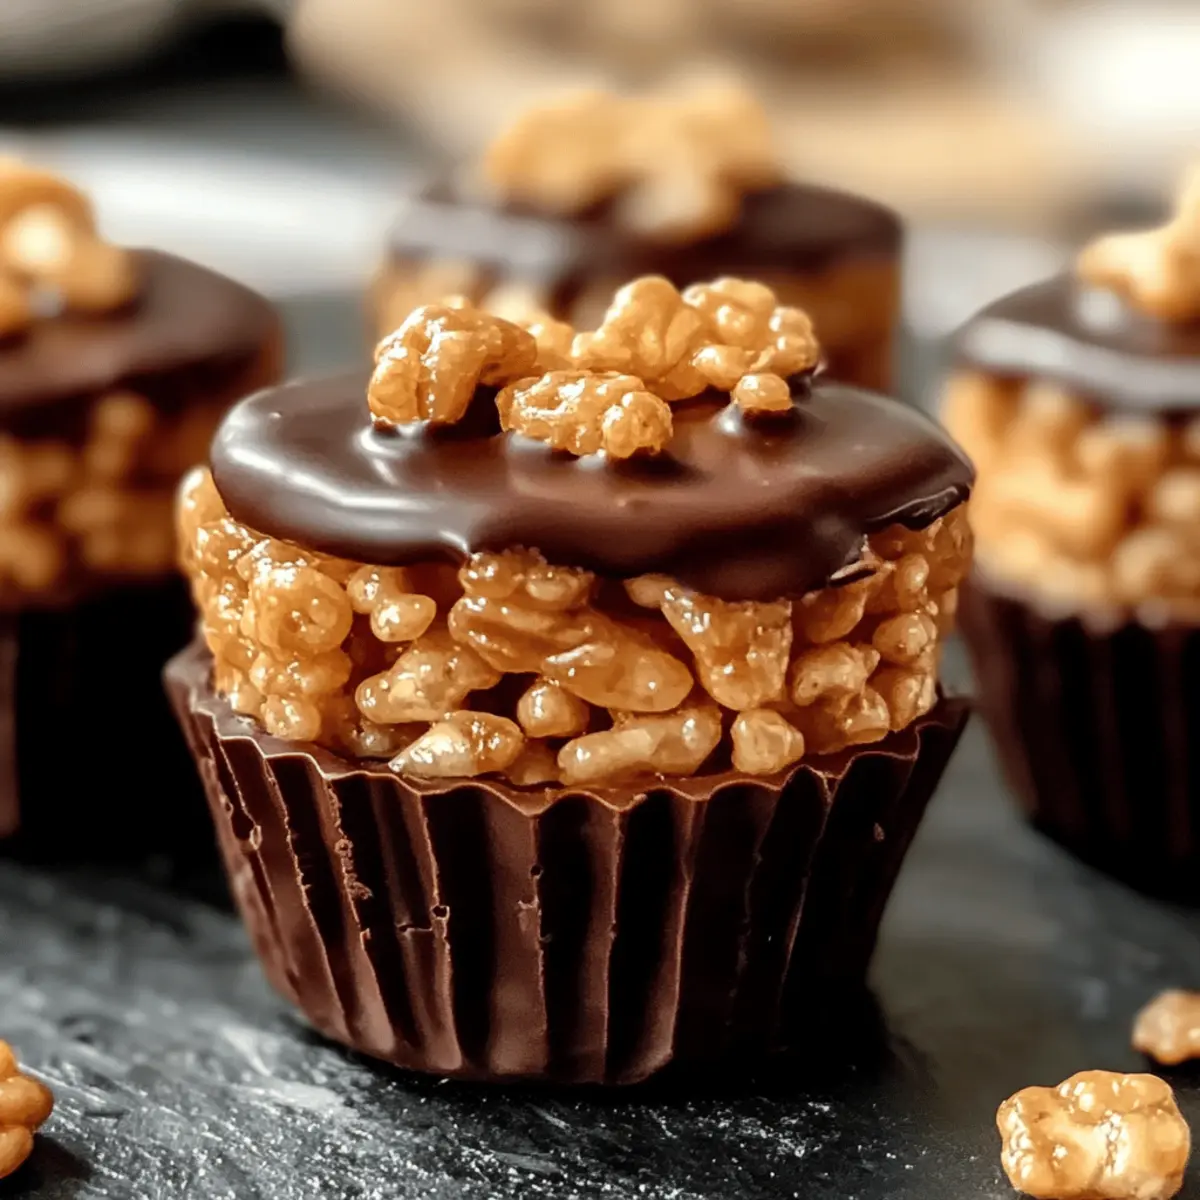
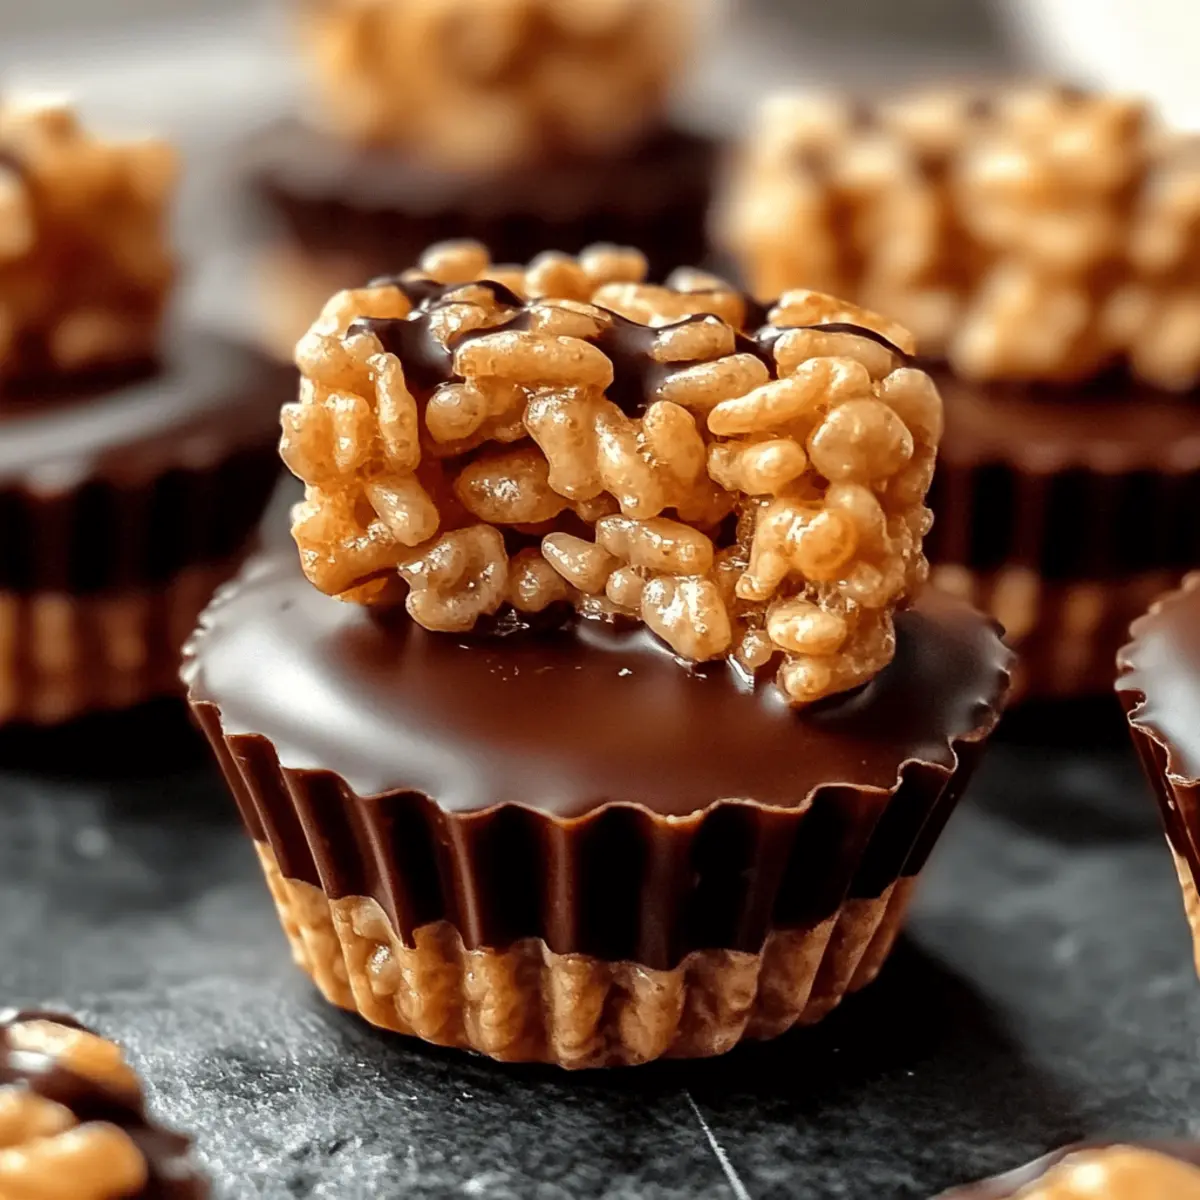
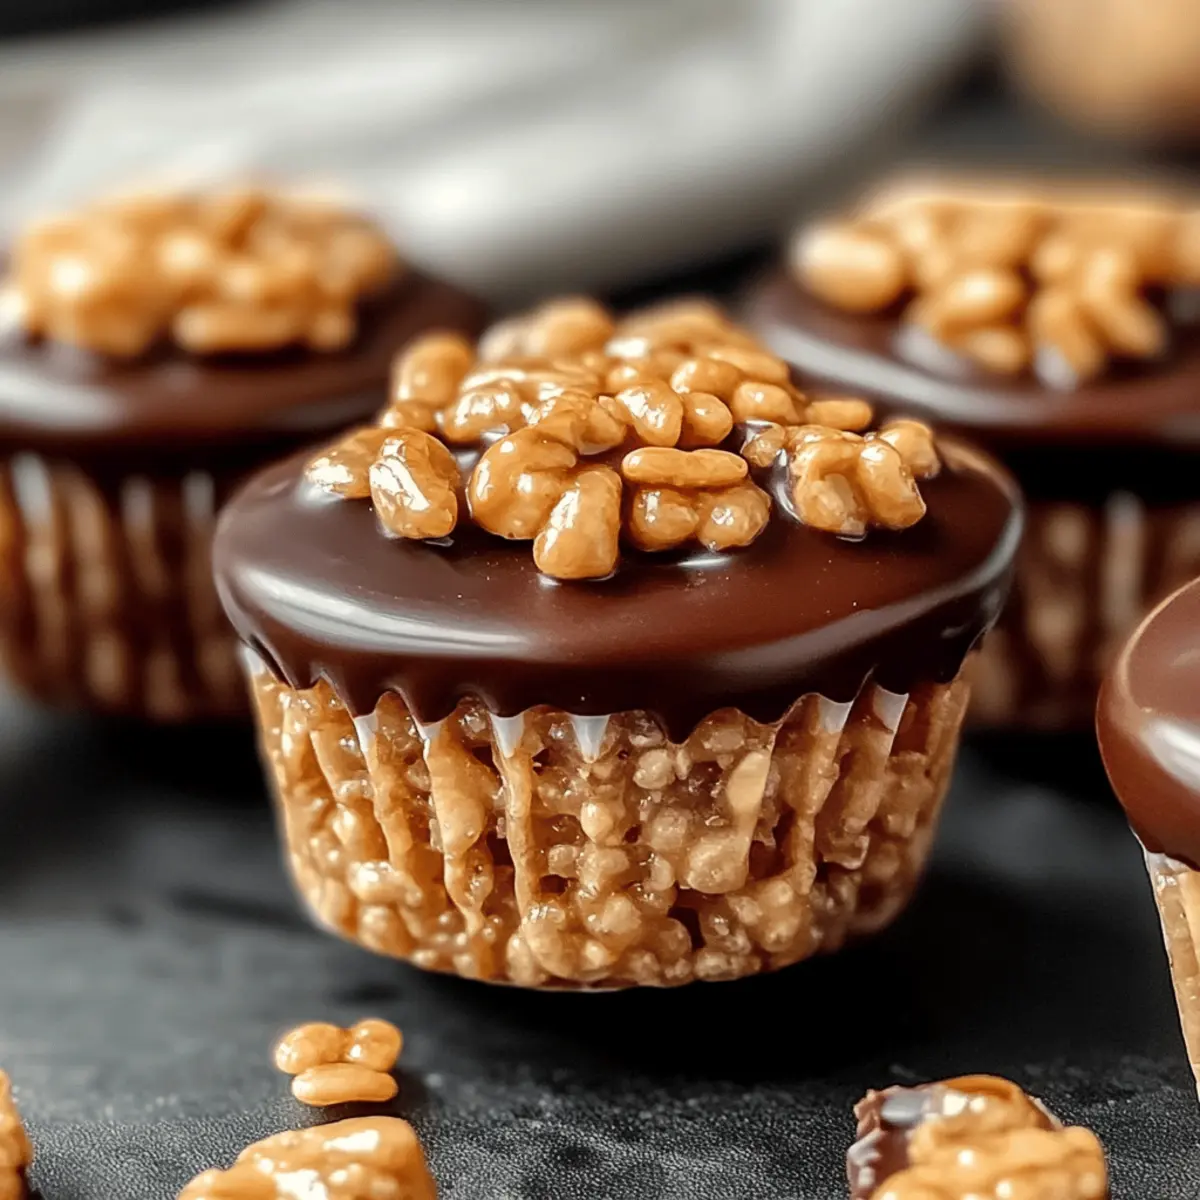
As I stood in my kitchen, the aroma of melting chocolate wafted through the air, instantly transporting me back to my childhood. Those cozy moments spent crafting treats like these No-Bake Chocolate Peanut Butter Rice Krispie Cups sparked pure joy and delicious nostalgia. Perfect for anyone seeking a quick fix to satisfy sweet cravings, this recipe combines the irresistible crunch of Rice Krispies with the buttery smoothness of peanut butter and a rich chocolate drizzle. Not only are they a delightful, customizable treat that kids will adore, but they’re also a fun addition to any party spread. So, are you ready to recreate a timeless classic that’s incredibly easy and incredibly tasty? Let’s dive into this scrumptious adventure!

Why are these Rice Krispie Cups irresistible?
No-Bake Convenience: These Chocolate Peanut Butter Rice Krispie Cups are incredibly easy to whip up, making them perfect for busy schedules or last-minute cravings. Customizable Delight: Feel free to mix and match ingredients to suit your taste—try adding butterscotch chips or nuts for an extra flavor boost. Kid-Approved: With their fun textures and delicious taste, they’re a hit with children, transforming snack time into a delightful experience. Party Perfect: Impress your guests at gatherings; these treats add a sweet touch to any dessert table. Storage Friendly: Keep them in an airtight container for a week or freeze for up to a month—sweet treats, anytime!
Chocolate Peanut Butter Rice Krispie Cups Ingredients
For the Base
- Rice Krispies cereal – Provides structure and crunch; substitute with a gluten-free cereal for a gluten-free option.
- Creamy peanut butter – Adds richness and flavor; can be swapped for crunchy peanut butter for added texture.
- Unsalted butter – Acts as a fat to bind ingredients; use coconut oil for a dairy-free option.
- Mini marshmallows – Contributes sweetness and acts as a binder; vegan marshmallows or marshmallow fluff can be used for a vegan version.
For the Chocolate Layer
- Chocolate chips – Creates a sweet, rich topping; opt for dark chocolate or sugar-free chocolate for a healthier option.
- Vanilla extract (optional) – Enhances flavor; omit if you prefer a simpler taste.
- Pinch of sea salt (optional) – Balances sweetness; substitute with flavored salt for extra zest.
These Chocolate Peanut Butter Rice Krispie Cups are not just a treat but a delightful culinary experience waiting to happen!
Step‑by‑Step Instructions for Chocolate Peanut Butter Rice Krispie Cups
Step 1: Melt the Base
In a medium saucepan, melt 4 tablespoons of unsalted butter and 2 cups of mini marshmallows over low heat, stirring gently until the mixture is smooth and fully combined—this should take about 5 minutes. Be cautious to avoid burning the mixture, and keep stirring until you achieve a creamy consistency that will beautifully hold the ingredients together.
Step 2: Incorporate Peanut Butter
Once the butter and marshmallows are melted, remove the saucepan from heat and stir in 1 cup of creamy peanut butter. Mix until thoroughly combined, ensuring the peanut butter is fully melted and mixed into this delightful mixture. This creates a rich, sticky base that will help bind the Rice Krispies, adding a wonderfully nutty flavor.
Step 3: Mix with Cereal
In a large bowl, pour in 4 cups of Rice Krispies cereal. Gently fold in the melted peanut butter mixture using a spatula, being careful not to crush the cereal. Continue to mix until every piece of Rice Krispies is evenly coated with the delicious concoction, which should create a lovely combination of sticky and crunchy textures.
Step 4: Shape the Cups
Prepare a muffin tin by lining each cup with paper liners. Spoon the Rice Krispies mixture into each lined cup, filling them about 3/4 full. Gently press down to form a flat surface, ensuring the mixtures stick together, while still keeping that enticing crunch. This process sets the foundation for your Chocolate Peanut Butter Rice Krispie Cups.
Step 5: Add Chocolate Layer
In a microwave-safe bowl, melt 1 cup of chocolate chips in 20-second intervals until fully melted, stirring between intervals to achieve a silky texture. Once melted, spoon the chocolate mixture over each Rice Krispie cup, spreading it evenly with a spatula. For added appeal, consider sprinkling a pinch of sea salt on top to enhance the flavors of the chocolate layer.
Step 6: Set & Serve
Let the cups cool at room temperature for about 20 minutes, or place them in the refrigerator for faster setting. This will ensure that the chocolate hardens nicely and the cups hold their shape. Once fully set, remove the paper liners carefully, and you’re ready to enjoy your homemade Chocolate Peanut Butter Rice Krispie Cups!

Expert Tips for Chocolate Peanut Butter Rice Krispie Cups
-
Melt on Low Heat: To ensure a smooth texture, always keep the heat low when melting butter and marshmallows; this prevents burning and makes mixing easier.
-
Press Gently: Use a light touch when shaping the cups; pressing too hard can crush the Rice Krispies, compromising their beloved crunch.
-
Chill for Firmness: For the best results, refrigerate the cups to help the chocolate topping set properly, ensuring they hold their delightful shape.
-
Customize Wisely: While experimenting with additional ingredients can be fun, avoid too many mix-ins to maintain the balance of flavors in your Chocolate Peanut Butter Rice Krispie Cups.
-
Store Correctly: Keep the cups in an airtight container at room temperature for up to a week, or freeze them for a month—always thaw before serving for optimal taste!
Make Ahead Options
These Chocolate Peanut Butter Rice Krispie Cups are perfect for meal prep enthusiasts! You can easily prepare the base mixture of Rice Krispies, peanut butter, and marshmallows up to 24 hours in advance. Simply follow the instructions up to shaping the cups, then store the mixture in an airtight container in the refrigerator to keep it fresh. When you’re ready to serve, line your muffin tin, fill the cups with the prepared mixture, and then melt the chocolate layer to top them off. This way, you’ll have these delightful treats ready to impress your family or guests with minimal effort, all while ensuring they taste just as delicious as when made fresh!
What to Serve with Chocolate Peanut Butter Rice Krispie Cups
Create a delightful spread that perfectly complements these sweet, crunchy treats.
-
Fresh Fruit Platter: Bright, seasonal fruits like strawberries and oranges add a refreshing contrast, balancing the sweetness of the dessert while offering a nice pop of color on the table.
-
Chocolate Milkshake: A rich and creamy shake echoes the chocolatey goodness of the cups, making it a delightful pairing for both kids and adults. It’s an unforgettable treat for mini movie nights!
-
Nutty Trail Mix: A savory blend of nuts and dried fruits provides a crunch and a hint of saltiness that enhances the flavors of the cups, making it a fantastic snack option at gatherings.
-
Coffee or Espresso: A warm cup of coffee perfectly complements the dessert’s sweetness, providing a satisfying contrast. The rich flavors of the brew can elevate the overall experience and lend a cozy feel.
-
Mini Ice Cream Cones: These bite-sized delights can be filled with your favorite flavors, adding a fun and whimsical element to the dessert table. They also break the sweetness with a creaminess that delights the palate.
-
Peanut Butter Dipped Pretzels: The salty crunch of pretzels dipped in peanut butter mirrors the main ingredient of the treats, tying the flavors together and providing a satisfying crunchy bite alongside the cups.
-
Sipping Chocolate: For a deep chocolate experience, serve a cup of warm sipping chocolate or hot cocoa; it brings a comforting and indulgent dimension to your dessert spread.
-
Cheese Board: A selection of creamy cheeses with crackers offers a sophisticated balance to the sweetness, enhancing the variety on your table and ensuring there’s something for everyone.
These pairings not only enhance the enjoyment of your Chocolate Peanut Butter Rice Krispie Cups but also make your gatherings unforgettable and full of flavor.
Chocolate Peanut Butter Rice Krispie Cups Variations
Feel free to unleash your creativity and customize your Chocolate Peanut Butter Rice Krispie Cups with these delicious ideas!
- Gluten-Free: Substitute Rice Krispies with your favorite gluten-free cereal to ensure everyone can enjoy this delightful treat.
- Crunchy Twist: Swap creamy peanut butter for crunchy peanut butter, adding a satisfying texture that complements the crispy cereal perfectly.
- Coconut Lover: Incorporate shredded coconut into the mixture for a tropical flair that pairs beautifully with the chocolate and peanut butter.
- Flavor Fusion: Drizzle a layer of caramel beneath the chocolate for an unexpected sweet surprise that will have everyone coming back for more.
- Nutty Boost: Add crushed nuts like almonds or pecans on top for a delightful crunch and additional nutritious benefits.
- Vegan-Friendly: Replace butter and mini marshmallows with coconut oil and vegan marshmallows for a deliciously inclusive treat everyone can enjoy.
- Choco-Chunky: Instead of chocolate chips, use butterscotch chips for a different flavor profile that’s just as delightful—try pairing with a dash of sea salt for balance.
- Chocolate Overload: For the chocolate die-hards, layer dark chocolate and milk chocolate for a rich double-decker treat that’s pure indulgence.
Exploring these variations not only enhances the flavor but also allows you to make these cups personal! You’ll also love making my Chocolate Peanut Butter treats on a rainy day or switching up the flavors with Peanut Chicken Savory for a main dish that’s equally simple yet rewarding. Enjoy experimenting!
How to Store and Freeze Chocolate Peanut Butter Rice Krispie Cups
-
Room Temperature: Store the cups in an airtight container at room temperature for up to 1 week. This keeps them fresh and ready for snacking anytime.
-
Fridge: If you prefer them chilled, the cups can be stored in the refrigerator for up to 2 weeks. Just ensure they are covered well to prevent them from absorbing other odors.
-
Freezer: For longer storage, freeze individual cups in an airtight container or freezer bags for up to 1 month. Thaw them in the fridge or at room temperature before serving for the best taste and texture.
-
Reheating: These treats don’t require reheating, but if you’d like them slightly softer, you can microwave them for a few seconds—just be cautious not to melt the chocolate!

Chocolate Peanut Butter Rice Krispie Cups Recipe FAQs
How do I choose the right Rice Krispies cereal?
Absolutely! When selecting Rice Krispies cereal, look for the freshest option available. Check for any dark spots on the packaging or damage, which can indicate staleness. If you’re looking for a gluten-free option, I recommend substituting with a gluten-free cereal that maintains a similar texture.
How should I store leftover Chocolate Peanut Butter Rice Krispie Cups?
Very good question! Store the cups in an airtight container at room temperature for up to 1 week. If you want them to stay even fresher, putting them in the refrigerator could extend their life to about 2 weeks. Just make sure they’re well covered to avoid any moisture or odors seeping in.
Can I freeze the Chocolate Peanut Butter Rice Krispie Cups?
Absolutely, freezing is a great option! To freeze, place the cups in an airtight container or zip-top freezer bag. You can keep them there for up to 1 month. When you’re ready to enjoy them, just thaw them in the fridge overnight or let them sit at room temperature for about 30 minutes before indulging.
What should I do if my mixture is too sticky to work with?
If your mixture seems too sticky, don’t worry! Here’s what to do: First, ensure you’re using properly measured ingredients—too much peanut butter can lead to stickiness. If it’s still too tacky, you can add a touch more Rice Krispies to the mix until it reaches a workable consistency. Gently folding them in will usually do the trick and help you shape those cups!
Are there any allergy considerations for this recipe?
Great question! For those with nut allergies, you might want to substitute the peanut butter with sunflower seed butter or a similar alternative. Also, always double-check the labels on the marshmallows and chocolate chips to ensure they are free of allergens. As for pets, always keep these treats out of reach, especially chocolate, which is toxic to dogs!
Can I modify the chocolate layer?
Definitely! There are many ways to customize the chocolate layer. Feel free to use dark chocolate, milk chocolate, or even a sugar-free option. Melt the chocolate slowly in 20-second intervals in the microwave, stirring well in between. For a unique twist, you could also drizzle caramel or sprinkle crushed nuts on top of the chocolate before it sets. Let your creativity shine!

Chocolate Peanut Butter Rice Krispie Cups: A No-Bake Delight
Ingredients
Equipment
Method
- Melt 4 tablespoons of unsalted butter and 2 cups of mini marshmallows in a medium saucepan over low heat, stirring until smooth (about 5 minutes).
- Remove from heat and stir in 1 cup of creamy peanut butter until fully combined.
- In a large bowl, pour in 4 cups of Rice Krispies cereal and fold in the melted mixture until evenly coated.
- Prepare a muffin tin with liners and spoon the mixture into each cup, filling about 3/4 full.
- Melt 1 cup of chocolate chips in a microwave-safe bowl in 20-second intervals, stirring until smooth, then spoon over each Rice Krispie cup.
- Let the cups cool for about 20 minutes at room temperature or refrigerate to set.

Leave a Reply