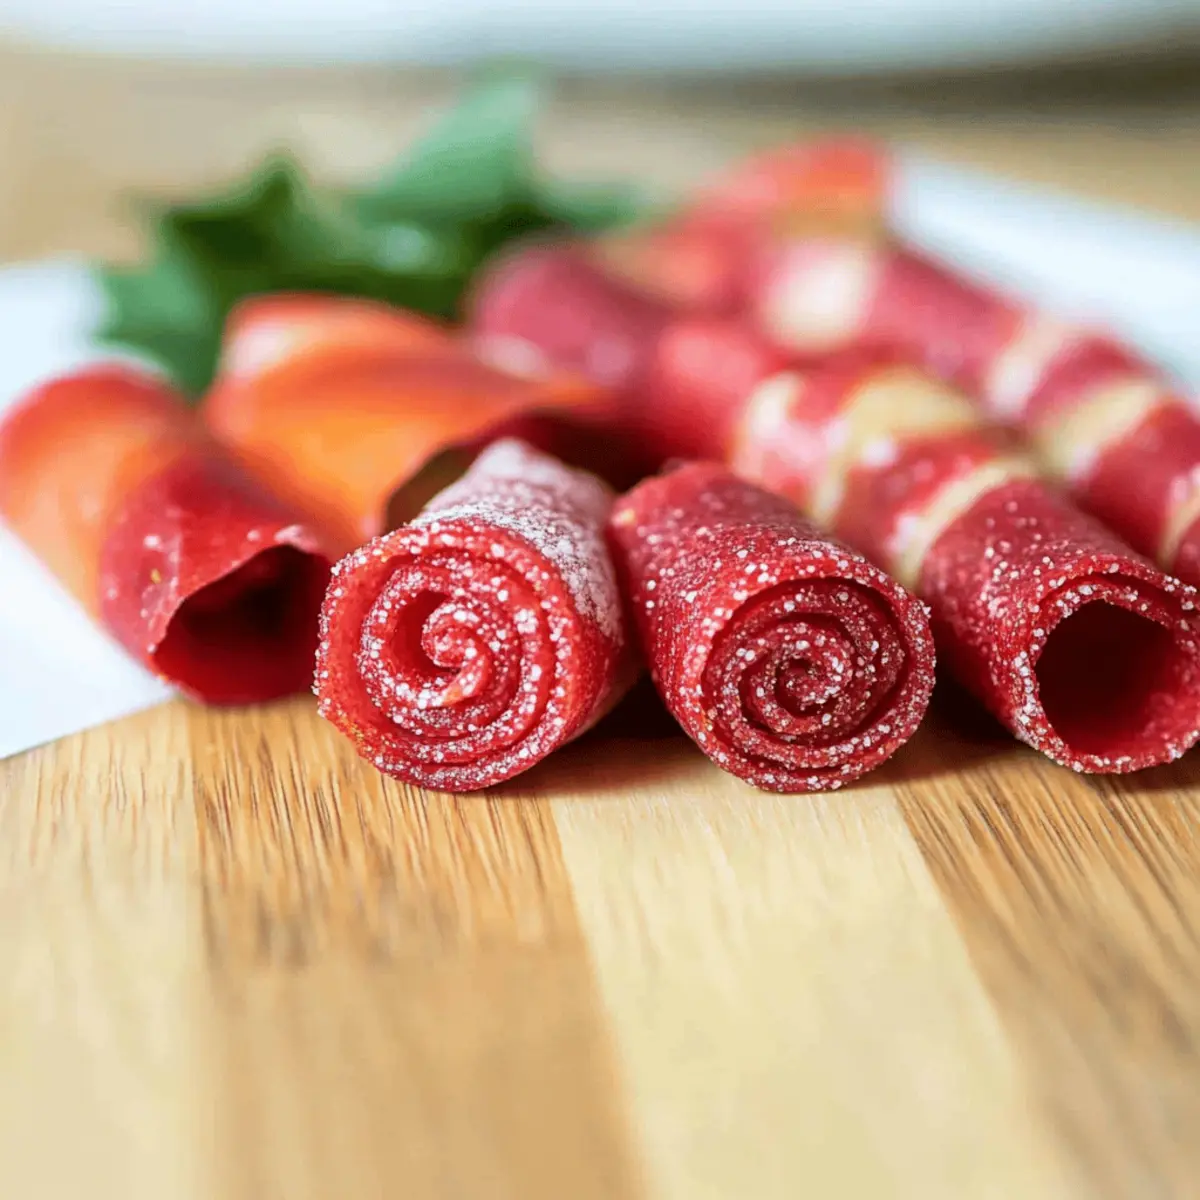
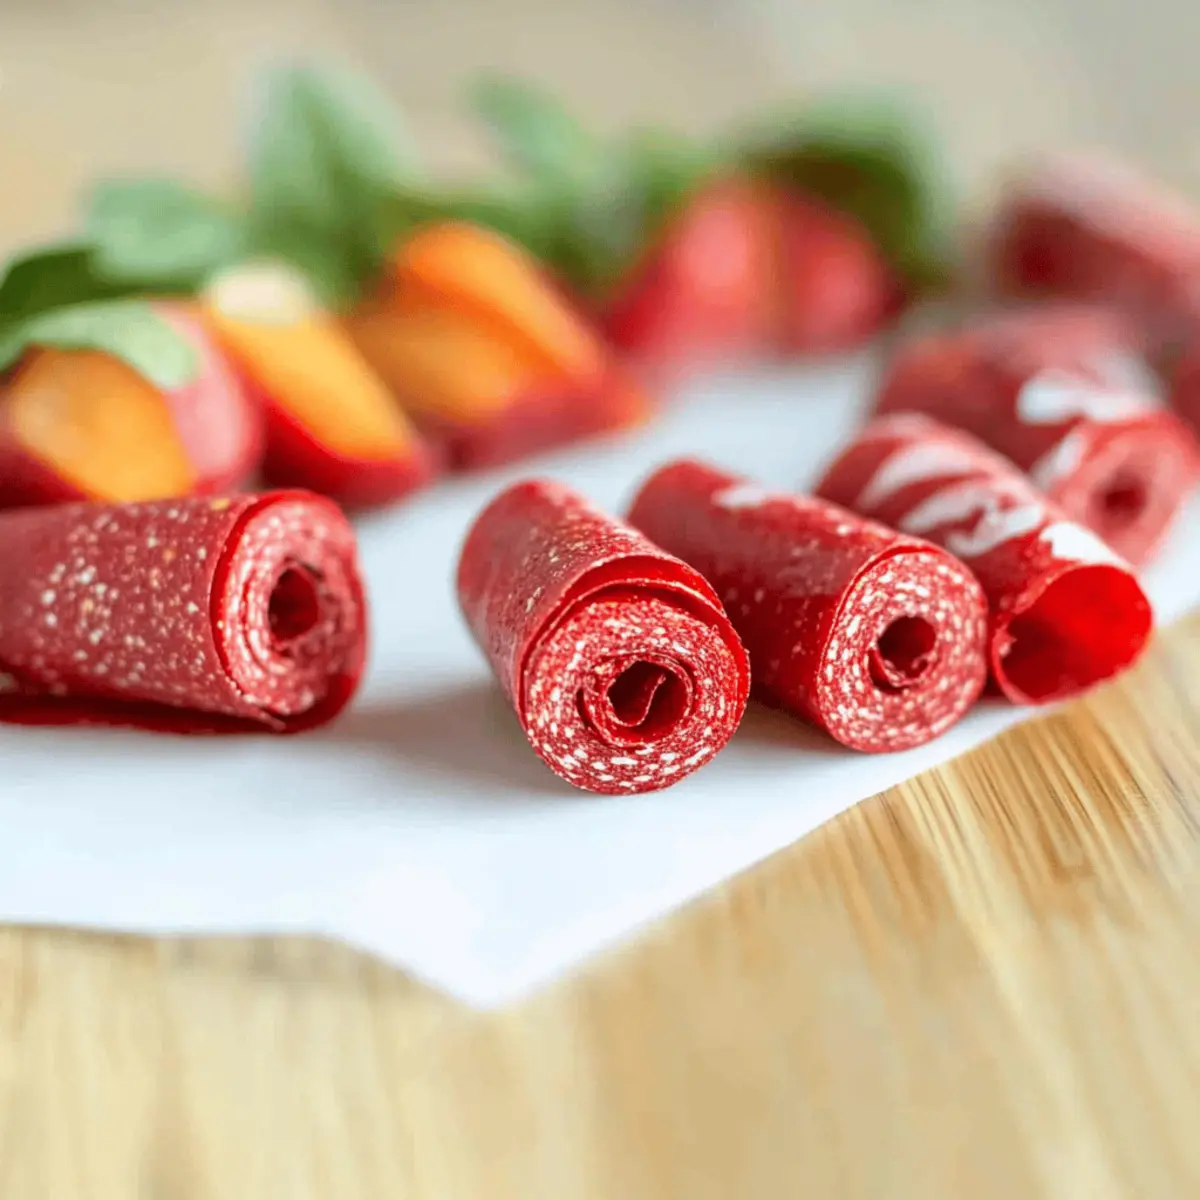
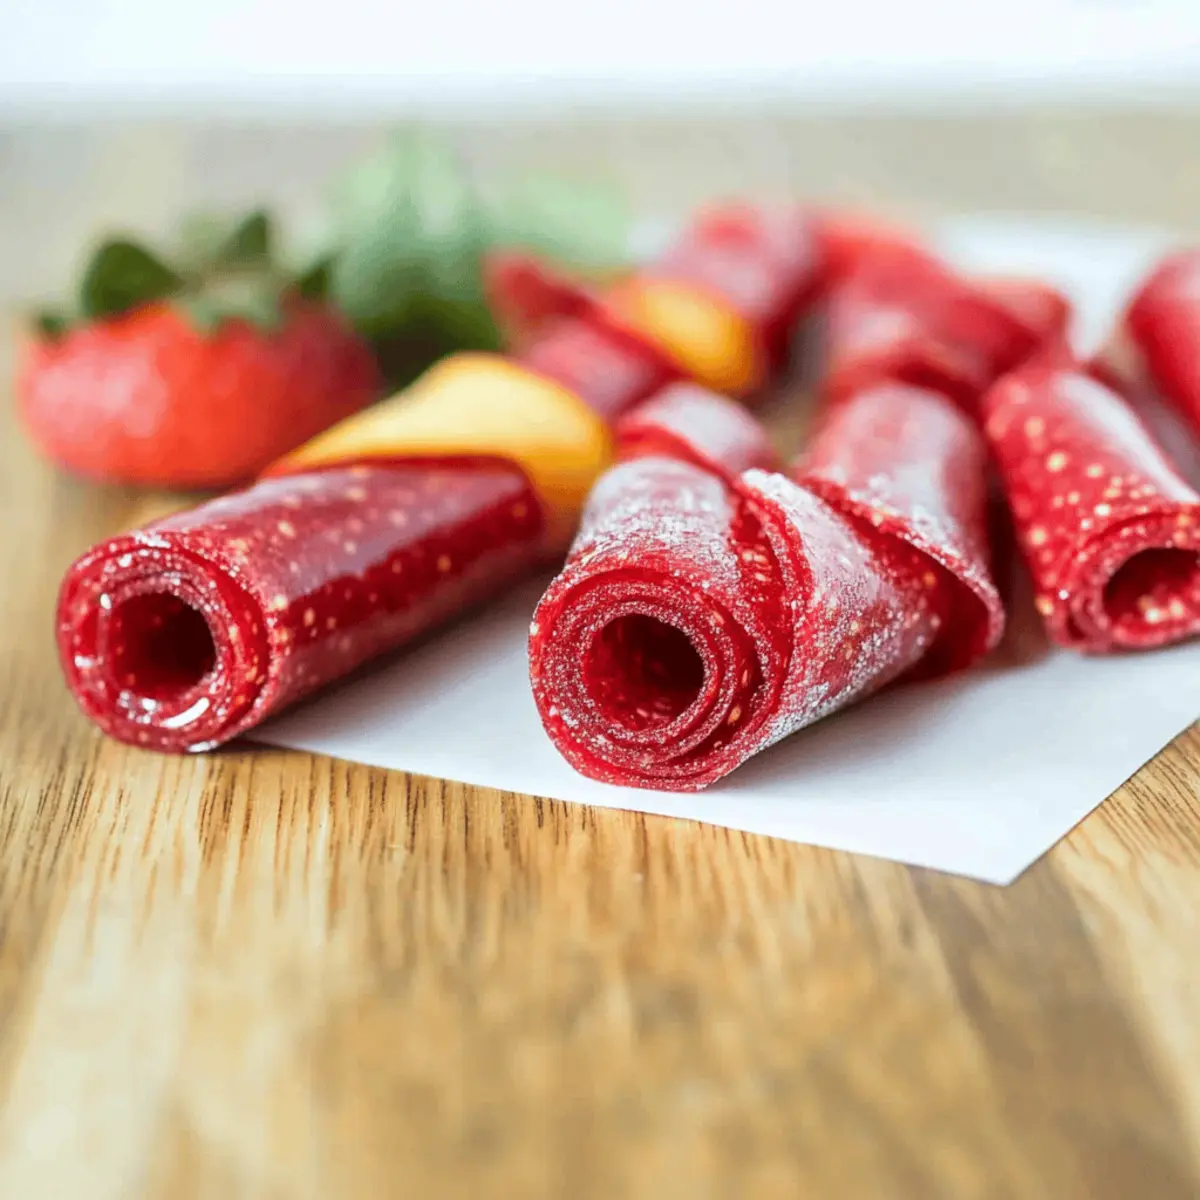
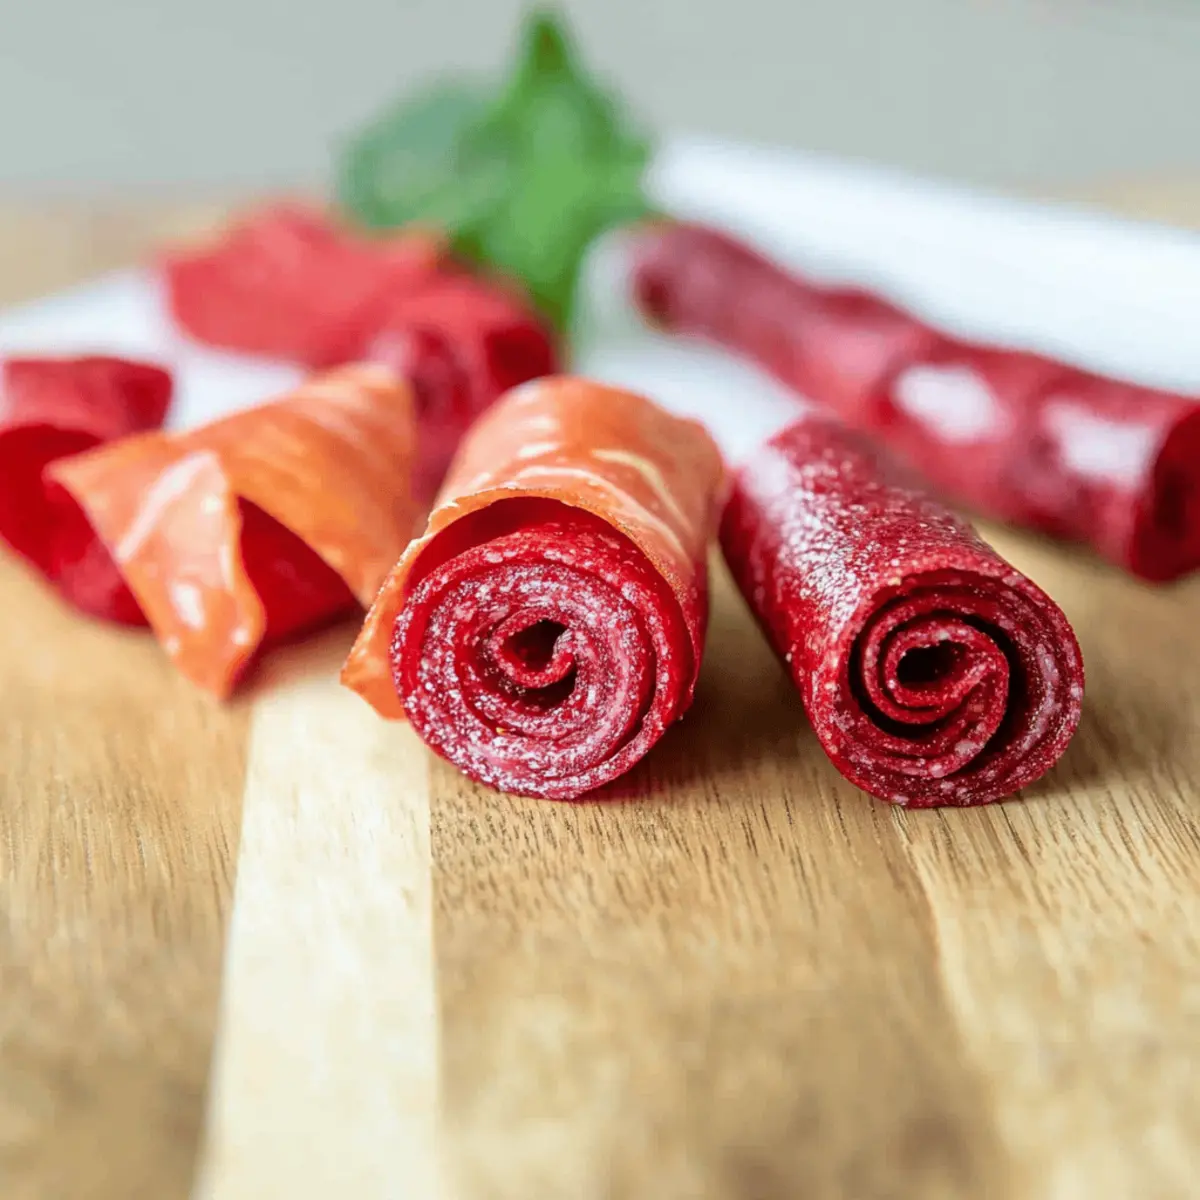
Who would have thought that whipping up your own snacks could be so simple and satisfying? These Healthy 3-Ingredient Homemade Fruit Roll-Ups have become my go-to recipe for both indulging my sweet tooth and keeping things healthy. With an array of colorful fruits at your fingertips, you can mix and match flavors, allowing for endless creativity. Not only are these fruit roll-ups easy to make, but they also serve as the perfect nutritious treat for kids and adults alike, free from the processed sugars found in store-bought versions. Imagine enjoying a chewy, fruity snack that’s tailored exactly to your taste–how delightful is that? Ready to dive into a kitchen adventure that blends fun with health? Let’s get started!

Why Make Your Own Fruit Roll-Ups?
Uniqueness Abounds: These fruit roll-ups are not your ordinary snacks; they embrace vibrant flavors and allow for creative combinations tailored to your taste buds. Health Benefits: With just three wholesome ingredients, they’re free from artificial additives and provide a guilt-free treat. Easy Preparation: Whip them up in minutes, letting you skip the store-bought options. Kid-Friendly Fun: Get the whole family involved in choosing fruits and making this delightful snack together, just like our flavorful Cinnamon Roll Cookies. Versatile Delight: These roll-ups can serve as lunchbox favorites or a healthy after-school snack, appealing to both kids and adults!
Fruit Roll-Ups Ingredients
For the Base
- Fruit – 2-3 cups of your favorite fruits provide the main flavor and natural sweetness; fresh or thawed frozen options work beautifully.
- Honey – 2-3 tablespoons act as a sweetener and binding agent; feel free to swap with sugar or sugar substitutes if needed.
- Lemon Juice – 2 tablespoons enhance the fruit’s flavor and prevent browning; omit it if you’re avoiding citrus.
Optional Add-Ins
- Spices – A sprinkle of cinnamon or nutmeg can elevate the flavor profile of your fruit roll-ups.
- Vanilla Extract – A teaspoon adds a lovely depth to the sweetness.
- Chia Seeds – Add a tablespoon for extra texture and a nutritional boost, making these fruit roll-ups even healthier!
Feel free to experiment with combinations to discover your perfect personalized fruit roll-ups!
Step‑by‑Step Instructions for Homemade Fruit Roll-Ups
Step 1: Blend the Ingredients
Start by adding 2-3 cups of your favorite fruits, 2-3 tablespoons of honey, and 2 tablespoons of lemon juice into a food processor. Blend on high until you achieve a smooth and velvety puree, approximately 1-2 minutes. Taste the mixture and adjust the sweetness with more honey if desired. This luscious mixture will form the foundation of your delightful fruit roll-ups.
Step 2: Prepare the Baking Sheet
Line a baking sheet with parchment paper, ensuring it covers the entire surface for easy release. Carefully pour the blended fruit mixture onto the parchment, using a spatula to spread it out evenly. Aim for a thickness of about 1/8 to 1/4 inch, as too thick will prolong drying time. Ensure the edges are smooth for uniform drying to create chewy homemade fruit roll-ups.
Step 3: Dehydrate in the Oven
Preheat your oven to its lowest setting, between 140°F and 170°F (60°C to 75°C). Place the baking sheet on the middle rack and let the fruit mixture dehydrate for 4-6 hours. Check the roll-ups periodically; they are ready when the center is no longer tacky to the touch, and the edges have slightly curled up. This slow heat is key to achieving that perfect chewy texture.
Step 4: Cool and Cut
Once dried, carefully remove the baking sheet from the oven and allow the fruit roll-ups to cool for about 30 minutes. Once cooled sufficiently, use kitchen scissors or a sharp knife to cut them into strips. You can make them as wide or narrow as you like; cutting them into manageable sizes will make the fruit roll-ups easy to enjoy later.
Step 5: Roll and Store
After cutting the strips, take each one and gently roll it up, starting from one end. This makes for easy storage and a fun way to eat your homemade fruit roll-ups. Store the rolled fruit leather in an airtight container, ideally with a piece of parchment paper between layers to prevent sticking. They can be kept in the fridge for up to 2 weeks or frozen for up to 3 months for later enjoyment.

Make Ahead Options
These Healthy 3-Ingredient Homemade Fruit Roll-Ups are perfect for meal prep enthusiasts! You can blend the fruit mixture and store it in the refrigerator for up to 24 hours before spreading it onto the baking sheet. This not only saves you time on busy days but also allows the flavors to marry beautifully overnight. Once you’re ready to bake, simply pour the mixture onto a parchment-lined baking sheet and dehydrate as instructed. For the best quality, store the finished fruit roll-ups in an airtight container with parchment paper in between layers to keep them fresh for up to 2 weeks in the fridge or freeze them for up to 3 months. Enjoy the convenience of homemade snacks that are just as delicious as when freshly made!
Fruit Roll-Ups Variations & Substitutions
Unlock the full potential of your homemade fruit roll-ups with these fun and tasty twists that will delight your taste buds!
-
Tropical Flavor: Swap in a combination of fresh pineapple and mango for a sunny, island-inspired treat. The juicy sweetness adds a refreshing zing.
-
Forest Fruit Blend: Try mixing cherries, blueberries, and raspberries for a vibrant medley that bursts with sweet-tart flavor. Enjoy the brilliant colors as much as the taste!
-
Dairy-Free Option: Utilize maple syrup instead of honey to make this snack vegan-friendly. It adds a unique richness, perfect for those looking to avoid animal products.
-
Spicy Kick: Sprinkle in a dash of cayenne pepper or chili powder for a surprising warm twist. The gentle heat contrasts beautifully with the sweetness of the fruit!
-
Nutty Crunch: Fold in some chopped nuts or seeds like almonds or sunflower seeds before spreading the mixture on the baking sheet. This adds delightful crunch and texture to your chewy rolls.
-
Zesty Citrus: Instead of lemon juice, try lime or orange juice for a fruity twist that brightens the flavor profile. A splash of excitement with every bite!
-
Mixed Spices: Enhance your blend with cinnamon, nutmeg, or ginger for warm and cozy undertones. Just imagine the aroma while they dehydrate in the oven!
-
Fun Swirls: Create visually appealing roll-ups by swirling in a mix of fruit purees for contrast. Layer the purees and use a knife to create swirls before dehydrating for a colorful surprise.
Don’t hesitate to explore these variations and make your homemade fruit roll-ups truly your own! If you’re interested in more delightful ideas, consider testing your culinary skills with our flavorful S’mores Crescent Rolls or enjoy some delicious Cinnamon Roll Cookies. Happy snacking!
Helpful Tricks for Fruit Roll-Ups
-
Even Spread: Ensure the mixture is spread evenly on the baking sheet to avoid uneven drying. Thicker areas will take longer to dehydrate, risking a chewy texture.
-
Check Doneness: If the roll-ups are too thick, increase cooking time. Always check the center for stickiness—once it’s no longer tacky, it’s ready to cool.
-
Airtight Storage: To keep your fruit roll-ups fresh, store them in an airtight container with a paper towel. This absorbs excess moisture and prolongs their shelf life.
-
Flavor Combos: Experiment with mixing different fruits to create unique flavor profiles. Don’t be afraid to explore combinations that suit your family’s taste; the possibilities are endless!
-
Adjust Sweetness: Taste the blended mixture before dehydrating to adjust sweetness. Remember, the natural sweetness of the fruit varies, and you can always add a bit more honey if needed.
How to Store and Freeze Fruit Roll-Ups
Fridge: Store the fruit roll-ups in an airtight container for up to 2 weeks, keeping them fresh and chewy for daily snacking.
Freezer: Freeze the rolled-up fruit snacks for up to 3 months. For easy access, layer them with parchment paper to prevent sticking.
Thawing: To enjoy, simply thaw in the fridge overnight before consuming, maintaining that delightful chewy texture of your homemade fruit roll-ups.
Avoid Moisture: Keep a paper towel in the container to absorb any excess moisture, ensuring your fruit roll-ups stay deliciously fresh.
What to Serve with Healthy 3-Ingredient Homemade Fruit Roll-Ups
Looking to build a deliciously balanced meal around these charming fruit roll-ups? Here’s how to enhance your snacking experience!
-
Yogurt Parfait: A creamy layer of yogurt topped with granola and fresh fruits makes for a delightful breakfast to pair with your roll-ups.
-
Veggie Sticks with Hummus: Crunchy, colorful vegetables dipped in smooth hummus offer a crunchy contrast to the chewy fruit roll-ups, bringing freshness to your snack time.
-
Cottage Cheese: The soft, creamy texture of cottage cheese pairs wonderfully with your fruit roll-ups, providing a protein boost while complementing the natural sweetness.
-
Nut Butter Toast: Spread almond or peanut butter on whole grain toast and serve alongside roll-ups for a satisfying, nutritious snack that’s sure to please.
-
Trail Mix: Create a homemade trail mix with nuts, seeds, and a sprinkle of chocolate for sweetness. The combination of textures and flavors pairs beautifully with the fruit roll-ups.
-
Smoothies: A refreshing fruit smoothie can bring a burst of flavor and hydration, making it an ideal companion to your chewy treats.
-
Sparkling Water: For a bubbly twist, serve the fruit roll-ups with flavored sparkling water. It adds a festive touch, making snacking feel special.
-
Chocolate-Dipped Fruit: Enhance your fruit experience by pairing these roll-ups with some chocolate-dipped apples or strawberries for a decadent yet healthy dessert.
Embrace these pairing ideas to create delightful combinations that ensure your healthy fruit roll-ups are always a star on your dining table!

Homemade Fruit Roll-Ups Recipe FAQs
What types of fruit can I use?
Absolutely! You can use any fresh or thawed frozen fruit you love, such as strawberries, blueberries, mangoes, or even apples. The more variety you mix, the more exciting the flavors will be. Just remember to adjust the sweetness if you’re using tart fruits!
How should I store my homemade fruit roll-ups?
For optimal freshness, store your fruit roll-ups in an airtight container in the fridge, where they can last for up to 2 weeks. If you want to savor them longer, consider freezing. Separate them with parchment paper to prevent sticking, and they can be frozen for up to 3 months.
Can I freeze fruit roll-ups and how?
Yes, you can! To freeze your homemade fruit roll-ups, first cut them into strips and roll them up gently. Then, layer them in a container with parchment paper between each roll to prevent them from sticking together. When you’re ready to enjoy, simply thaw them in the fridge overnight for the best texture.
What should I do if the roll-ups are not drying properly?
Very common! If your roll-ups aren’t drying evenly, ensure the mixture was spread to an even thickness, about 1/8 to 1/4 inch. If the middle remains tacky after the recommended drying time, simply extend the baking time. Check every 30 minutes until the center no longer feels sticky.
Can fruit roll-ups be made without honey?
Definitely! If you prefer not to use honey, you can substitute it with sugar or sugar alternatives like agave syrup or maple syrup. Just adjust the amount based on sweetness preference, as different sweeteners have varying levels of sweetness.
Are these fruit roll-ups safe for kids with allergies?
Yes, most of the ingredients are naturally gluten-free, vegan, and safe for kids. However, always check for any specific fruit allergies and make sure to choose alternatives if necessary. If you’re substituting ingredients like honey, ensure the substitutes are also allergy-friendly!

Delicious Homemade Fruit Roll Ups: A Healthy Snack Twist
Ingredients
Equipment
Method
- Blend the ingredients: Combine 2-3 cups of your favorite fruits, 2-3 tablespoons of honey, and 2 tablespoons of lemon juice in a food processor and blend until smooth.
- Prepare the baking sheet: Line a baking sheet with parchment paper and evenly spread the blended fruit mixture about 1/8 to 1/4 inch thick.
- Dehydrate in the oven: Preheat the oven to 140°F to 170°F. Dehydrate the mixture for 4-6 hours until it is no longer tacky.
- Cool and cut: Allow the roll-ups to cool for 30 minutes and then cut into strips with kitchen scissors or a knife.
- Roll and store: Roll each strip and store in an airtight container with parchment paper between layers.

Leave a Reply