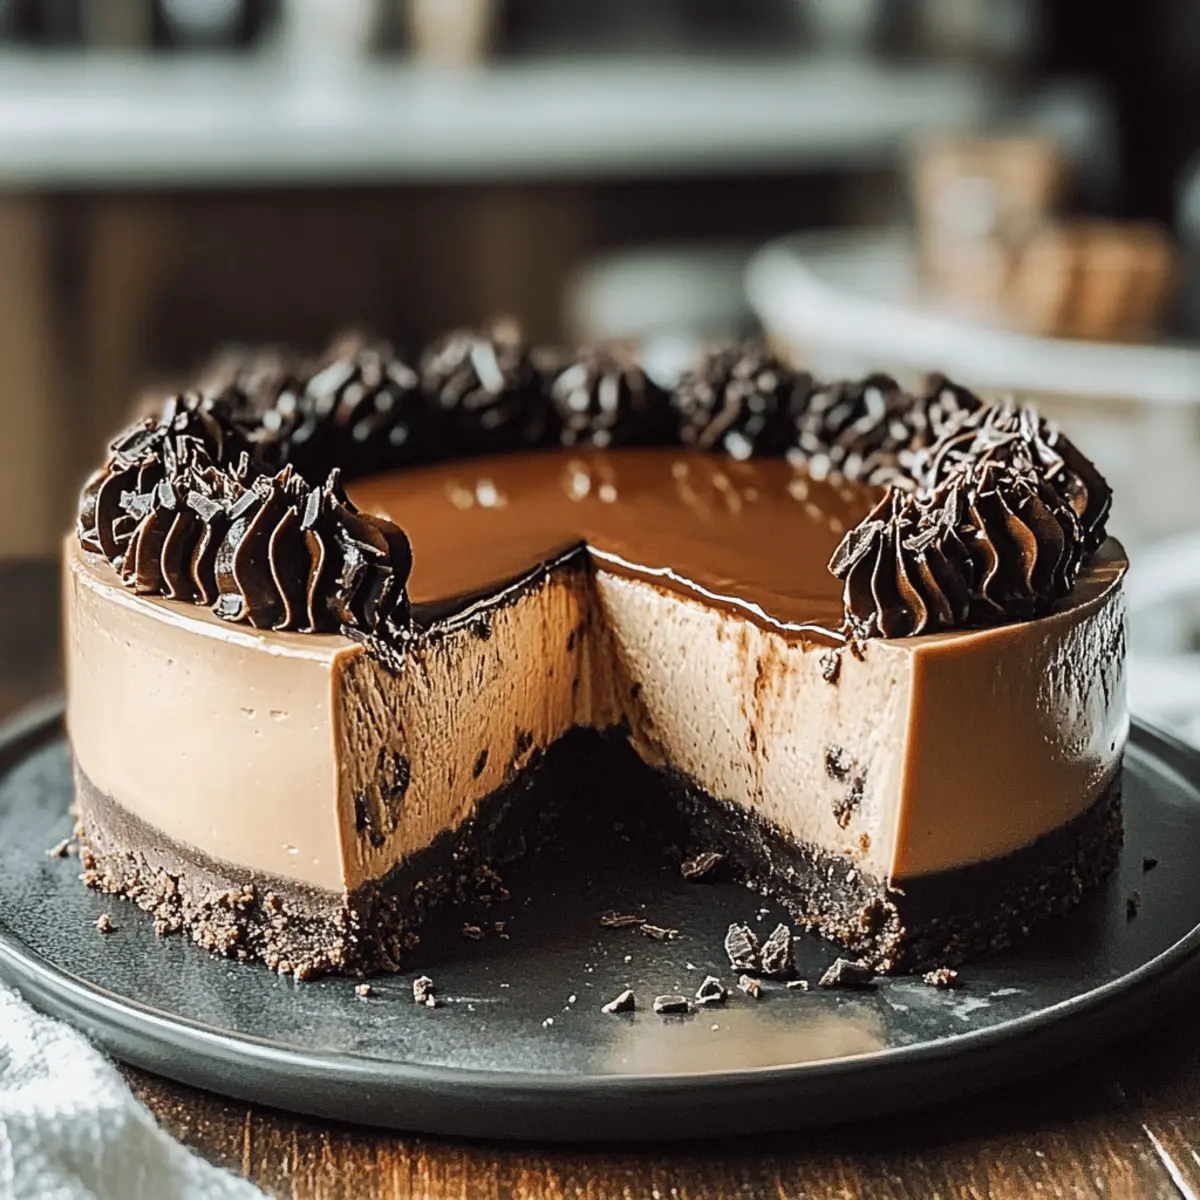
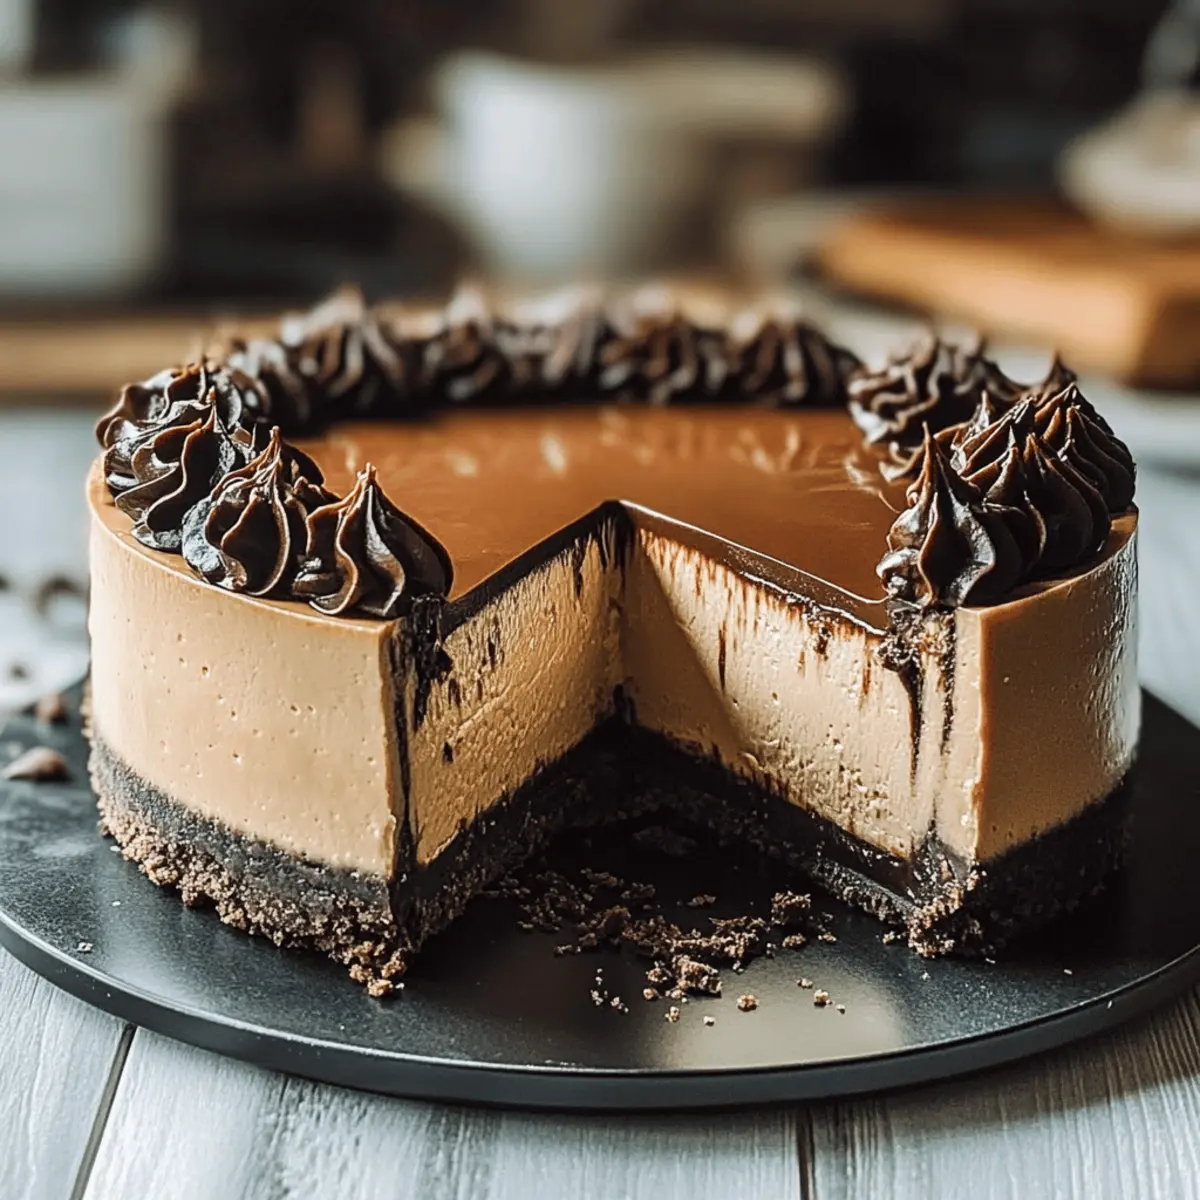
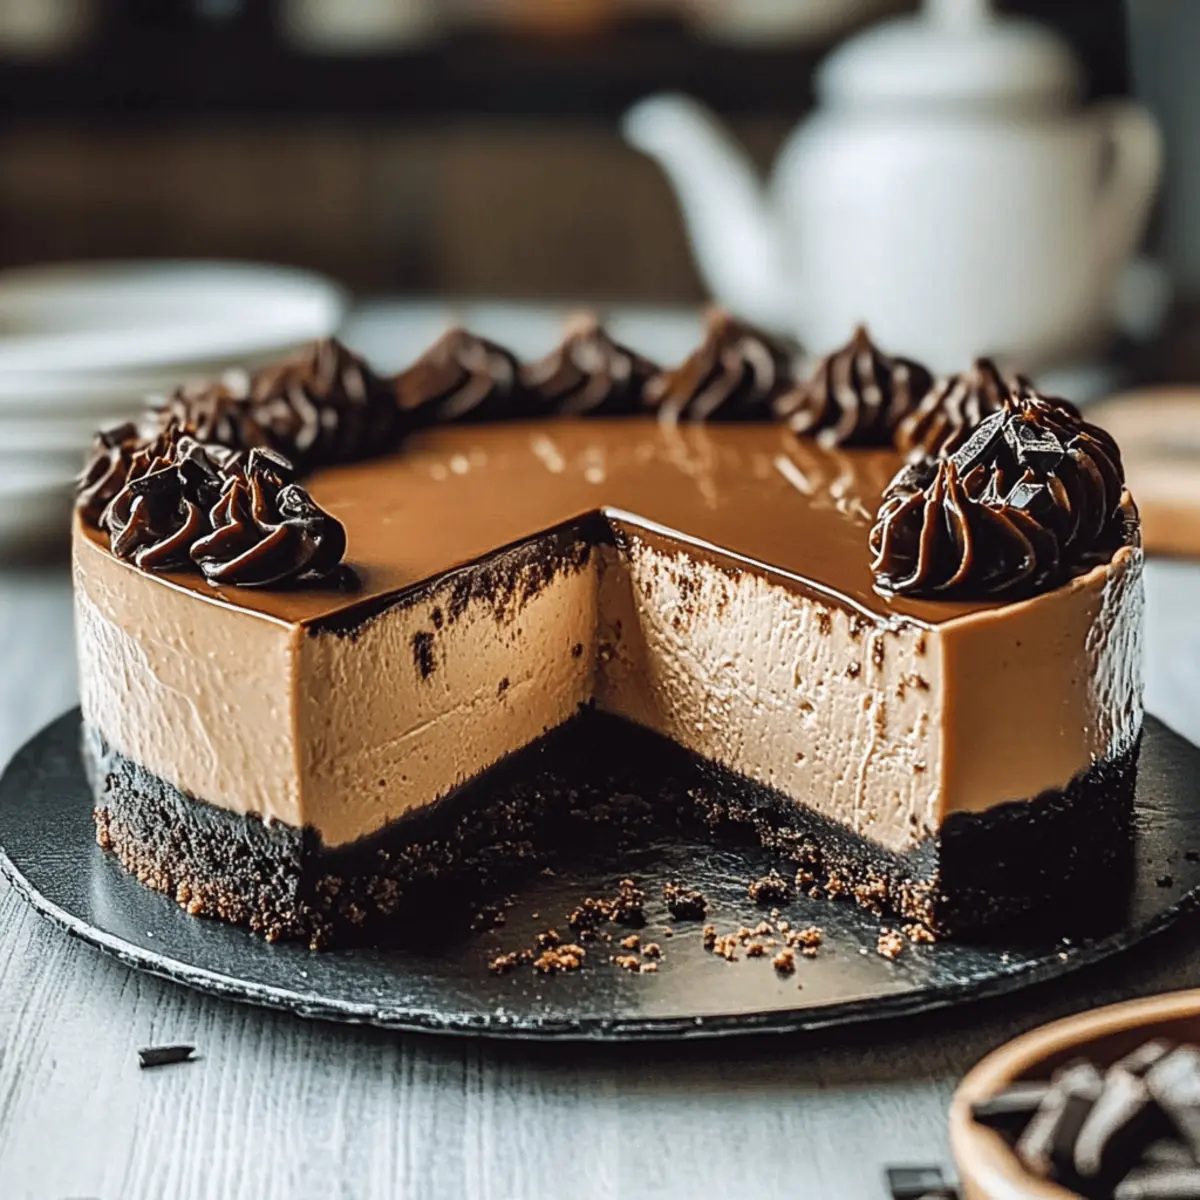
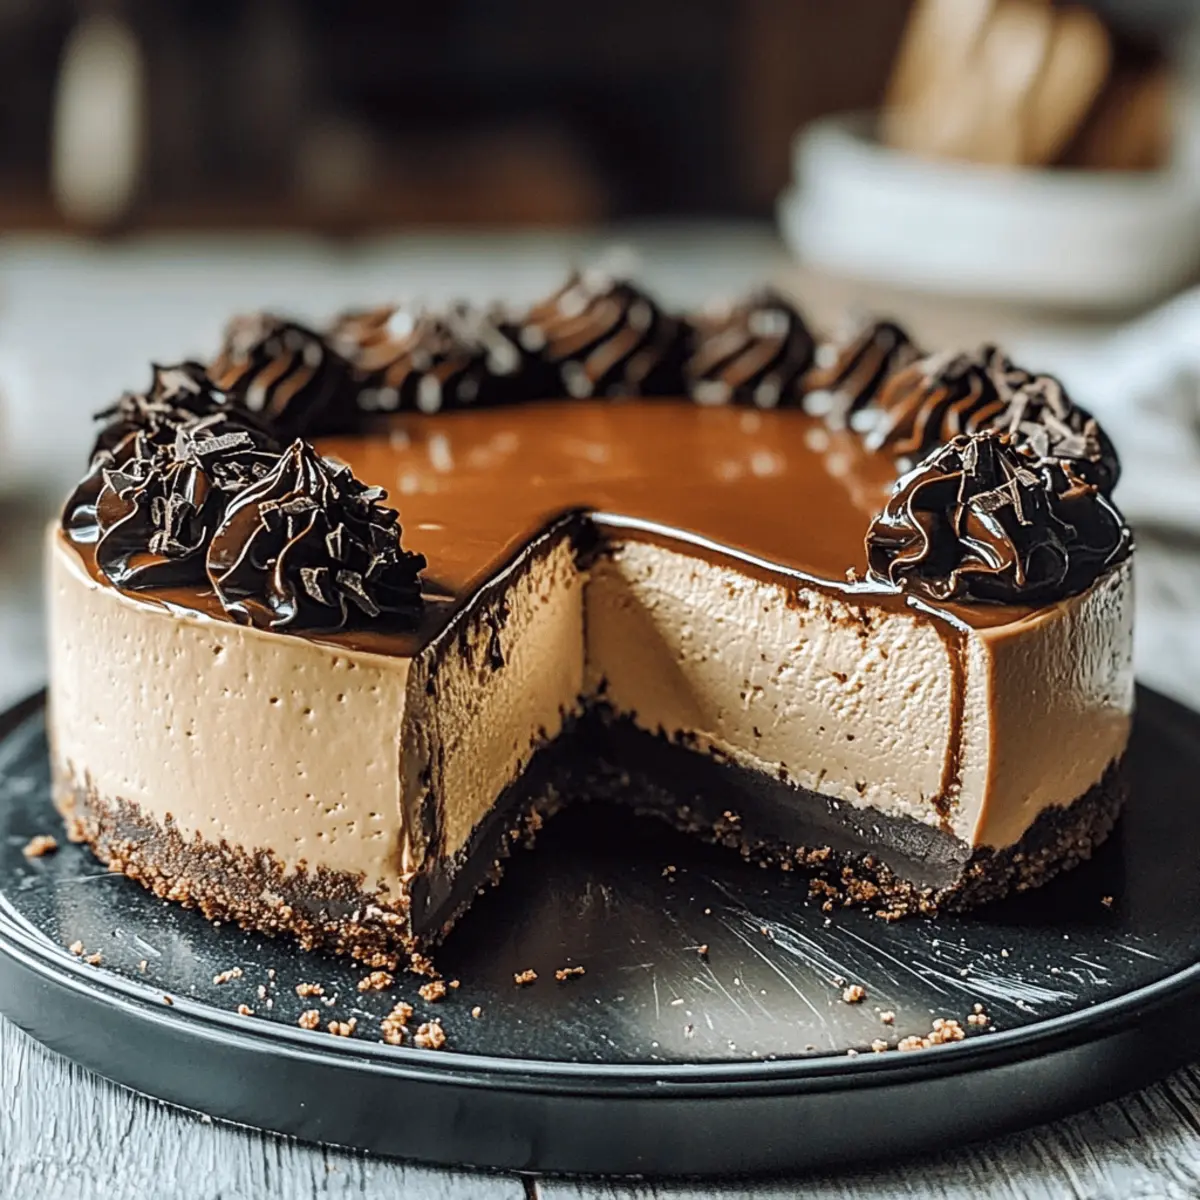
As I stirred the creamy mixture, the rich aroma of espresso wafted through my kitchen, immediately whisking me away to a cozy café in Italy. This is the magic of my Espresso Cheesecake Dessert, where a classic meets a sophisticated twist, perfect for coffee lovers and cheesecake aficionados alike. The smooth texture combined with bold espresso flavor not only satisfies your craving for something sweet but also makes for a stunning centerpiece at any gathering. Plus, it’s surprisingly easy to whip up, allowing you to impress friends and family without spending hours in the kitchen. Curious about how to concoct this indulgent delight? Let’s dive into the recipe together!

Why Is This Dessert So Special?
Indulgence at Its Finest: The rich, creamy Espresso Cheesecake Dessert is a captivating blend of classic cheesecake and bold espresso flavors that will leave your taste buds dancing. Easy to Make: You don’t need to be a professional chef to create this indulgent treat; it’s designed for home cooks of all levels. Versatile for Every Occasion: Whether it’s a cozy family dinner or an elegant gathering, this dessert is a stunning centerpiece that guests will adore. Perfectly Balanced Flavors: The combination of tangy cream cheese and the deep, roasted notes of espresso creates a flavor experience that is both sophisticated and comforting. For more coffee-infused delights, you might enjoy my Sugar Shaken Espresso or the delicious Chocolate Raspberry Cheesecake. Dive into the cozy flavors of this Espresso Cheesecake Dessert and make every moment memorable!
Espresso Cheesecake Dessert Ingredients
For the Crust
• Graham Cracker Crumbs – The base of the crust; offers sweetness and delightful texture. Substitution: Try digestive biscuits for a different taste.
• Unsalted Butter – Binds the crust together and adds a touch of richness. Substitution: Coconut oil can serve as a dairy-free option.
• Granulated Sugar – Sweetens the crust for balance in flavors. No significant substitution needed.
• Ground Cinnamon (optional) – Adds a warm, aromatic spice to the crust. Feel free to skip if you prefer a classic taste.
For the Cheesecake Filling
• Cream Cheese – The star of the filling; ensures a creamy, velvety texture. Full-fat cream cheese works best for rich taste.
• Granulated Sugar – Sweetens the cheesecake filling perfectly. No significant substitution needed.
• Vanilla Extract – Enhances the overall flavor; opt for pure vanilla for the best results.
• Eggs – Provide stability and structure; essential for the cheesecake to set. Use a flax egg for a vegan version if needed.
• Sour Cream – Adds creaminess and a delightful tang. Greek yogurt is a good alternative, but it may alter the flavor slightly.
• Heavy Cream – Gives the filling a luxurious richness; makes each bite heavenly. For a non-dairy option, use full-fat coconut milk.
• Brewed Espresso – Provides the distinct coffee flavor that defines this dessert; absolutely essential for an Espresso Cheesecake Dessert. Cold brew can work but might be milder in taste.
• All-Purpose Flour – Helps stabilize the filling and provides structure. Gluten-free flour is an acceptable substitute.
For the Ganache and Toppings
• Heavy Cream (for ganache) – Forms the rich base of the chocolate ganache; adds a glossy finish. Coconut cream serves as a dairy-free alternative.
• Semi-Sweet Chocolate (chopped) – Deepens the flavor profile of the ganache; makes it irresistibly rich. Dark chocolate can be used to achieve a less sweet flavor.
• Brewed Espresso (for ganache) – Intensifies the chocolate flavor; enhances the overall experience. Omitting it is fine if you prefer a pure chocolate taste.
• Chocolate Shavings (optional garnish) – Elevates the visual appeal; adds a gourmet touch. No substitute needed.
• Whipped Cream (optional garnish) – Lightens the dessert’s richness while adding a lovely decoration. Non-dairy whipped cream is suitable for a vegan option.
• Espresso Beans (optional garnish) – Used for decoration; reinforces the coffee theme. These can be omitted based on preference.
Step‑by‑Step Instructions for Espresso Cheesecake Dessert
Step 1: Preheat the Oven
Begin by preheating your oven to 350°F (175°C). This is an essential step to ensure your Espresso Cheesecake Dessert bakes evenly. While the oven warms up, gather your ingredients and prepare your equipment, including a 9-inch springform pan, mixing bowls, and a mixer for convenience.
Step 2: Prepare the Crust
In a mixing bowl, combine the graham cracker crumbs, melted unsalted butter, granulated sugar, and optional ground cinnamon. Stir until the mixture is well moistened and resembles wet sand. Press this mixture firmly into the bottom of your springform pan, creating an even layer that will form a tasty base for your cheesecake.
Step 3: Bake the Crust
Place the crust in the preheated oven and bake for approximately 10 minutes, or until it turns golden and fragrant. Once done, remove it from the oven and allow it to cool completely. This cooling process is crucial as it helps the crust firm up before adding the creamy cheesecake filling.
Step 4: Mix the Cream Cheese Filling
In a clean mixing bowl, beat the softened cream cheese on medium speed for 2-3 minutes until smooth and creamy. Make sure there are no lumps; this will guarantee a velvety texture in your Espresso Cheesecake Dessert. Scrape down the sides of the bowl as needed to ensure even mixing.
Step 5: Add Sugar and Vanilla
Next, incorporate the granulated sugar and vanilla extract into the cream cheese mixture. Continue to mix until fully combined, usually about 1 minute. The sweetening will balance out the bold flavors, so be sure to mix well for an even sweet flavor throughout the cheesecake.
Step 6: Incorporate the Eggs
Add the eggs one at a time to the mixture, blending on low speed after each addition. This step is vital; mix until just combined, as overmixing can add excess air and lead to cracking during baking. A smooth, homogenous batter sets the stage for a perfect Espresso Cheesecake Dessert.
Step 7: Add Remaining Ingredients
Now, gently fold in the sour cream, heavy cream, brewed espresso, and all-purpose flour into the filling. Mix until the batter is smooth and creamy, taking care to incorporate all ingredients fully without overworking the mixture. This harmonious blend creates the espresso-infused flavor that defines your dessert.
Step 8: Pour the Filling
Once your filling is ready, carefully pour it over the cooled crust in the springform pan. Using a spatula, spread the cheesecake filling evenly to ensure consistent baking. This step enhances the presentation and ensures that every slice of your Espresso Cheesecake Dessert is delightful.
Step 9: Prepare the Water Bath
Wrap the outside of the springform pan in aluminum foil to prevent water from seeping in. Place the pan inside a larger baking dish and fill it with hot water until it reaches halfway up the sides of the springform pan. This water bath is essential for maintaining moisture and preventing cracks in your cheesecake.
Step 10: Bake the Cheesecake
Transfer the cheesecake to the preheated oven and bake for 55-65 minutes, or until the edges are set and the center jiggles slightly. Keep an eye on it, as the perfect balance of heat and moisture will ensure a creamy texture in your Espresso Cheesecake Dessert.
Step 11: Cool Gradually
After baking, turn off the oven and leave the cheesecake inside with the door cracked open for about 1 hour. This gradual cooling process helps prevent the sudden temperature drop, which can cause cracks as it cools. Once cooled, remove it from the oven bath and let it reach room temperature.
Step 12: Chill Thoroughly
Once at room temperature, cover the cheesecake and place it in the refrigerator for at least 4 hours, preferably overnight. Chilling the cheesecake allows it to set perfectly and meld the flavors together, enhancing every bite of your Espresso Cheesecake Dessert.
Step 13: Prepare the Ganache
To create the ganache, heat heavy cream in a saucepan until it simmers. Remove from heat, add the chopped semi-sweet chocolate, and let it sit for a few minutes. This will allow the chocolate to melt beautifully, creating a rich, glossy ganache.
Step 14: Finish the Ganache
Stir the ganache until smooth and incorporate the brewed espresso, mixing until fully combined. This extra espresso heightens the flavor of your ganache, perfectly complementing the espresso cheesecake. Set aside to cool slightly before pouring.
Step 15: Top the Cheesecake
Once the cheesecake is chilled and the ganache has cooled, pour it over the top, spreading it evenly across the surface. This layer of glossy chocolate will not only enhance the flavor but also serve as an exquisite finishing touch on your Espresso Cheesecake Dessert.
Step 16: Final Chill
Return the finished cheesecake to the refrigerator once more, allowing the ganache to set for about 30 minutes. This final chilling step ensures that your dessert is sliceable and presents beautifully when served at your next gathering or family dinner.

What to Serve with Rich and Creamy Espresso Cheesecake
Imagine the perfect gathering where decadent desserts take the spotlight, and your taste buds are treated to a delightful adventure.
- Savory Cheese Platter: A variety of cheeses, like sharp cheddar or creamy brie, offer a delightful contrast to the sweetness of the cheesecake, enhancing the overall flavor experience.
- Fresh Berries: Strawberries, raspberries, or blueberries add a burst of freshness and a pop of color, beautifully balancing the rich dessert. These tangy treats can cleanse the palate after each indulgent bite.
- Chocolate-Covered Espresso Beans: For coffee enthusiasts, these add a fun, crunchy element that complements the espresso notes in the cheesecake while providing a little extra caffeine kick.
- Whipped Cream: A light dollop of whipped cream on top creates a luscious, airy finish, enhancing the already creamy texture of the cheesecake with an extra touch of sweetness.
- Vanilla Ice Cream: The classic combo of warm espresso flavors with cool, creamy vanilla ice cream creates a luxurious dessert experience that’s hard to resist.
- Mint Tea: A soothing peppermint or green tea offers a refreshing contrast to the dessert’s richness and allows for a calm, enjoyable dining experience.
- Chocolate Ganache Tarts: Create a stunning dessert duo with mini chocolate tarts that echo the indulgence of your espresso cheesecake while adding variation in texture.
- Pour-Over Coffee: For the ultimate coffee lover’s pairing, a perfectly brewed pour-over coffee can enhance the flavors of both your drink and dessert, making every bite and sip memorable.
Espresso Cheesecake Dessert Variations
Feel free to elevate your Espresso Cheesecake Dessert with these delightful twists that can suit any palate and occasion!
- Dairy-Free: Substitute heavy cream and cream cheese with coconut cream and vegan cream cheese for a luscious, dairy-free alternative.
- Chocolate Swirl: Add melted dark chocolate to the filling before pouring over the crust for a decadent chocolate-espresso combo that’s irresistible.
- Nutty Crunch: Fold in crushed walnuts or hazelnuts into the crust for a delightful texture contrast and nutty flavor that complements the espresso beautifully.
- Liqueur Infusion: For an adult twist, incorporate a splash of coffee liqueur into the filling for an extra depth of flavor that jazzes up your dessert.
- Savory Spice: Add a pinch of cayenne pepper or cinnamon to the filling for a gentle heat that balances the sweetness perfectly, creating a bold flavor profile.
- Fruit Topping: Top your cheesecake with fresh berries or a raspberry sauce for a tart contrast that brightens up the rich flavors.
- Mocha Variation: Replace a portion of the brewed espresso with brewed coffee for a milder coffee flavor that still delights the senses.
- Citrus Zing: Add the zest of an orange or lemon to the filling for a bright, refreshing contrast to the rich, creamy base, making every bite a bit livelier.
Inspirations for more coffee-infused flavors can also be found in my delightful Sugar Shaken Espresso and the sinfully decadent Chocolate Raspberry Cheesecake. Enjoy creating your unique version of this Espresso Cheesecake Dessert!
Expert Tips for Espresso Cheesecake Dessert
-
Use Room Temperature Ingredients: Ensure all your ingredients, especially cream cheese and eggs, are at room temperature for a smoother batter that prevents lumps in your Espresso Cheesecake Dessert.
-
Mind the Water Bath: Don’t skip the water bath! It keeps the cheesecake moist and helps prevent cracks during baking, ensuring a beautifully smooth finish.
-
Avoid Over-Mixing: After adding the eggs, mix just until combined. Over-mixing can whip in excess air, causing your cheesecake to crack while baking.
-
Chill Overnight: For the best flavor and texture, let your cheesecake chill overnight. It allows the flavors to meld beautifully, resulting in a richer Espresso Cheesecake Dessert.
-
Ganache Consistency: Allow your ganache to cool slightly before adding it to the cheesecake. This way, it won’t melt the filling and will create a lovely, glossy finish.
Storage Tips for Espresso Cheesecake Dessert
-
Room Temperature: It’s best to avoid leaving the Espresso Cheesecake Dessert at room temperature for more than 2 hours to prevent spoilage.
-
Fridge: Store leftover cheesecake in an airtight container in the refrigerator for up to 5 days. This will help maintain its creamy texture and rich flavors.
-
Freezer: For longer storage, freeze your cheesecake by wrapping it tightly in plastic wrap and aluminum foil. It can last for up to 2 months; just thaw in the refrigerator before serving.
-
Reheating: If you prefer to enjoy your cheesecake slightly warm, let it sit at room temperature for about 15 minutes before slicing and serving.
Make Ahead Options
These Espresso Cheesecake Desserts are perfect for meal prep enthusiasts, allowing you to savor rich flavors without the last-minute rush! You can prepare the cheesecake filling and pour it over the crust up to 24 hours in advance, simply covering it tightly with plastic wrap to maintain its creamy texture. Additionally, the ganache can be made ahead and stored in the refrigerator for up to 3 days; just allow it to reach room temperature before pouring over the cheesecake. When you’re ready to serve, chill the cheesecake for a final 30 minutes to set the ganache, and you’ll indulge in a stunning dessert that tastes just as delicious as if made fresh!

Espresso Cheesecake Dessert Recipe FAQs
What should I look for when selecting ingredients like cream cheese and eggs?
Absolutely! For the best results, choose full-fat cream cheese as it provides a rich, creamy texture that enhances the cheesecake’s indulgence. Make sure your eggs are fresh; a quick check is to see if they sink in water—if they float, they’re past their prime.
How should I store my leftover Espresso Cheesecake Dessert?
You should store any leftovers in an airtight container in the refrigerator for up to 5 days. This keeps the cheesecake fresh and maintains its creamy consistency. If you have a lot left, you can also wrap it tightly in plastic wrap and store it in the freezer for up to 2 months—just remember to thaw it overnight in the fridge before serving!
Can I freeze my Espresso Cheesecake Dessert? If so, how?
Absolutely! To freeze your cheesecake, allow it to cool completely after baking and chilling. Then, wrap it tightly in plastic wrap, ensuring no air pockets remain. Next, wrap it in aluminum foil for added protection against freezer burn. Label it with the date, and it will be good for up to 2 months. When you’re ready to enjoy it again, simply transfer it to the refrigerator to thaw overnight—easy as pie!
Why did my cheesecake crack while baking?
Very common, but don’t worry! Cracking usually occurs from over-mixing, which adds excess air into the batter, or from sudden temperature changes. To avoid this, mix your ingredients gently after adding eggs, and use a water bath during baking to maintain consistent moisture and temperature. If cracks do occur, a dollop of whipped cream can hide them wonderfully!
Are there any dietary considerations I should keep in mind?
Yes, indeed! For those who are lactose intolerant or following a vegan diet, you can substitute cream cheese with a vegan alternative and use a flax egg instead of regular eggs. Be sure to check your chocolate and whipped cream for any dairy content if you’re catering to a dairy-free or vegan audience.
Can pets have a taste of this dessert?
While many people think sharing is caring, it’s best to keep this Espresso Cheesecake Dessert away from pets. The chocolate and caffeine from espresso can be harmful to dogs and cats. Instead, consider whipping up a pet-friendly treat to enjoy together!

Decadent Espresso Cheesecake Dessert You Must Try Today
Ingredients
Equipment
Method
- Preheat your oven to 350°F (175°C).
- In a mixing bowl, combine the graham cracker crumbs, melted unsalted butter, granulated sugar, and optional ground cinnamon.
- Place the crust in the preheated oven and bake for approximately 10 minutes.
- In a clean mixing bowl, beat the softened cream cheese on medium speed for 2-3 minutes until smooth.
- Incorporate the granulated sugar and vanilla extract into the cream cheese mixture.
- Add the eggs one at a time, blending on low speed after each addition.
- Gently fold in the sour cream, heavy cream, brewed espresso, and all-purpose flour into the filling.
- Carefully pour the filling over the cooled crust in the springform pan.
- Wrap the outside of the springform pan in aluminum foil and place it in a larger baking dish filled with hot water.
- Transfer the cheesecake to the oven and bake for 55-65 minutes.
- After baking, turn off the oven and leave the cheesecake inside with the door cracked open for about 1 hour.
- Once at room temperature, cover the cheesecake and place it in the refrigerator for at least 4 hours, preferably overnight.
- To create the ganache, heat heavy cream until it simmers and add the chopped chocolate.
- Stir the ganache until smooth and incorporate the brewed espresso.
- Once the cheesecake is chilled, pour the ganache over the top.
- Return the finished cheesecake to the refrigerator, allowing the ganache to set for about 30 minutes.

Leave a Reply