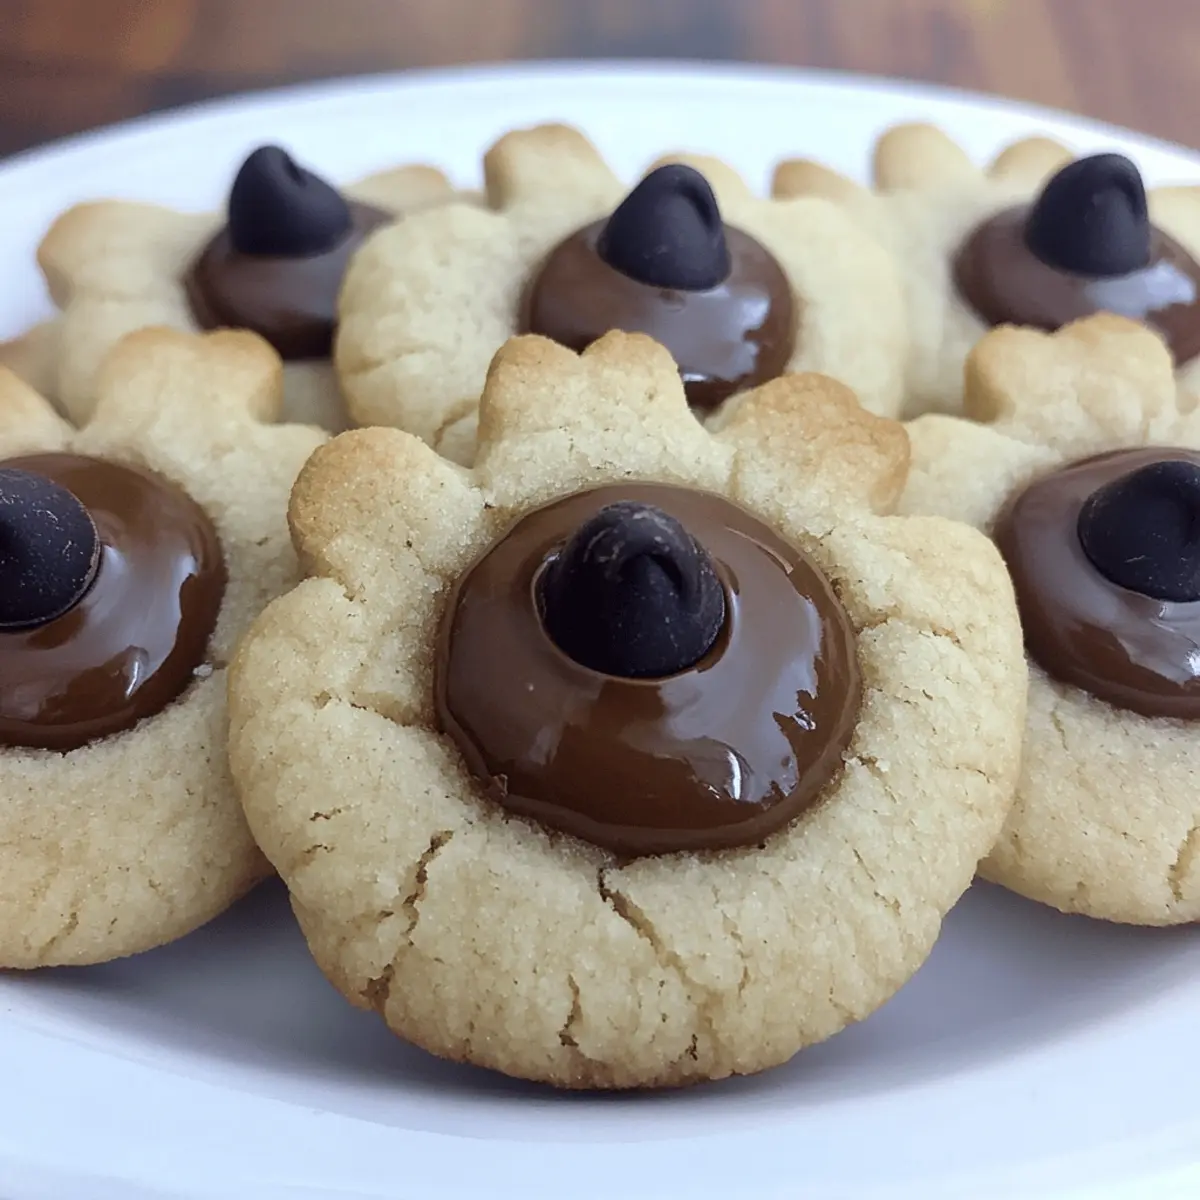
Standing in my kitchen, I couldn’t help but smile as the sweet scent of freshly baked cookies wafted through the air. Today, I’m thrilled to share my delicious recipe for Bear Paw Cookies—these fun, kid-friendly treats combine a soft, chewy cookie base with delightful chocolate decorations that kids (and adults!) just adore. Not only are these cookies incredibly easy to make, but they also promise to bring everyone together, whether you’re crafting them as a weekend project or for a festive gathering. The charm of their paw-shaped design makes them an instant favorite, ensuring that family and friends will be begging for seconds. Are you ready to whisk up some joy in your kitchen? Let’s dive into this delightful recipe!

Why Are These Bear Paw Cookies Special?
Fun Designs: The playful paw shape not only excites kids but also brings out their creativity when decorating.
Easy to Make: With just a few simple ingredients and straightforward steps, these cookies come together effortlessly. Even beginner bakers will succeed!
Crowd-Pleasing: Whether for a family gathering or a snack at home, these cookies are sure to become a beloved favorite.
Perfect for Bonding: Baking together can be a cherished family activity, making these cookies a great way to create lasting memories.
Versatile Options: Feel free to experiment with different chocolate types or add sprinkles for festive occasions. You might also love making Cinnamon Roll Cookies for a delightful twist!
Whip up these Bear Paw Cookies and watch smiles light up around the table!
Bear Paw Cookie Ingredients
For the Dough
• Unsalted Butter – Ensure it’s softened to room temperature for easier mixing.
• Sugar – Provides sweetness and contributes to the soft texture of these Bear Paw Cookies.
• Egg – Binds the ingredients together, adding moisture and structure.
• Vanilla Extract – Enhances the flavor; opt for pure vanilla for the best results.
• All-Purpose Flour – The base for the cookies; measure correctly for the perfect dough.
• Baking Powder – Helps the cookies rise slightly for that ideal chewy texture.
• Baking Soda – Works with baking powder to ensure proper lift; don’t skip this ingredient.
• Salt – Balances the sweetness, enhancing the overall flavor of the cookies.
For the Decoration
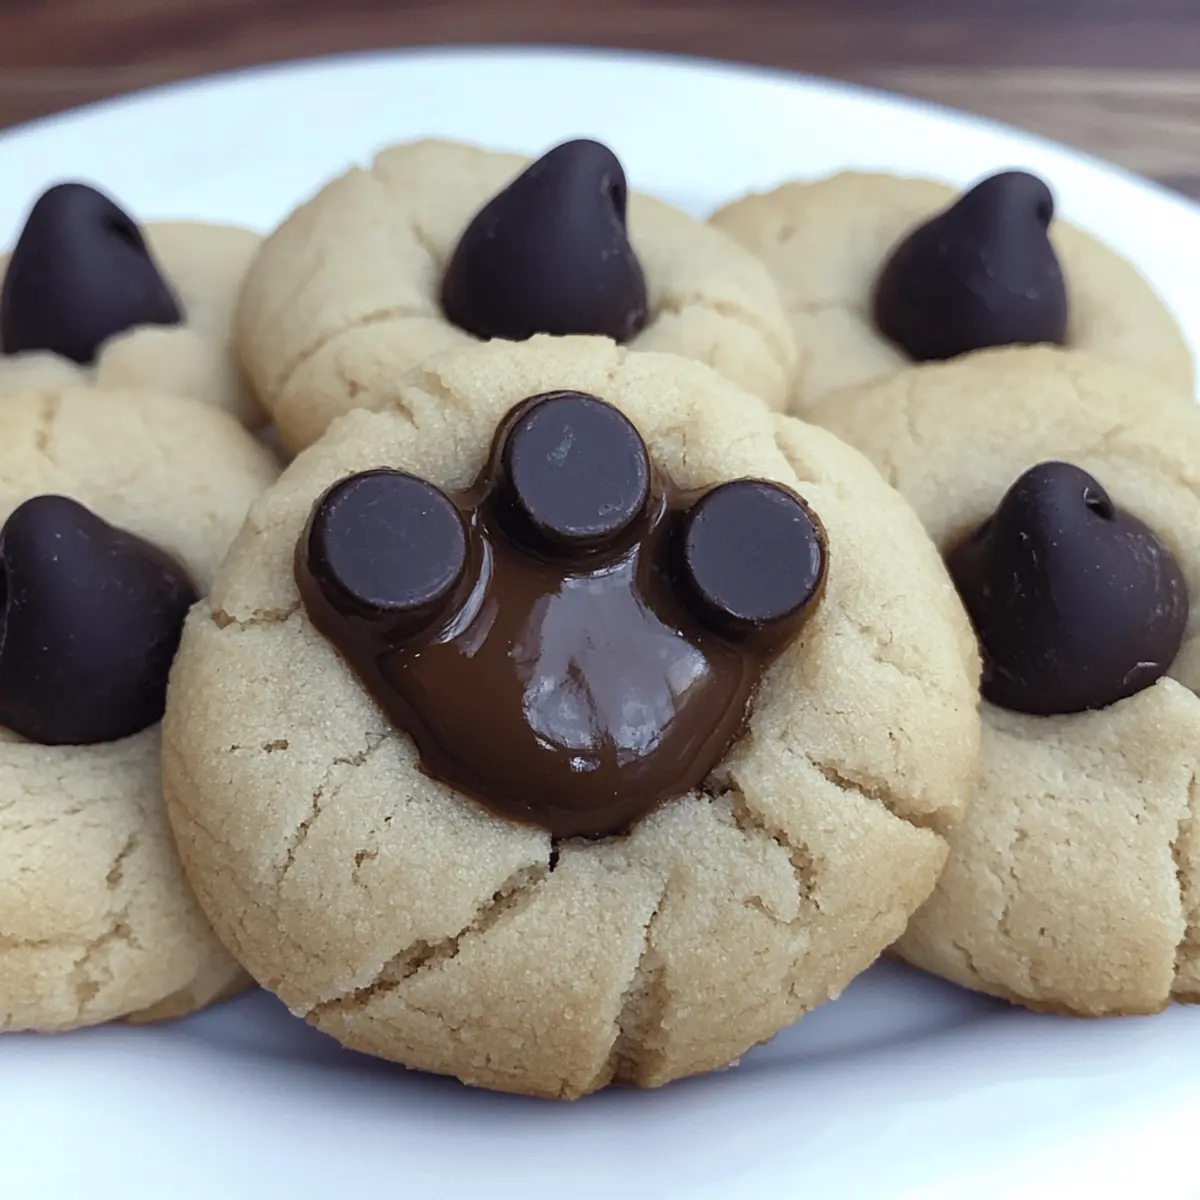
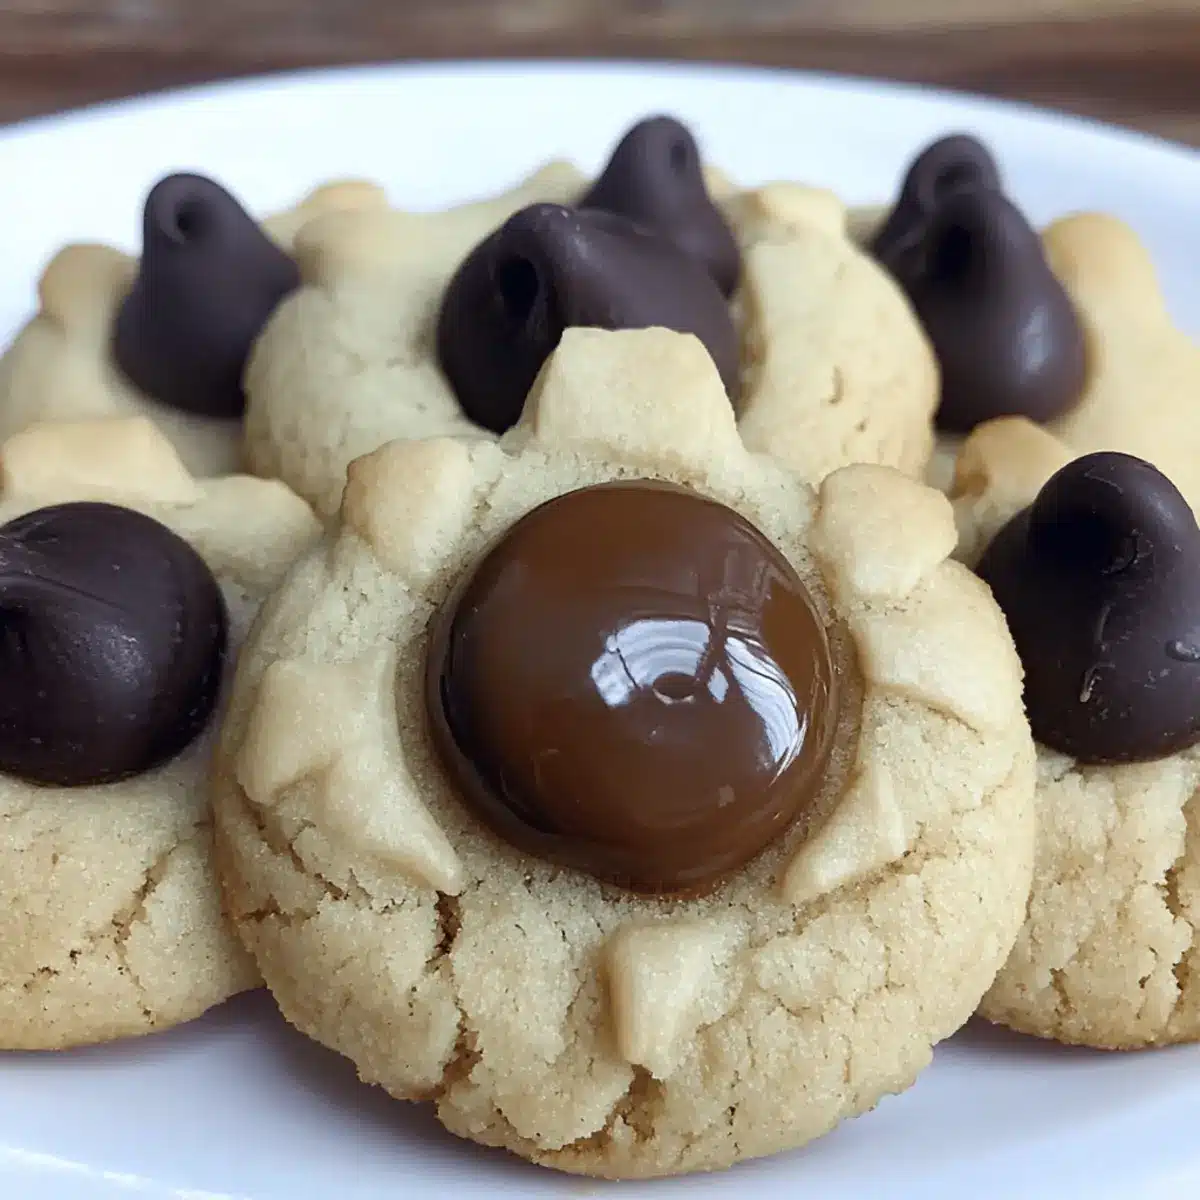
• Ghirardelli Dark Chocolate Melting Wafers – Used for the cute paw pad design; Hickory’s Kisses can be a great substitute.
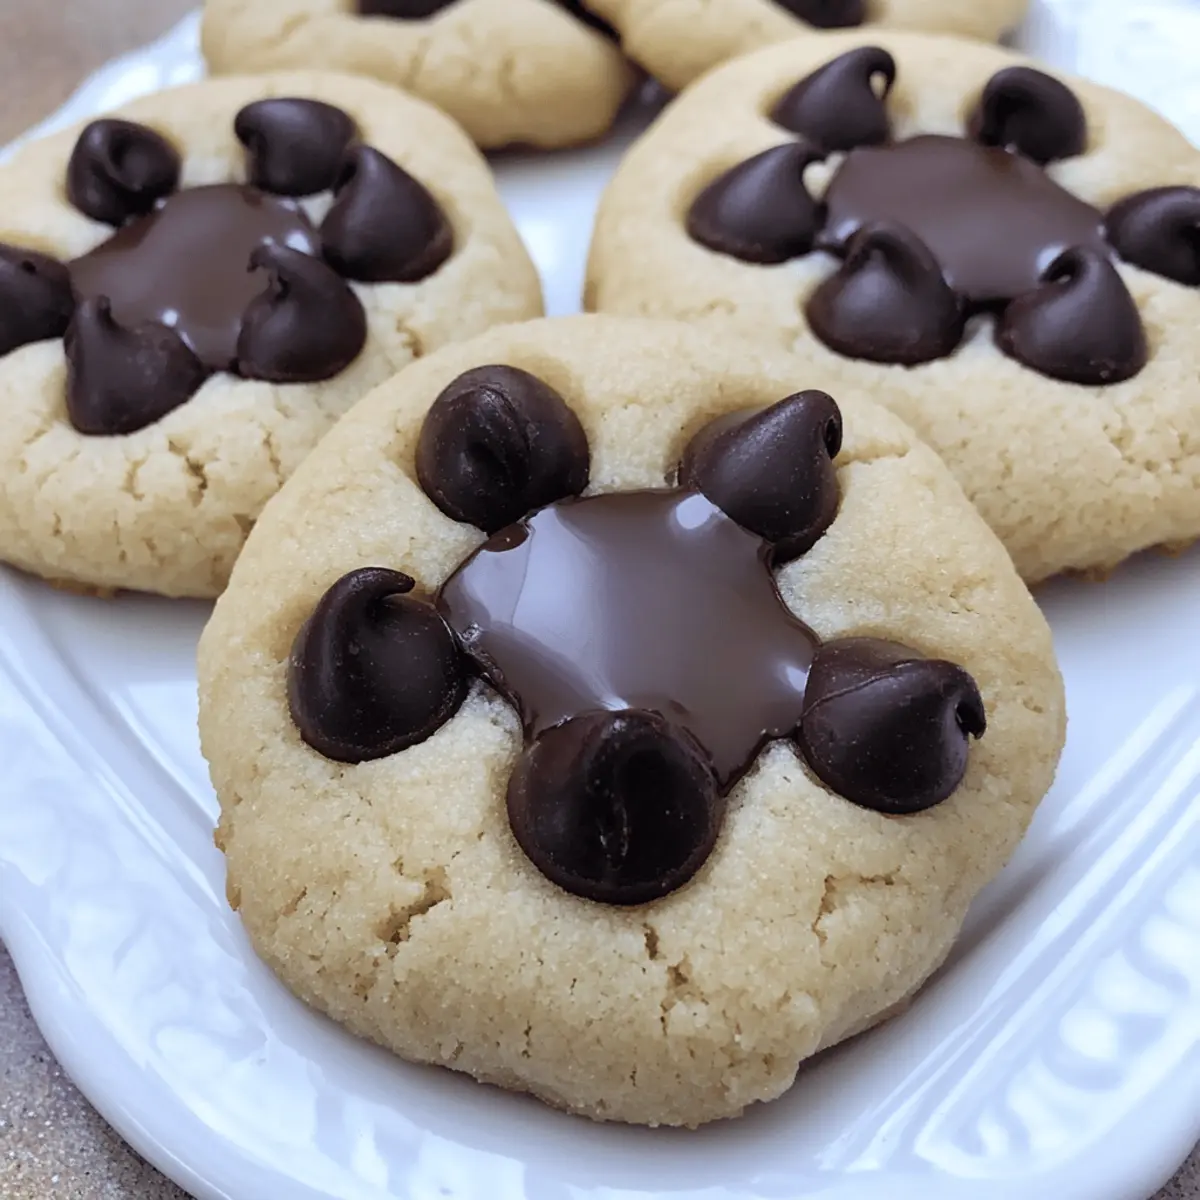
• Semi-Sweet Chocolate Chips – Placed on top for “claws”; feel free to try alternative chocolate varieties!
With these ingredients, you’re just a step away from baking these delightful Bear Paw Cookies that will bring joy to your family and friends!
Step‑by‑Step Instructions for Bear Paw Cookies
Step 1: Preheat the Oven
Start by preheating your oven to 350°F (175°C). This ensures the Bear Paw Cookies bake evenly and develop that lovely soft texture. While the oven heats, prepare your baking sheets by lining them with parchment paper or a silicone baking mat, which will prevent the cookies from sticking.
Step 2: Cream the Butter and Sugar
In a stand mixer, combine the softened unsalted butter and sugar. Beat them together on medium speed until the mixture is light and fluffy, about 2-3 minutes. The key here is to incorporate air, which will help your cookies rise beautifully. Once fluffy, add in the egg and vanilla extract, mixing until just combined.
Step 3: Combine Dry Ingredients
In a separate bowl, whisk together the baking powder, baking soda, salt, and all-purpose flour. Gradually add this dry mixture to your butter and sugar blend, mixing on low speed just until a soft dough forms. The dough should be slightly sticky but manageable. This step is crucial for achieving the perfect Bear Paw Cookies!
Step 4: Shape the Cookies
Using a small ice cream scoop, portion out the dough and roll each scoop into a ball. If desired, roll the balls in granulated sugar for a sparkling finish. Place them on the prepared baking sheet, making sure to space them about 2 inches apart to allow for spreading as they bake.
Step 5: Bake the Cookies
Slide the baking sheets into your preheated oven and bake the cookies for 9-12 minutes. Keep an eye on them; you want the edges to be lightly golden while the centers remain soft. They will continue to cook slightly after baking, so don’t overdo it!
Step 6: Add Chocolate Decorations
Once baked, remove the cookies from the oven and immediately place a Ghirardelli dark chocolate melting wafer in the center of each cookie for the paw pad. While the cookies are still warm, gently press three semi-sweet chocolate chips above each wafer to create the bear claws. This adds a fun touch that kids will love!
Step 7: Cool and Serve
Allow your Bear Paw Cookies to cool on the baking sheet for about 30 minutes. This resting time helps the chocolate set and the cookies firm up nicely. Once cooled, they’re ready to be enjoyed; serve them with a glass of milk or hot cocoa for a delightful treat that everyone will adore!

Expert Tips for Perfect Bear Paw Cookies
-
Use Room Temperature Butter: Ensure your unsalted butter is softened to room temperature for easier mixing and a better texture in your Bear Paw Cookies.
-
Avoid Overworking Dough: When combining the dry ingredients, mix just until a soft dough forms to keep your cookies from becoming tough.
-
Check Baking Time Closely: Ovens vary, so start checking your cookies at the 9-minute mark. Remove them once the edges are lightly golden for a soft center.
-
Decorate While Warm: Quickly place the chocolate wafer and chips on the cookies while they’re still warm; this allows them to melt slightly and adhere better.
-
Use Quality Chocolate: For the best flavor and appearance, opt for high-quality chocolate melting wafers and chips in your Bear Paw Cookies.
What to Serve with Bear Paw Cookies
These delightful cookies not only brighten up snack time but also pair beautifully with a variety of treats and beverages.
- Cold Milk: The classic pairing with cookies, cold milk complements the sweetness of Bear Paw Cookies while enhancing their rich flavors.
- Hot Cocoa: For a cozy experience, serve these cookies with a warm mug of hot cocoa. The chocolate goodness creates a comforting combination.
- Fresh Fruit Salad: A vibrant fruit salad adds a refreshing contrast to the sweetness of the cookies, offering a burst of freshness with every bite.
- Ice Cream: Pair these cookies with a scoop of vanilla or chocolate ice cream. The cold, creamy texture is a fun contrast to the warm cookies.
- Nutty Granola Bars: The crunchy texture of nutty granola bars provides a delightful contrast, making for a great afternoon snack duo.
- Chocolate-Covered Pretzels: The salty sweetness of chocolate-covered pretzels adds another layer of flavor excitement, perfect for a fun snack board.
- Coffee: Enjoy your cookies with a good cup of coffee. The rich, roasted flavors elevate the chocolate while adding a gourmet touch to your snack time.
- Brownies: For a sweet treat showdown, serve these cookies along with fudgy brownies for a classic dessert display that everyone will love.
Whichever you choose, serving Bear Paw Cookies with these delightful pairings will surely create a memorable experience!
Make Ahead Options
These Bear Paw Cookies are a great choice for meal prep, saving you time during busy weeks! You can prepare the cookie dough up to 3 days in advance; simply wrap it tightly in plastic wrap or store it in an airtight container in the refrigerator. This keeps the dough fresh and prevents browning. When you’re ready to bake, just scoop and shape the cookies before placing them in the preheated oven. If you want to freeze the dough, it can last for up to 3 months—just thaw it overnight in the fridge before baking. The final touch is adding melted chocolate and chocolate chips once out of the oven, ensuring they look and taste just as delightful!
Bear Paw Cookies Variations & Substitutions
Feel free to unleash your creativity and customize these cookies based on your family’s tastes!
- Chocolate Choices: Experiment with milk, dark, or white chocolate for decorating the paw pads to suit your preferences.
- Nutty Delight: Add chopped nuts like walnuts or pecans to the dough for extra crunch and flavor.
- Gluten-Free: Substitute with a gluten-free flour blend to make these Bear Paw Cookies suitable for gluten-sensitive friends.
- Fruity Twist: Incorporate dried fruits such as cranberries or cherries into the dough for a delightful fruity texture.
- Festive Sprinkles: Top with colorful sprinkles for birthdays or holidays, adding a joyful pop of color that the kids will love!
- Spicy Kick: Mix in a pinch of cinnamon or nutmeg to the dough for a warm, festive flavor that brings comfort to every bite.
- Candy Crush: Crushed candy canes or toffee bits can be sprinkled on top for a seasonal touch and delightful crunch.
When exploring these variations, you’ll find delightful surprises that elevate your baking experience. And while you’re at it, I also recommend trying out Cinnamon Roll Cookies or Chocolate Chip Cookies for more fun-filled cookie adventures!
Storage Tips for Bear Paw Cookies
Room Temperature: Store your Bear Paw Cookies in an airtight container at room temperature for up to one week to maintain their freshness and chewy texture.
Fridge: If you prefer, you can keep them in the fridge for about 10 days; however, let them come to room temperature before serving for the best flavor.
Freezer: For longer storage, freeze the cookies in a single layer on a baking sheet, then transfer them to a freezer-safe bag. They’ll keep well for up to three months.
Reheating: To enjoy warm cookies, reheat in the oven at 300°F (150°C) for about 5 minutes. This will help soften the chocolate and restore some of the freshly baked goodness.

Bear Paw Cookies Recipe FAQs
How do I choose ripe ingredients for Bear Paw Cookies?
Absolutely! For the best Bear Paw Cookies, it’s essential to use fresh ingredients. Ensure your unsalted butter is softened to room temperature before mixing, as this helps create a fluffy texture. When selecting eggs, choose ones that have no cracks and are within the expiration date for optimum freshness. For the chocolate melting wafers and chips, look for high-quality brands to enhance the flavor of your cookies.
What’s the best way to store Bear Paw Cookies?
To keep your Bear Paw Cookies fresh, store them in an airtight container at room temperature for up to one week. This helps maintain their delicious chewy texture. Alternatively, you can refrigerate them in an airtight container for around 10 days—just allow them to reach room temperature before serving for the best flavor.
Can I freeze Bear Paw Cookies for later?
Absolutely! Freezing your Bear Paw Cookies is a great option for future cravings. First, arrange the cookies in a single layer on a baking sheet and freeze them for about 1-2 hours until solid. Once frozen, transfer them to a freezer-safe bag, making sure to remove as much air as possible to prevent freezer burn. They can be stored this way for up to three months. To enjoy, simply thaw at room temperature or reheat in the oven at 300°F (150°C) for about 5 minutes. This will revive their freshly baked goodness!
What are some common mistakes to avoid when making Bear Paw Cookies?
One of the most common mistakes is overworking the dough, which can make your cookies tough instead of soft and chewy. Mix the dry ingredients just until combined for the best results. Additionally, be mindful of your baking time—oven temperatures vary, so start checking at 9 minutes. Remove the cookies when the edges are lightly golden and the centers remain soft for that delightful texture.
Are Bear Paw Cookies suitable for kids with allergies?
Great question! Bear Paw Cookies contain common allergens such as gluten (from flour), dairy (from butter), and eggs. If you’re baking for someone with allergies, consider using gluten-free flour, dairy-free butter, and egg substitutes like applesauce or a flax egg (1 tablespoon of ground flaxseed mixed with 2.5 tablespoons of water). Always be sure to check labels for any specific allergen concerns with the chocolate products you choose.
What’s the nutritional information for Bear Paw Cookies?
Each Bear Paw Cookie contains approximately 173 calories, with 7g of fat and 23g of carbohydrates. If you’re mindful of dietary goals, enjoy these treats in moderation. You can also explore alternative sweeteners or whole grain flours for a guilt-free baking experience!

Bear Paw Cookies: Delightful Treats for Family Fun
Ingredients
Equipment
Method
- Preheat your oven to 350°F (175°C) and prepare baking sheets with parchment paper.
- In a stand mixer, cream together the softened unsalted butter and sugar until light and fluffy.
- Combine baking powder, baking soda, salt, and flour in a separate bowl, then gradually add to the butter mixture.
- Portion out the dough using a small ice cream scoop, rolling each into a ball.
- Bake in the preheated oven for 9-12 minutes until edges are lightly golden.
- Add a Ghirardelli wafer to the center of each cookie and press three chocolate chips above for claws.
- Cool cookies on the baking sheet for about 30 minutes before serving.

Leave a Reply