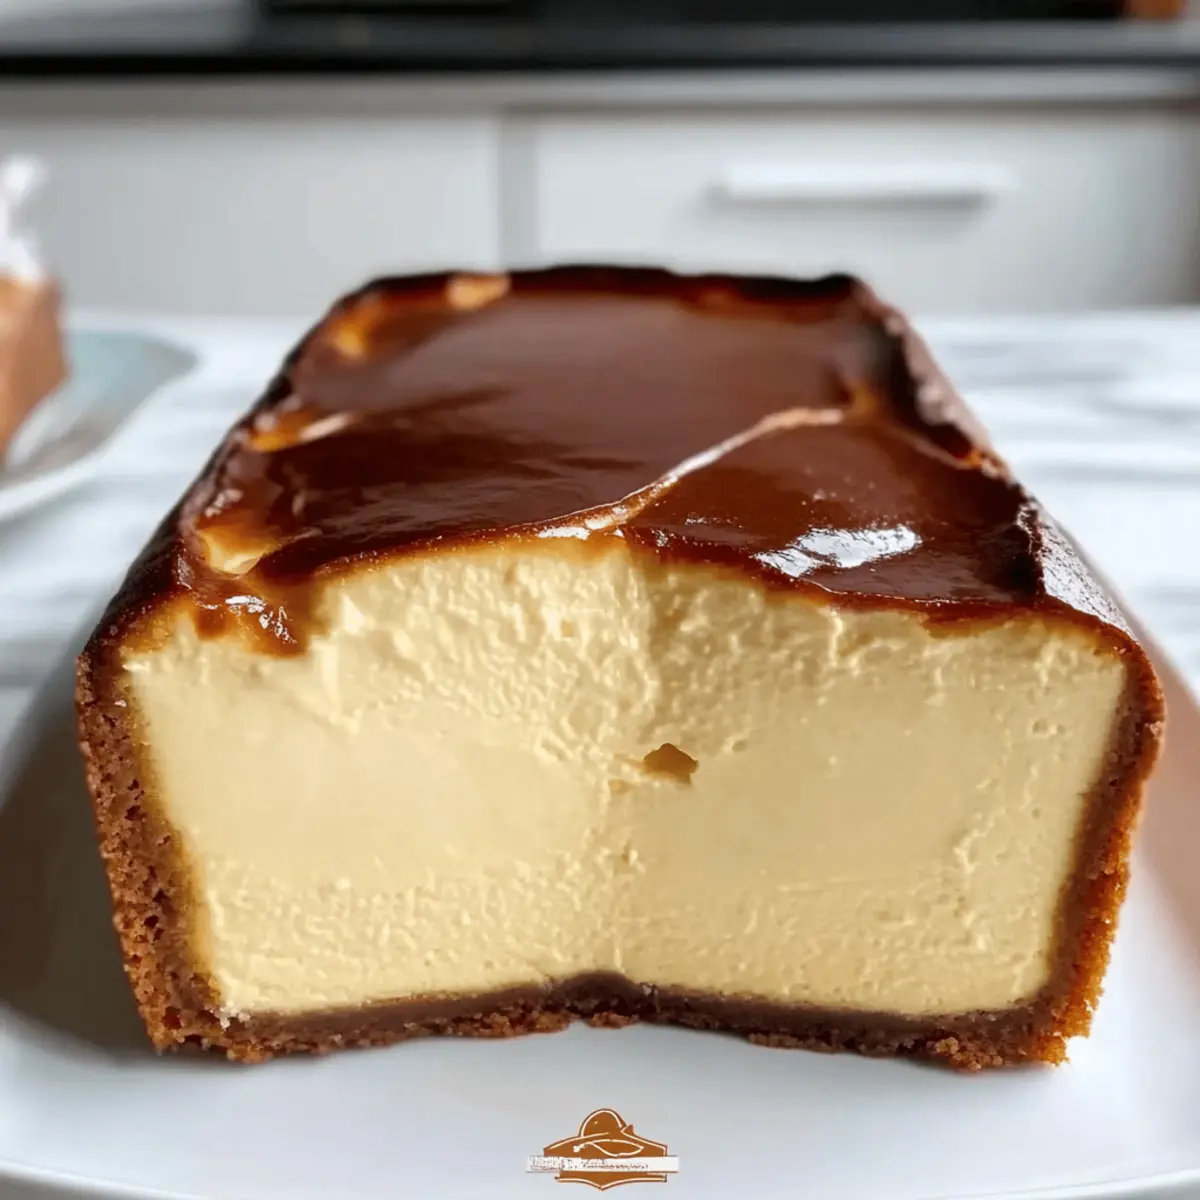
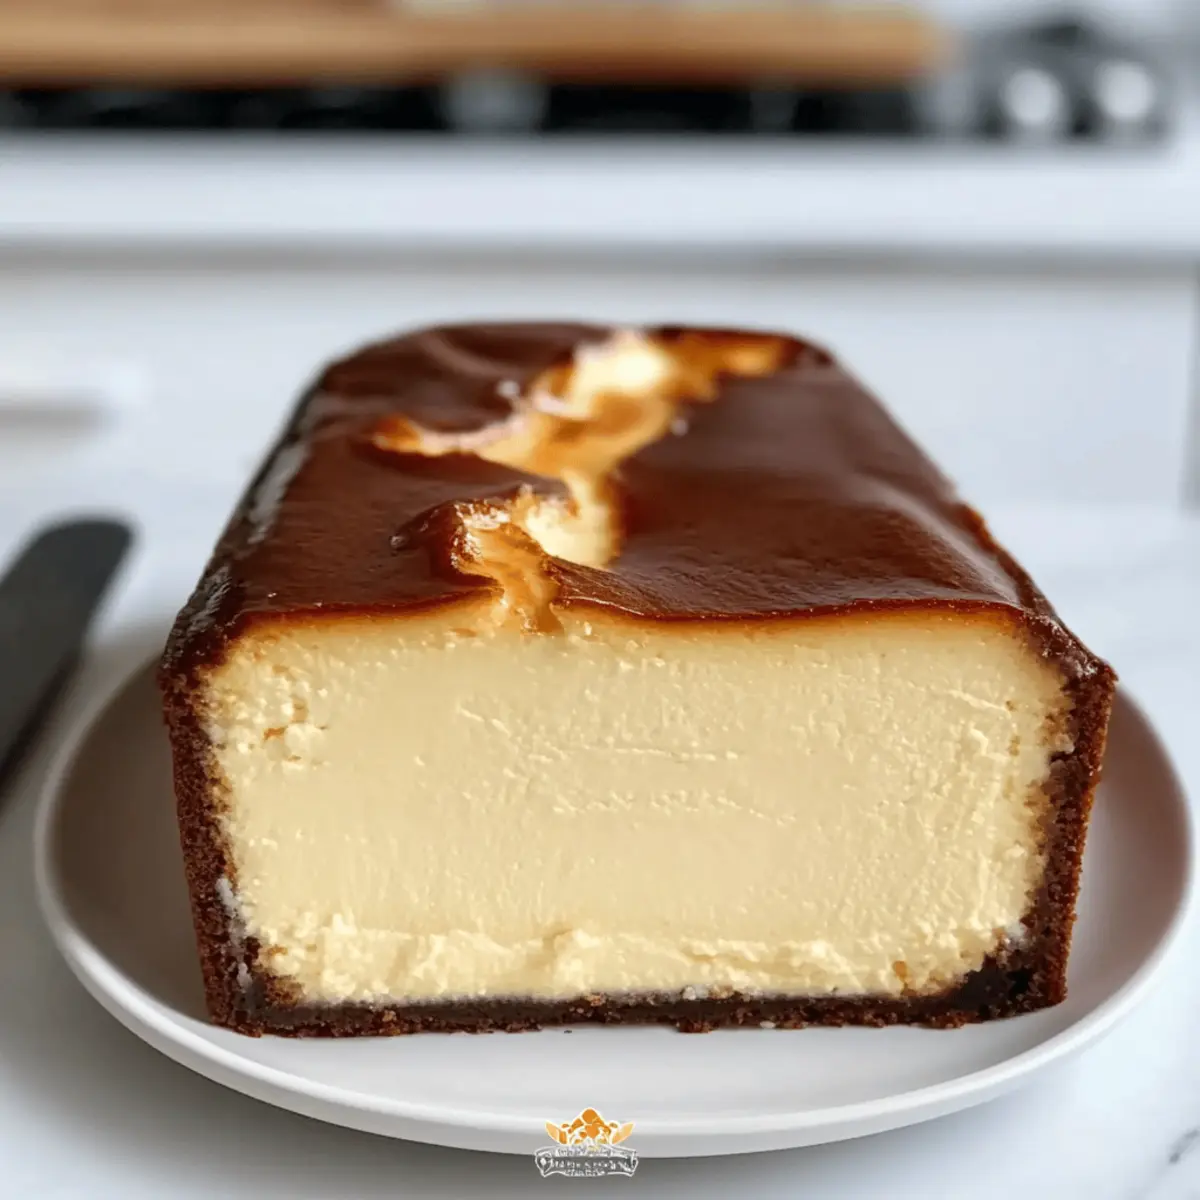
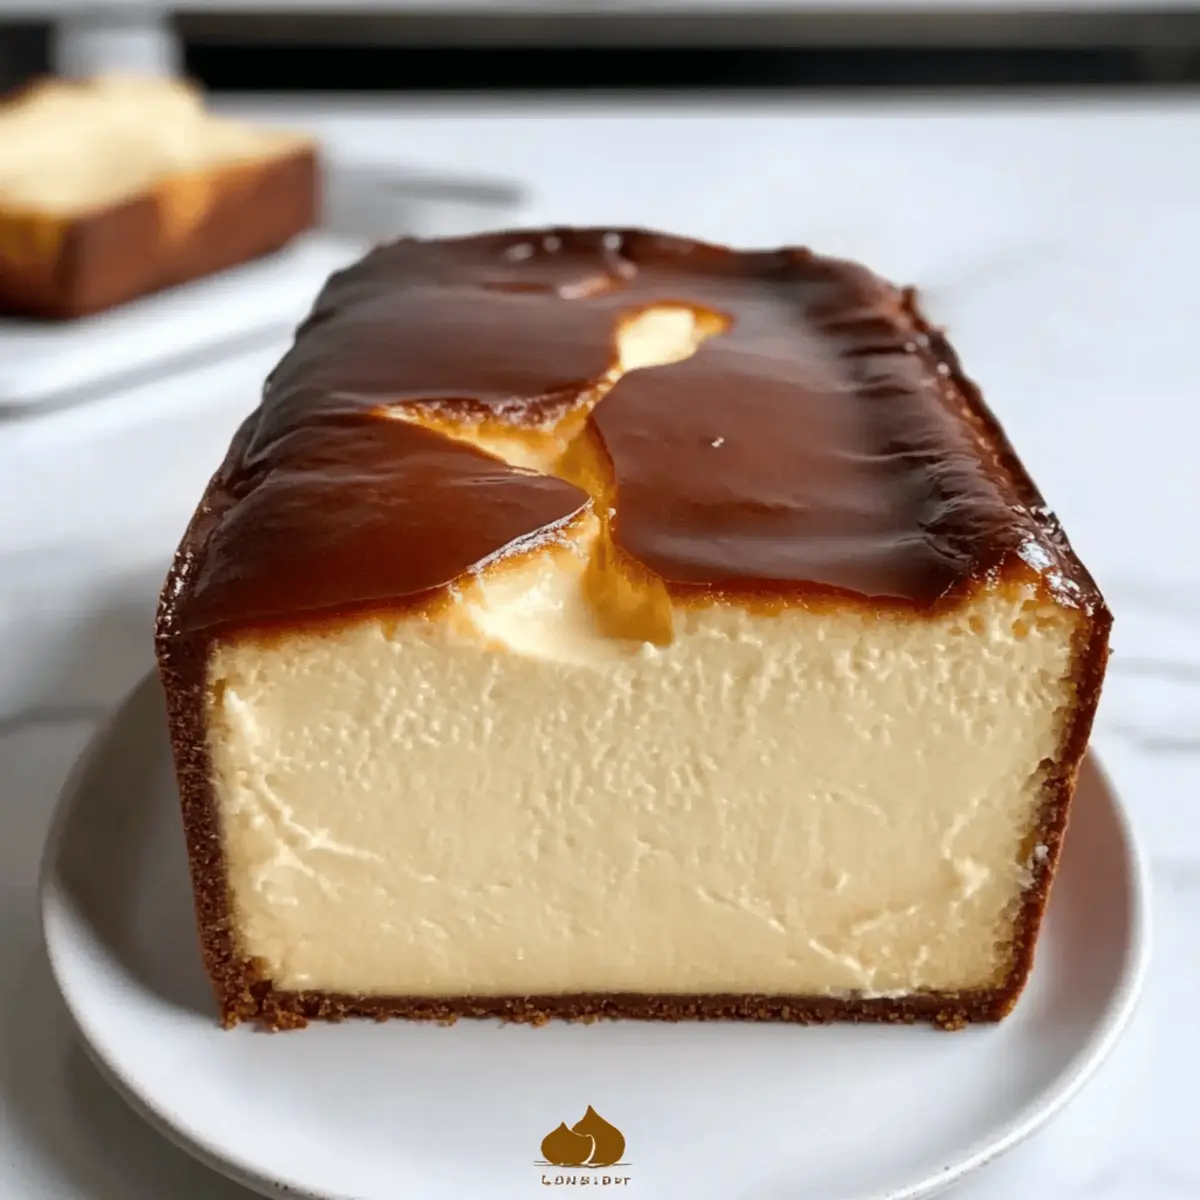
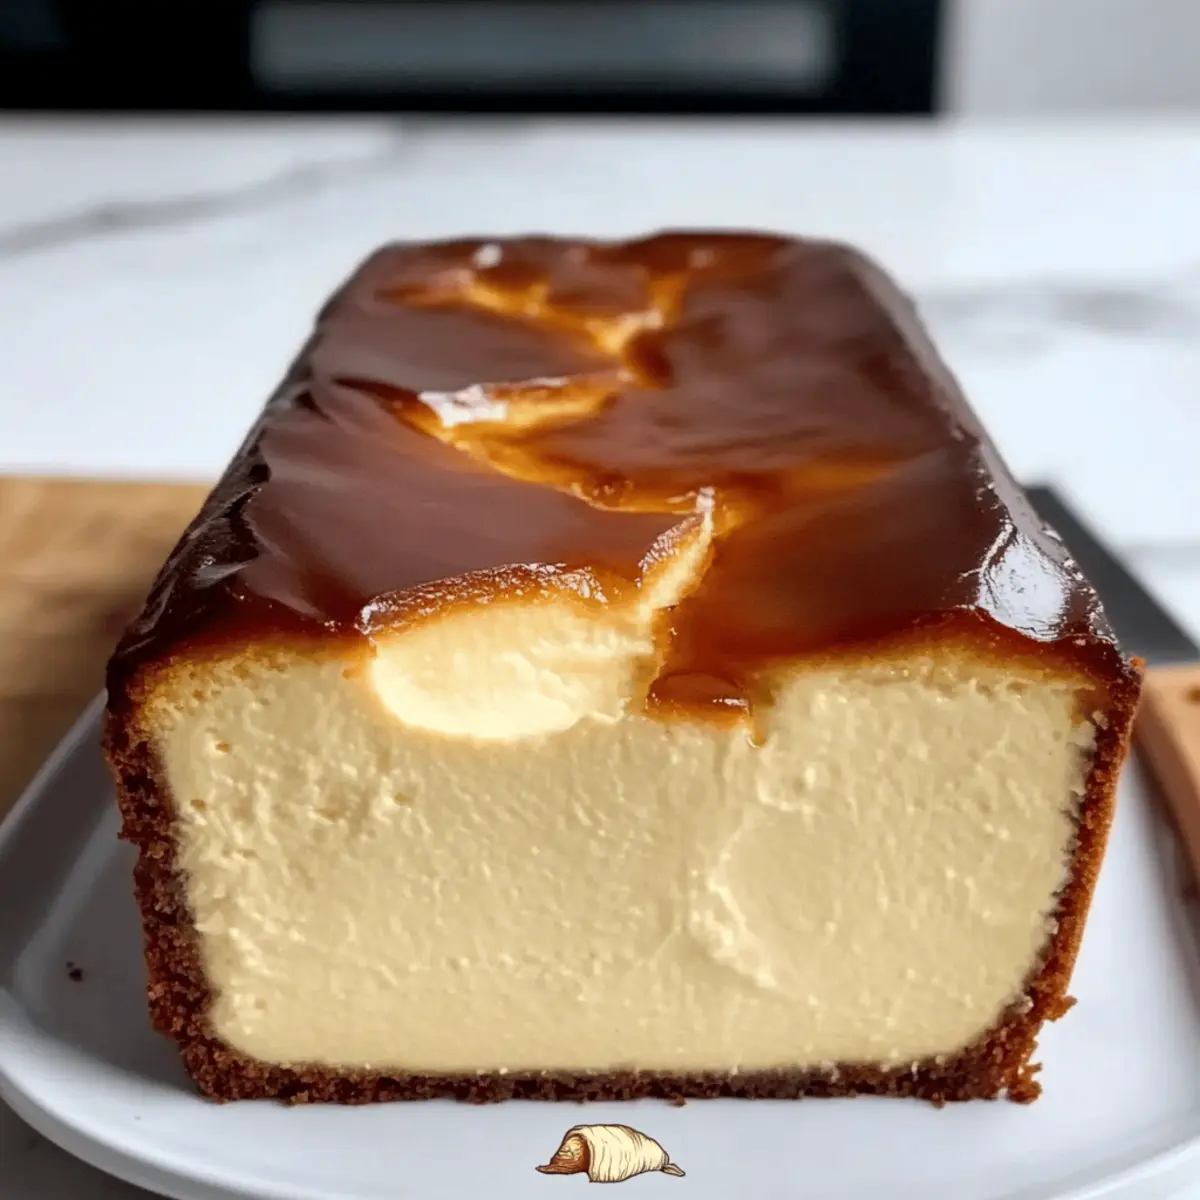
As I pulled this gorgeous Burnt Basque Cheesecake from the oven, a delightful waft of caramelized sweetness filled my kitchen, instantly sparking joy. This creamy masterpiece, crafted in a loaf pan, is not just easy to make but also a perfect solution for those moments when cravings strike but an entire cheesecake feels overwhelming. With its crustless design, each slice reveals a luxurious custard-like center that harmonizes perfectly with that beautifully charred top. Whether you’re hosting a cozy gathering or just seeking a sweet indulgence for yourself, this small-batch dessert promises to be both a showstopper and a satisfying treat. Curious about how to recreate this slice of bliss? Let’s dive into the recipe!

Why is this cheesecake a must-try?
Simplicity, this Burnt Basque Cheesecake in a Loaf Pan is a breeze to whip up, requiring only a handful of ingredients. Decadent flavor shines through every slice with its creamy texture complemented by that signature burnt top. Small-batch elegance means you can savor it without leftovers weighing you down. Versatile toppings let you customize each serving—think fresh berries or a drizzle of caramel! Perfect for gatherings, this dessert will impress guests while keeping your kitchen time minimal. Ready to embrace homemade decadence? Try it out and taste the delight!
Burnt Basque Cheesecake Ingredients
For the Cheesecake
• Full-Fat Cream Cheese – This is the key to achieving that creamy texture; low-fat options can alter the final outcome.
• Granulated Sugar – Essential for sweetness; stick to this for the best flavor experience.
• Eggs – Provides binding and richness; using large eggs ensures consistent results.
• Heavy Cream – Adds moistness and richness to your cheesecake; a lighter alternative can be used if desired.
• All-Purpose Flour – Offers a slight structure; gluten-free flour blends work well as a substitute.
• Salt – Elevates the flavor; using sea salt offers a lovely contrast to the sweetness.
For Optional Toppings
• Fresh Berries – Add a burst of freshness and color to your dessert.
• Whipped Cream – A fluffy complement to the rich cheesecake, enhancing indulgence.
• Caramel Sauce – Drizzle over the top for an extra layer of sweetness; it pairs perfectly with the burnt flavor of the cheesecake.
Step‑by‑Step Instructions for Creamy Burnt Basque Cheesecake in a Loaf Pan
Step 1: Preheat the Oven
Start by preheating your oven to 400°F (200°C), ensuring it reaches temperature before baking. This high heat is essential for achieving that signature caramelized top of the Burnt Basque Cheesecake in a Loaf Pan. A well-preheated oven promotes even cooking, which is crucial for a creamy, indulgent interior.
Step 2: Prepare the Loaf Pan
While the oven is heating, prepare your loaf pan by greasing it with butter or lining it with parchment paper, letting some excess hang over the sides for easy removal later. This step is key to avoiding any sticking and ensures your delicious cheesecake will slide out effortlessly once it’s cooled.
Step 3: Mix Cream Cheese and Sugar
In a mixing bowl, combine the full-fat cream cheese with granulated sugar using an electric mixer. Beat the mixture until it’s smooth and creamy, about 2-3 minutes at medium speed. This creates the rich base for your cheesecake. You’ll know it’s ready when there are no lumps and the mixture is light in texture.
Step 4: Incorporate the Eggs
Add the eggs one at a time to the cream cheese mixture, mixing well after each addition. This should take about 1 minute per egg, ensuring they are well blended into the batter. The gradual addition helps create a velvety smooth texture that is key to the luxurious quality of your Burnt Basque Cheesecake.
Step 5: Add Heavy Cream
Once the eggs are fully incorporated, pour in the heavy cream and mix until thoroughly combined. This enriches your cheesecake, making it extra creamy. Continue to mix on low speed for about 1-2 minutes until you see a glossy, homogeneous batter. This step is essential for that custard-like core.
Step 6: Fold in Flour and Salt
Gently fold in the all-purpose flour and salt using a spatula, mixing just until combined. Take care not to overmix, as this can lead to a denser cake. You want the Burnt Basque Cheesecake in a Loaf Pan to remain light and airy, so mix until there are no visible flour streaks.
Step 7: Pour the Batter
Pour the creamy cheesecake batter into your prepared loaf pan, smoothing the top with a spatula. Make sure to spread it evenly to ensure even baking, which is crucial for getting that beautiful burnt top. The batter will fill the pan nicely, ready to transform into a decadent treat.
Step 8: Bake to Perfection
Place the loaf pan in the preheated oven and bake for approximately 45 minutes. You’ll know it’s done when the top is dark golden brown, and the center is slightly jiggly, which is normal for this type of cheesecake. These visual cues are what make the Burnt Basque style so captivating.
Step 9: Cool Gradually
Once baked, turn off the oven and leave the cheesecake inside with the door slightly ajar for about 1 hour. This helps to prevent the cheesecake from collapsing. The gradual cooling process preserves the creamy texture while creating those characteristic rustic cracks on top.
Step 10: Chill Before Serving
After it has cooled, transfer the cheesecake to the refrigerator and let it chill for at least 4 hours or overnight. Chilling allows the flavors to develop and the texture to set, ensuring each slice of your Burnt Basque Cheesecake in a Loaf Pan is as delicious as can be when it’s time to serve.

Expert Tips for Burnt Basque Cheesecake
-
Jiggly Center: A slightly jiggly center is normal; it will firm up as it chills, ensuring a creamy texture.
-
Room Temperature Slicing: Let the cheesecake sit at room temperature for 10-15 minutes before slicing for cleaner cuts that showcase its luscious interior.
-
Avoid Opening Oven: Resist the urge to peek while baking. Keeping your oven door closed maintains the temperature and prevents collapse.
-
Accept Cracks: Some cracks on top are expected and enhance the rustic charm of this cheesecake. Embrace them as a part of the Basque baking tradition.
-
Flavor Enhancements: Try adding orange zest or a splash of vanilla extract to the batter for an extra layer of flavor that complements the rich cheese.
How to Store and Freeze Burnt Basque Cheesecake in a Loaf Pan
Fridge: Store your Burnt Basque Cheesecake in an airtight container in the refrigerator for up to 5 days. This helps maintain its creamy texture and delicious flavors.
Freezer: For longer storage, wrap the cheesecake tightly in plastic wrap and then in aluminum foil, freezing for up to 3 months. Thaw it overnight in the fridge before serving.
Reheating: To enjoy leftovers, let the cheesecake sit at room temperature for about 10-15 minutes before slicing. This allows for the creamy texture to return to perfection.
Make-Ahead: This cheesecake is perfect for make-ahead plans—its flavors deepen after chilling overnight, making it an ideal choice for gatherings or personal indulgence.
Make Ahead Options
These Creamy Burnt Basque Cheesecake in a Loaf Pan are perfect for busy home cooks looking to save time! You can prepare the cheesecake batter up to 24 hours in advance; just keep it covered in the refrigerator. Additionally, you can bake the cheesecake and refrigerate it for up to 5 days before serving—just remember that it tastes even better after chilling overnight. To maintain its creamy texture, cover it tightly with plastic wrap to prevent drying. When it’s time to serve, simply let it sit at room temperature for about 10-15 minutes before slicing, ensuring each slice is just as decadent as the day it was made!
What to Serve with Burnt Basque Cheesecake in a Loaf Pan
A delightful dessert deserves the perfect companions to create an unforgettable meal experience that tantalizes your taste buds.
-
Fresh Berries: A medley of ripe strawberries, blueberries, or raspberries adds a burst of flavor and color, beautifully contrasting the cheesecake’s richness. Their natural sweetness and acidity elevate each slice, making every bite harmonious.
-
Whipped Cream: Light and fluffy, dollops of whipped cream create a delightful creaminess that complements the custard-like center. It balances the cheesecake’s richness while adding an ethereal touch.
-
Dark Chocolate Shavings: A light sprinkle of dark chocolate shavings introduces a sophisticated bitterness that harmonizes splendidly with the creamy sweetness of the cheesecake. The silky texture enhances the indulgence, perfect for chocolate lovers.
-
Drizzle of Caramel Sauce: Smooth and sweet, caramel sauce lends a luscious depth to the cheesecake. Its buttery richness enhances the burnt flavors while providing a glossy finish that tempts the eyes and palate.
-
Crushed Cookies: For a contrasting crunch, crushed chocolate or graham crackers can be scattered atop your cheesecake. This adds texture and a delightful surprise; the crumbs evoke the traditional crust without overwhelming the no-crust concept.
-
Cup of Espresso: A rich espresso pairs beautifully with the creamy cheesecake, delivering a bold contrast that heightens the dessert’s flavors. The warmth and depth of coffee allow you to savor the cheesecake even more.
-
Zesty Citrus Salad: A refreshing citrus salad featuring oranges, grapefruits, and a sprinkle of mint adds a zesty brightness. The acidity revitalizes the palate, making each bite of cheesecake even more enjoyable.
-
Sparkling Wine: A glass of sparkling wine or Prosecco is an elegant choice, enhancing the luxurious feels of the dessert while offering a refreshing contrast to the creamy cheesecake.
-
Chocolate Fondue: For a fun twist, serve alongside a pot of chocolate fondue with fresh fruits and marshmallows for dipping. This interactive dessert experience will leave your guests enchanted and delighted!
Burnt Basque Cheesecake in a Loaf Pan Variations
Feel free to get creative with your Burnt Basque Cheesecake in a Loaf Pan—there are endless possibilities to suit your taste!
- Gluten-Free: Substitute all-purpose flour with a gluten-free flour blend to accommodate dietary preferences without compromising flavor.
- Lower-Fat: Swap heavy cream for Greek yogurt; this provides a lighter texture while still retaining creaminess.
- Add Zest: Incorporate lemon or orange zest into the batter for a refreshing citrus twist that brightens the overall flavor.
- Nutty Texture: Mix in chopped nuts like walnuts or almonds for a delightful crunch that contrasts beautifully with the creamy cheesecake.
- Flavor Boost: Consider adding a splash of vanilla extract or almond extract to enhance the depth and warmth of flavors.
- Chocolate Lovers: Fold in mini chocolate chips into the batter just before baking for a decadent chocolatey surprise in each slice.
- Fruity Swirl: Swirl in some fruit preserves, like raspberry or blueberry, before baking for a tangy and beautiful finish.
- Spice it Up: Add a pinch of cinnamon or a dash of nutmeg to the batter for a warm spiced flavor that makes this cheesecake even cozier.
Remember, you can customize your cheesecake just the way you like it—baking should be a joy, and these variations will enhance your experience. Looking for more dessert ideas? Check out my No-Bake Cheesecake for an equally delightful option!

Creamy Burnt Basque Cheesecake in a Loaf Pan Recipe FAQs
How do I select the best cream cheese for this recipe?
Absolutely! For the best texture in your Burnt Basque Cheesecake, opt for full-fat cream cheese. It offers the rich creaminess essential for that custard-like interior. While low-fat versions can work, they may alter the final outcome—resulting in a cheesecake that’s not as decadent and smooth. Always check for freshness, as quality cream cheese makes all the difference!
What is the best way to store leftovers of this cheesecake?
Very! Store your cheesecake in an airtight container in the refrigerator for up to 5 days. This helps preserve its creamy texture and delicious flavors, making sure you can enjoy every bit. You might notice that it actually tastes even better the next day as the flavors meld. For longer storage, wrap it tightly in plastic wrap, then aluminum foil before placing it in the freezer.
Can I freeze Burnt Basque Cheesecake, and if so, how?
Certainly! To freeze your Burnt Basque Cheesecake in a Loaf Pan, wrap it tightly in plastic wrap followed by a layer of aluminum foil—this method prevents freezer burn. It can stay frozen for up to 3 months! When you’re ready to enjoy it again, simply thaw it overnight in the fridge. This slow thaw helps keep the creamy texture intact.
What should I do if my cheesecake has cracks on top?
No worries! Cracks on this type of cheesecake are perfectly normal and add to its rustic charm. If you see cracks forming during baking, it means your cheesecake is embracing the traditional Basque style. If you’re worried about them, just top the cheesecake with whipped cream or fresh berries once it’s cooled—this will beautifully distract from any imperfections and make it even more delicious.
Is this cheesecake suitable for those with gluten allergies?
Absolutely! If you’re looking for a gluten-free option, you can easily substitute the all-purpose flour with a gluten-free flour blend. Just ensure you check that your mix doesn’t contain any wheat byproducts. The process of making your Burnt Basque Cheesecake remains the same, offering a delectable treat everyone can enjoy.
How long should I let the cheesecake cool before refrigerating?
Great question! After baking, it’s essential to let your Burnt Basque Cheesecake cool in the oven with the door slightly ajar for about 1 hour. This gradual cooling process helps prevent it from collapsing and contributes to that lovely texture. Afterward, transfer it to the fridge and let it chill for at least 4 hours or, better yet, overnight—it’ll be even more delightful!

Indulge in Creamy Burnt Basque Cheesecake in a Loaf Pan
Ingredients
Equipment
Method
- Preheat your oven to 400°F (200°C).
- Prepare your loaf pan by greasing it or lining it with parchment paper.
- In a mixing bowl, combine full-fat cream cheese and granulated sugar using an electric mixer until smooth and creamy.
- Add the eggs one at a time, mixing well after each addition.
- Pour in heavy cream and mix until combined, then continue to mix on low speed.
- Fold in all-purpose flour and salt gently using a spatula until just combined.
- Pour the batter into the prepared loaf pan and smooth the top.
- Bake for approximately 45 minutes until the top is dark golden brown and the center is slightly jiggly.
- Turn off the oven and leave the cheesecake inside with the door slightly ajar for about 1 hour.
- Transfer to the refrigerator to chill for at least 4 hours or overnight before serving.

Leave a Reply