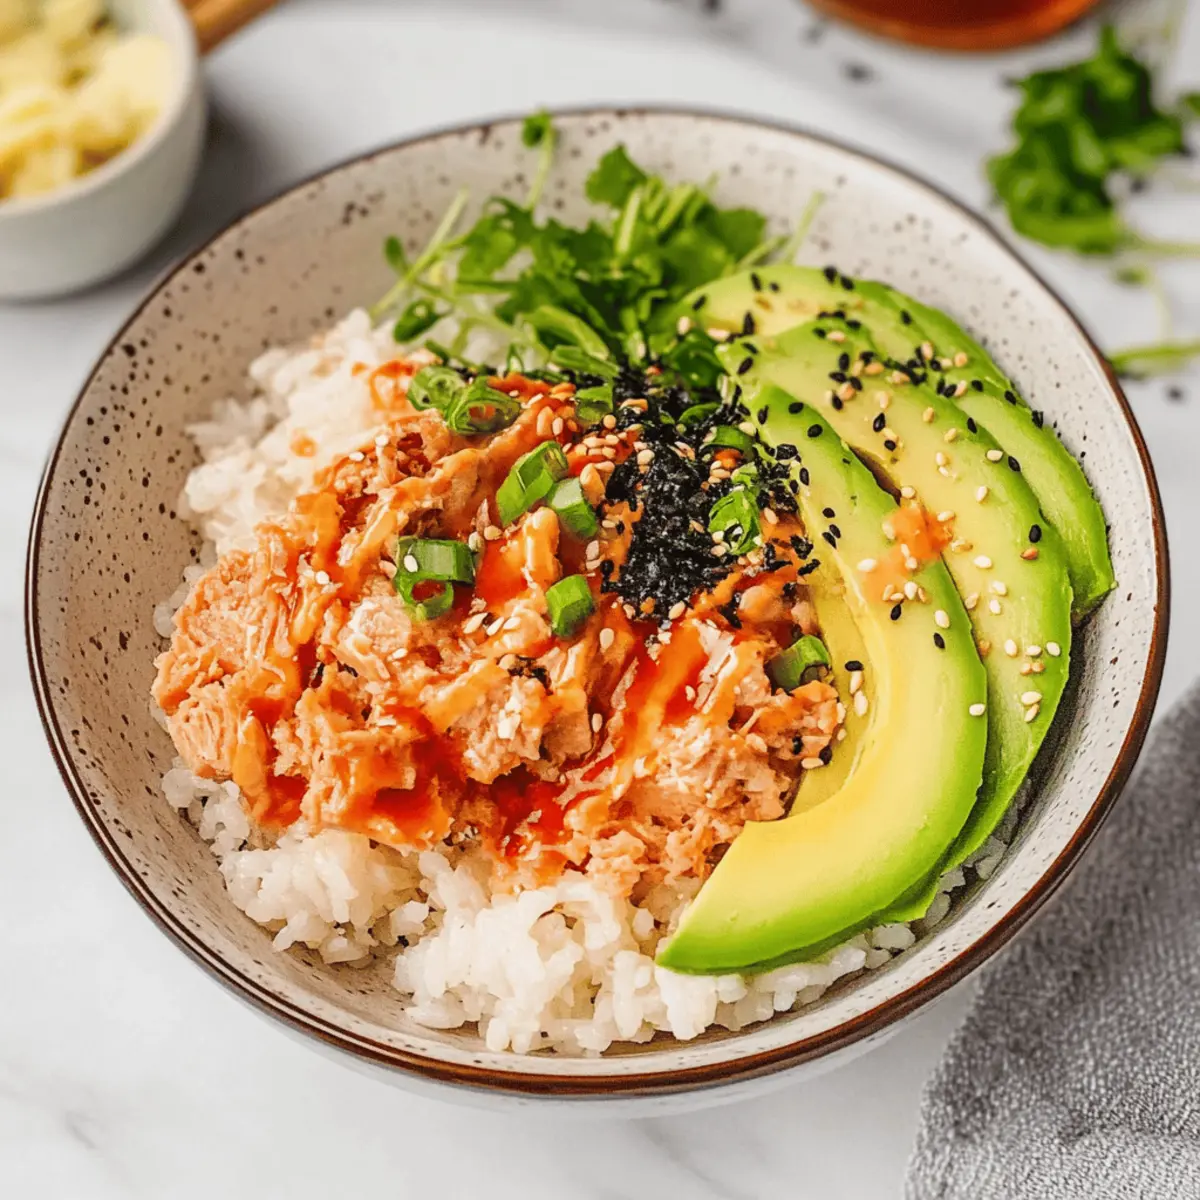
As I stood in my kitchen, the clock ticking down on dinner time, I felt the familiar pang of needing something quick yet satisfying. That’s when my eyes landed on a can of tuna peeking from the pantry—a versatile hero waiting to shine. Enter the Canned Tuna Sushi Bowl, a delightful fusion of Japanese flavors that boasts both convenience and customization. Whipping this up takes just 18 minutes, making it a perfect choice for those busy weeknights when you’re craving a nutritious meal without the fuss. Picture crispy pan-fried rice layered with creamy avocado and zesty bang bang tuna—a bowl of pure comfort that keeps you energized and full. Want to explore how to create this delicious twist on sushi at home? Let’s dive in!

Why Choose the Canned Tuna Sushi Bowl?
Quick Dinner Solution: This recipe is a lifesaver when you’re pressed for time, ready in just 18 minutes!
Customizable Delight: Tailor it to your taste! Swap canned tuna for salmon, or try additional toppings like radishes or pickled vegetables.
High-Protein Goodness: Packed with protein, this dish fuels your busy lifestyle while keeping you satisfied.
Unique Flavor Fusion: Enjoy a delightful mix of savory bang bang sauce and creamy avocado that brings sushi vibes to your table.
Crowd-Pleasing Appeal: Serve it up at your next gathering or dinner party, impressing friends and family with minimal effort.
Pair this dish with a side of Taco Rice Bowl for a complete culinary experience!
Canned Tuna Sushi Bowl Ingredients
For the Base
- Cooked sushi rice – Provides a satisfying foundation, seasoned with rice vinegar, sesame oil, and sugar for enhanced flavor.
- Olive oil – Essential for pan-frying rice, contributing a crispy texture that elevates each bite.
For the Tuna Mixture
- Canned tuna – The star protein; use drained tuna in oil for a richer taste that complements the sushi bowl.
- Bang bang sauce – Adds delightful heat and creaminess; swap it for spicy mayo if you prefer.
For the Toppings
- Avocado slices – Offers creaminess and healthy fats, creating a balanced and satisfying contrast.
- Chopped scallions – Perfect for a fresh crunch and vibrant garnish that completes your bowl.
- Furikake – This Japanese seasoning adds umami and texture; alternatively, use crumbled nori for an authentic touch.
- Sriracha sauce – A spicy drizzle to wake up the flavors; any preferred hot sauce works too.
For Seasoning
- Salt and black pepper – To taste; adjust to enhance the overall flavors of your delicious Canned Tuna Sushi Bowl.
Step‑by‑Step Instructions for Canned Tuna Sushi Bowl
Step 1: Cook the Sushi Rice
Begin by preparing your sushi rice according to the package instructions, usually boiling it for about 15 minutes until tender. Once cooked, transfer the rice to a bowl and while it’s still warm, stir in rice wine vinegar, sesame oil, and a pinch of sugar. This will enhance the flavors and create the perfect base for your Canned Tuna Sushi Bowl.
Step 2: Prepare the Toppings
While the rice is cooling, drain the canned tuna and mix it with bang bang sauce in a medium bowl, ensuring it’s fully coated with the sauce for extra flavor. Set this aside. Next, slice your avocado into thin pieces and chop the scallions finely; both will provide fresh, vibrant contrast when you assemble your bowl later.
Step 3: Pan-Fry the Rice
Heat a tablespoon of olive oil in a large skillet over medium-high heat, allowing it to shimmer. Once hot, add the cooked sushi rice, pressing it down into an even layer. Let it cook for 3-5 minutes until golden brown and crispy on the bottom, then carefully flip it to cook the other side for an additional minute. This crispy rice layer forms a delicious foundation for the Canned Tuna Sushi Bowl.
Step 4: Assemble the Bowl
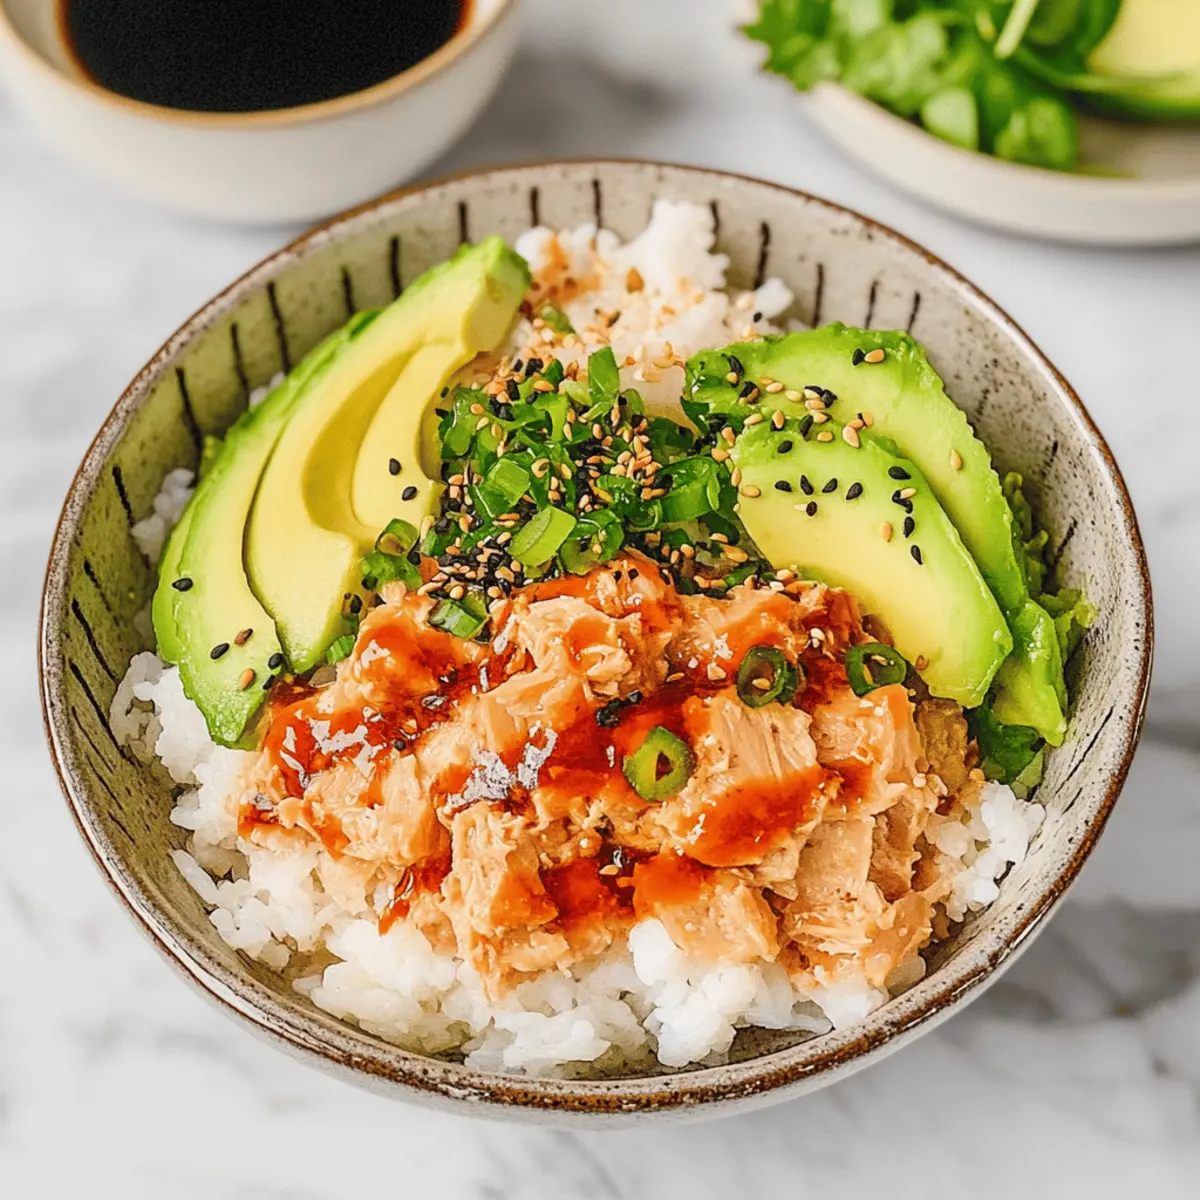
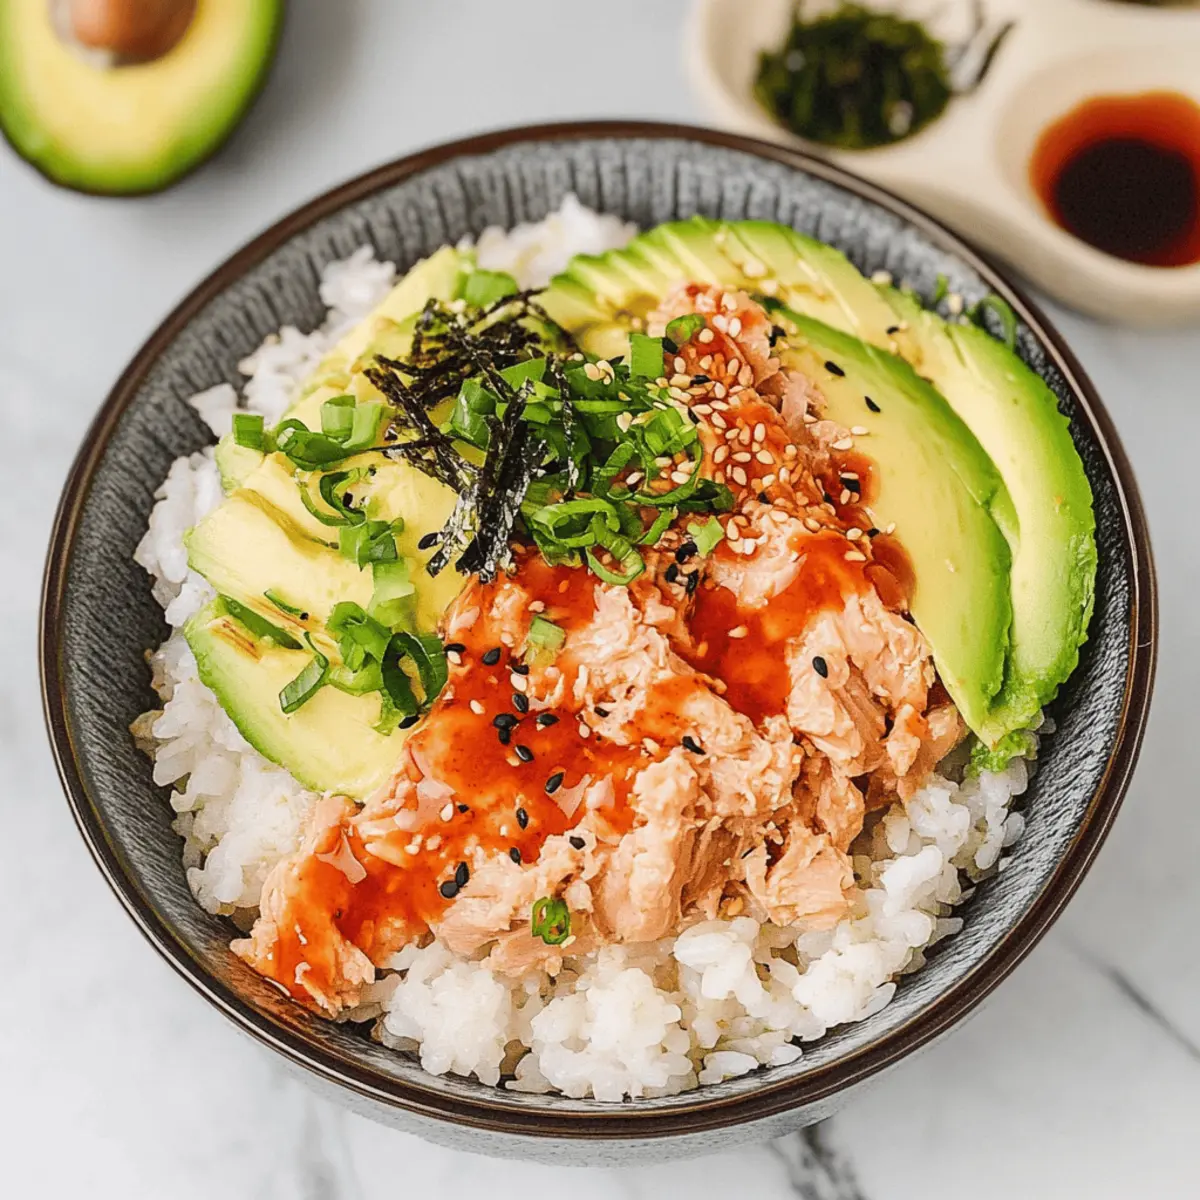
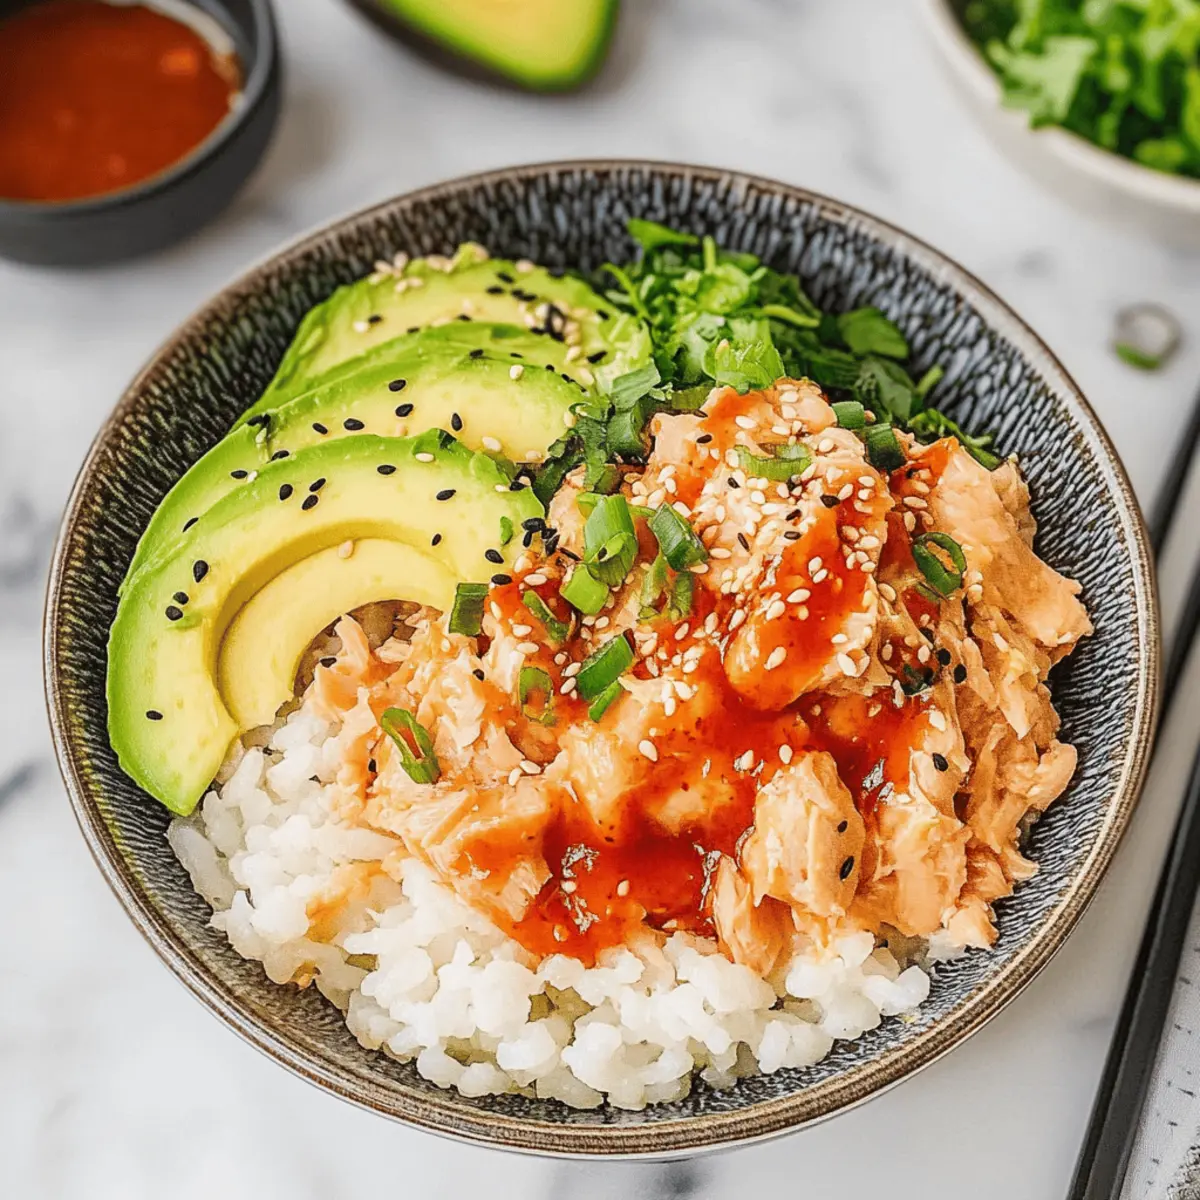
To bring everything together, start by placing the crispy rice at the bottom of your bowl. Layer on the creamy bang bang tuna, followed by the avocado slices and a sprinkle of chopped scallions on top. For that extra umami kick, finish by sprinkling furikake over the dish, and drizzle with sriracha or spicy mayo to taste. Your scrumptious Canned Tuna Sushi Bowl is now ready to enjoy!

Canned Tuna Sushi Bowl Variations
Feel free to make this delightful dish your own with these easy variations and substitutions!
- Canned Salmon: Swap out the tuna for canned salmon for a new flavor dimension and added omega-3s.
- Shredded Chicken: Use shredded cooked chicken as a hearty alternative, perfect for a filling meal.
- Quinoa Base: Replace the sushi rice with cooked quinoa for a nutty flavor and extra protein.
- Spicy Kick: Add sliced jalapeños or a sprinkle of red pepper flakes for a fiery boost that elevates your bowl.
- Vegetarian Delight: Use chickpeas or tofu as a protein-packed substitute; seasoned and sautéed, they’ll add a satisfying texture.
- Veggie Medley: Top with sliced radishes, shredded carrots, and pickled ginger for colorful crunch and an added flavor punch.
- Crispy Toppings: Consider adding crispy tempura bits or fried onions to introduce a delightful crunch.
- Fusion Flavor: Drizzle with sesame ginger dressing to swap flavors while keeping that delicious umami essence intact.
For more exciting recipes, try pairing this with a colorful Halloumi Veggie Bowl or a savory Potato Beef Bowl. Let your creativity shine in the kitchen!
What to Serve with Canned Tuna Sushi Bowl
Elevate your homemade sushi experience with delightful sides and beverages that complement the vibrant flavors of your dish.
- Miso Soup: A warm broth enriched with umami flavors that perfectly contrasts the crunchy elements of your sushi bowl.
- Asian Cucumber Salad: Refreshingly crisp cucumbers tossed in a tangy dressing add a delightful crunch and balance to the meal.
- Edamame Beans: Lightly salted and steamed, these protein-packed bites create a satisfying texture that pairs beautifully with the sushi bowl.
- Pickled Vegetables: The tangy crunch of pickled radishes or carrots adds a pop of flavor and brightness, enhancing each bite of the main dish.
- Sushi Rolls: Pair with simple cucumber or avocado rolls for a complete sushi experience, offering additional textures and flavors to enjoy together.
- Green Tea: A soothing beverage that cleanses the palate, complementing the savory flavors of the canned tuna sushi bowl.
- Sesame Spinach Salad: This lightly dressed salad brings a nutty flavor that harmonizes with the bowl, adding freshness and color.
- Mochi Ice Cream: For a sweet finish, these chewy rice cakes filled with ice cream offer a delightful contrast to the savory elements of your meal.
How to Store and Freeze Canned Tuna Sushi Bowl
-
Fridge: Keep leftover components separately in airtight containers for up to 2 days to maintain freshness. Reheat the rice before assembling to bring back its texture.
-
Freezer: You can freeze the cooked sushi rice for up to 3 months. Ensure it’s tightly wrapped in plastic wrap or stored in a freezer bag, and thaw it in the fridge before reheating.
-
Reheating: Reheat the rice in a microwave or skillet until warmed throughout. Avoid cooking it too long to retain its crispy texture when assembling your Canned Tuna Sushi Bowl.
-
Toppings: Fresh toppings like avocado and scallions should be consumed quickly for the best flavor. Consider adding them just before serving!
Expert Tips for the Canned Tuna Sushi Bowl
-
Crispy Rice Secret: Gently press the rice while frying instead of stirring too much to avoid sogginess and achieve that perfect golden crisp.
-
Flavorful Sauce Options: If bang bang sauce isn’t available, light mayonnaise mixed with sriracha can be a delicious substitute in your Canned Tuna Sushi Bowl.
-
Storage Savvy: To retain freshness, store rice and toppings separately in the fridge, and reheat the rice before assembly for the best texture.
-
Creative Variations: Don’t hesitate to get adventurous! Swap in canned salmon or shredded chicken for a protein twist that suits your taste.
-
Balanced Seasoning: Taste and adjust salt and pepper as needed—this simple step can elevate your Canned Tuna Sushi Bowl from good to great!
Make Ahead Options
These Canned Tuna Sushi Bowls are perfect for meal prep enthusiasts! You can prepare the sushi rice and toppings up to 24 hours in advance to save time on busy weeknights. Simply cook the sushi rice according to package instructions, season it, and let it cool before refrigerating it in an airtight container. For the toppings, mix the canned tuna with bang bang sauce and slice the avocado, storing them separately in the fridge. When you’re ready to serve, reheat the rice in a skillet to bring back its crispy texture, assemble your bowl with the prepped ingredients, and enjoy a delicious, stress-free dinner that’s just as delightful as freshly made!

Canned Tuna Sushi Bowl Recipe FAQs
How do I choose the best canned tuna for this recipe?
Absolutely! When selecting your canned tuna, look for options that are packed in oil rather than water; this will add richness to your Canned Tuna Sushi Bowl. Also, consider brands that use sustainably sourced fish for better quality. If you find any cans with dark spots or bulging lids on the shelf, skip those—it’s best to ensure your ingredients are fresh and safe!
How should I store leftovers from my Canned Tuna Sushi Bowl?
Very easy! To maintain freshness, store each component separately in airtight containers in the fridge. The rice will stay good for up to 2 days, and any toppings like avocado and scallions should be consumed within a day for the best flavor and texture. Reheat the rice in a microwave or skillet before assembling your bowl again.
Can I freeze the ingredients for future meals?
Definitely! You can freeze cooked sushi rice for up to 3 months. Just make sure it’s tightly wrapped in plastic wrap or stored in a freezer bag. When you’re ready to use it, thaw the rice in the fridge overnight before reheating. Keep in mind that fresh ingredients, such as sliced avocado, shouldn’t be frozen, so only prep those fresh just before serving.
What should I do if my rice isn’t crispy when frying?
No worries! If your rice isn’t turning crispy, it may be due to moisture. Ensure that the cooked sushi rice has cooled down enough before frying and press it down firmly in the skillet to create a golden crust. If it still doesn’t crisp up, try cooking it for a little longer over medium-high heat, flipping it gently to avoid breaking it apart.
Are there any dietary considerations I should be aware of?
Absolutely! If you’re serving this dish to guests, it’s wise to check for any allergies, especially since this recipe contains fish and may include ingredients like mayonnaise or sriracha that can have allergens like eggs or gluten. Additionally, keep in mind that while the rice is a filling base, portions can be adjusted to meet personal dietary needs, making it suitable for low-carb or gluten-free diets by substituting ingredients as necessary!

Canned Tuna Sushi Bowl: Quick, Flavorful Twist on Dinner
Ingredients
Equipment
Method
- Cook the sushi rice according to package instructions, usually boiling for about 15 minutes. Stir in rice vinegar, sesame oil, and a pinch of sugar.
- Drain canned tuna and mix it with bang bang sauce in a medium bowl. Slice avocado and chop scallions.
- Heat olive oil in a skillet over medium-high heat, add cooked sushi rice, press it down, and let cook for 3-5 minutes until crispy. Flip and cook for an additional minute.
- Assemble by placing the crispy rice, layering with bang bang tuna, avocado slices, chopped scallions, and a sprinkle of furikake. Drizzle with sriracha before serving.

Leave a Reply