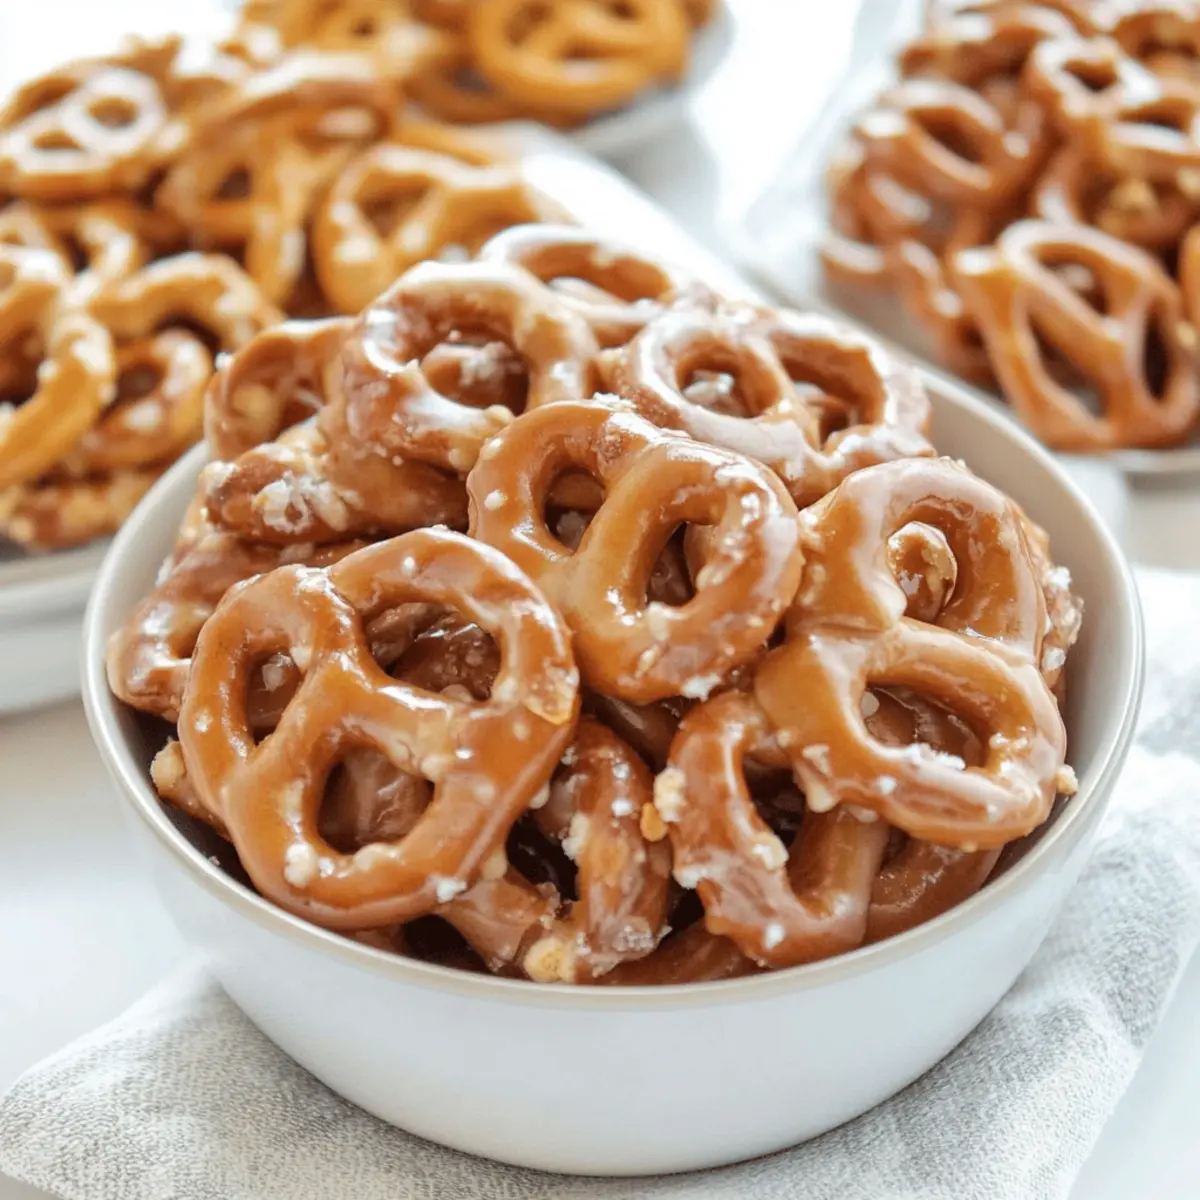
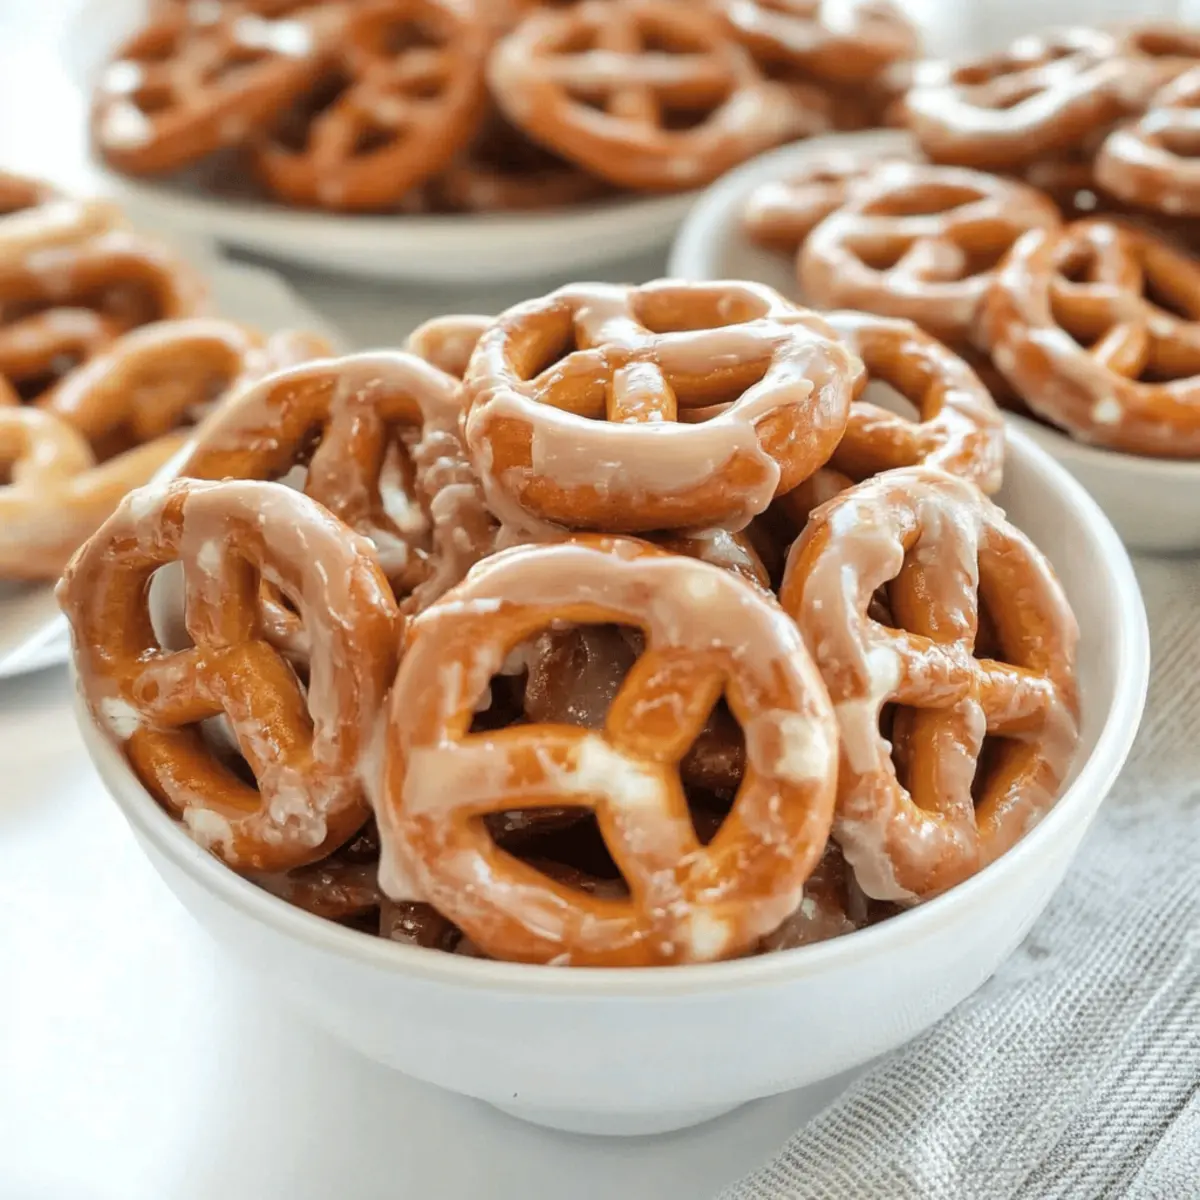
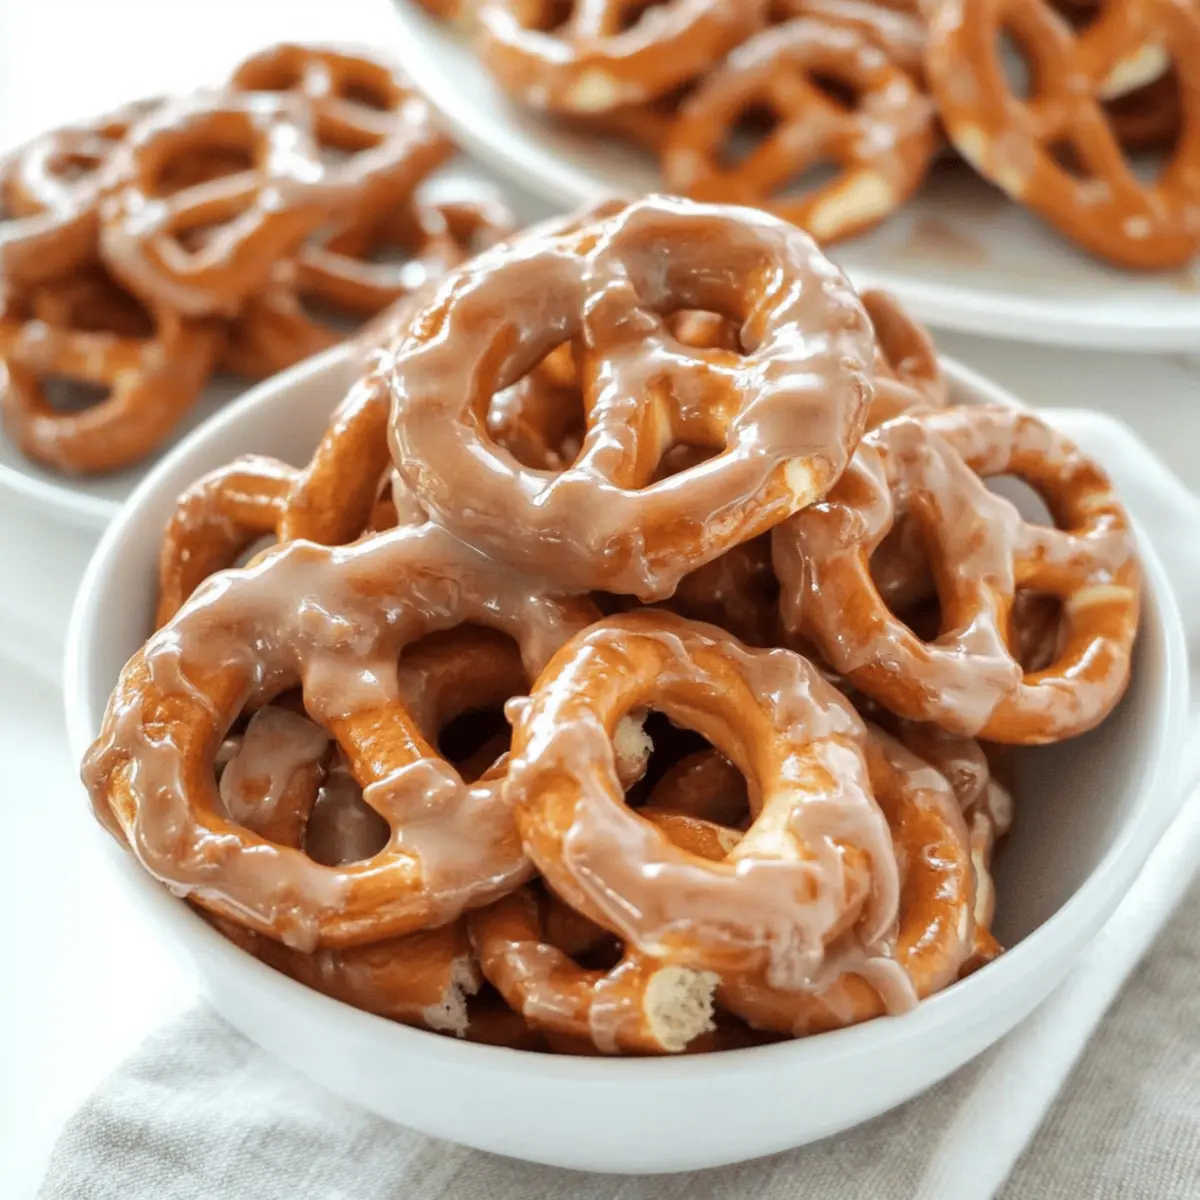
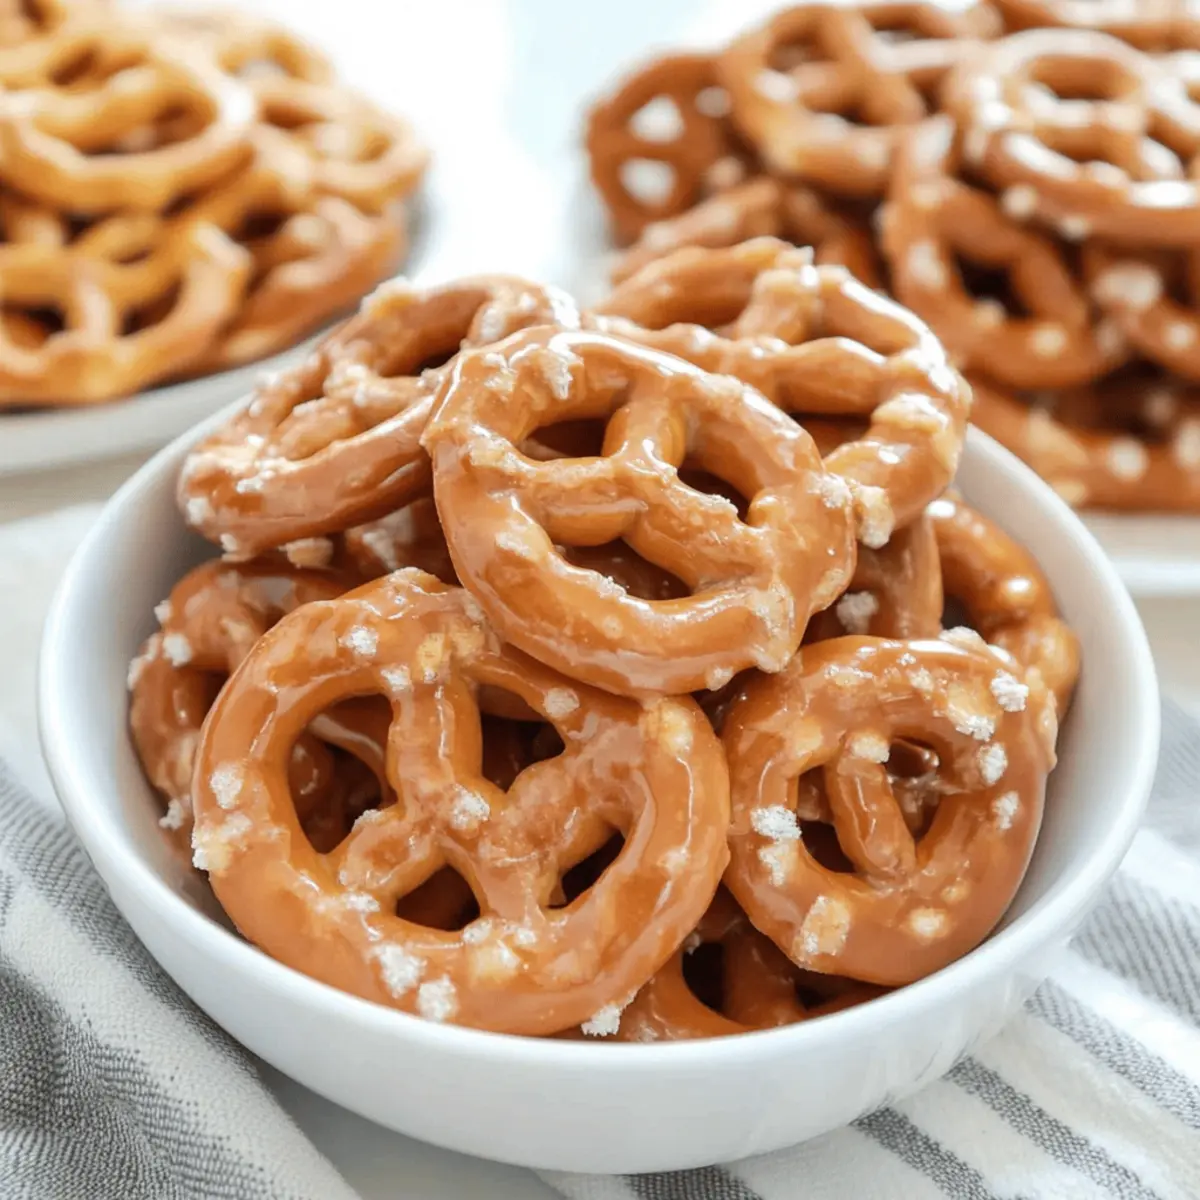
As I rummaged through the pantry, I stumbled upon a bag of mini pretzels that sparked a delightful idea. What if I combined their salty goodness with a luscious caramel coating? Enter the Caramel Pretzels—each piece captures that magical balance of sweet and salty, making them an irresistible snack or festive treat! With their quick prep time and classic holiday appeal, these bites are perfect for sharing with friends or indulging during cozy nights in. Whether you’re looking to impress at gatherings or simply satisfy a sweet tooth, these crunchy delights offer something for everyone. Ready to elevate your snacking game and create a moment of bliss? Let’s dive into this caramel-coated adventure!

Why are Caramel Pretzels irresistible?
Crunchy Delight: Each piece offers a crispy texture paired with a gooey caramel layer that keeps you coming back for more.
Easy to Make: With just a few simple ingredients, this recipe is perfect for beginners and experienced cooks alike, ensuring everyone can join in the fun of making their own sweet treats.
Versatile Snack: Whether for holiday gatherings or cozy nights in, they’re a crowd-pleaser sure to impress your guests or satisfy a craving any time of year.
Sweet-Salty Balance: The contrast of sweet caramel and salty pretzels creates a flavor explosion that’s simply hard to resist.
Quick & Efficient: In under an hour, you’ll have a delicious batch ready to enjoy—ideal for unexpected guests or snack emergencies.
Enhance your gatherings even more with our delicious Caramel Crunch Cake as a delightful complement to these snacks!
Caramel Pretzels Ingredients
• Ready to whip up some delightful Caramel Pretzels? Here’s what you’ll need!
For the Caramel Coating
- Mini Pretzels – A perfect salty base that’s both crispy and sturdy; no substitutions needed.
- Butter – Adds a rich and creamy texture to the caramel; opt for unsalted butter to control saltiness.
- Sugar – Sweetens the caramel and contributes to that delightful crunch; granulated sugar works best, but brown sugar will give a deeper flavor.
- Water – Helps melt the sugar smoothly without burning; stick to water for the best results.
- Vanilla – Elevates the flavor of the caramel; pure vanilla extract is ideal for the richest taste.
Let’s get started and create these delightful Caramel Pretzels, perfect for snacking or festive occasions!
Step‑by‑Step Instructions for Caramel Pretzels
Step 1: Preheat the Oven
Begin by preheating your oven to 200°F (93°C). While the oven heats up, line a baking sheet with aluminum foil for easy cleaning and secure a cooling rack on top. Lightly spray both the foil and rack with non-stick cooking spray to prevent your Caramel Pretzels from sticking later.
Step 2: Prepare the Caramel Mixture
In a large saucepan, combine butter, sugar, and water. Heat over medium heat while stirring constantly until the mixture begins to boil. Keep a close eye on it until it reaches a temperature of 305°F (hard crack stage). Once achieved, remove the pan from heat and stir in the vanilla extract to enrich the caramel flavor.
Step 3: Coat the Pretzels
Pour the mini pretzels into the caramel mixture, using a spatula to mix thoroughly. Ensure each pretzel is completely coated in the luscious caramel for maximum flavor. This step is crucial as every bite of your Caramel Pretzels should be bursting with that sweet, salty goodness!
Step 4: Transfer to Cooling Rack
Carefully transfer the coated pretzels in batches to the prepared cooling rack. Make sure they are spread out in a single layer without overlapping; this will help them achieve that perfect crunch as they cool and bake. Take your time with this step to ensure even coverage.
Step 5: Bake for the Perfect Crunch
Place the cooling rack with the pretzels on the baking sheet in your preheated oven. Bake for about 20-30 minutes, checking occasionally until they appear dry and not sticky to the touch. Your Caramel Pretzels should be turning a beautiful golden color—this indicates they are ready to come out!
Step 6: Cool Completely
Once baked, carefully remove the pretzels from the oven and let them cool completely on the rack. This step is essential for allowing the caramel coating to harden. Patience is key; warm pretzels might stick together, so let them cool off fully before enjoying or storing your delicious Caramel Pretzels.

How to Store and Freeze Caramel Pretzels
Airtight Container: Store your Caramel Pretzels in an airtight container at room temperature for up to 1 week to keep them crunchy and fresh.
Cool Completely: Make sure the pretzels are completely cooled before storing; warm pretzels can stick together, compromising their delightful texture.
Freezer Option: For long-term storage, freeze Caramel Pretzels in a single layer in a freezer-safe bag or container for up to 3 months. Thaw at room temperature before enjoying.
Reheating: If you’d like to re-crisp your Caramel Pretzels, place them in a preheated oven at 200°F (93°C) for about 5-10 minutes.
Caramel Pretzels Variations & Substitutions
Feel free to get creative and personalize your Caramel Pretzels for even more flavor and fun!
-
Nutty Flavor: Sprinkle crushed pecans or almonds over the pretzels before baking for a rich crunch. This can add an extra layer of texture and makes your snack feel gourmet!
-
Chocolate Drizzle: Enhance your treats with a melted chocolate drizzle after cooling. The combination of caramel and chocolate is wildly addictive and sure to please any sweet tooth.
-
Spicy Kick: Add a sprinkle of cayenne pepper to the caramel mixture for a surprising heat. This unexpected twist balances the sweet and salty beautifully!
-
Caramel Swirl: Instead of hardening completely, take a few pretzels out early and swirl in some melted caramel on top. This will give them a more gooey texture and an extra caramel burst.
-
Pumpkin Spice: For an autumn twist, mix in some pumpkin spice with your caramel. This seasonal flavor will evoke those cozy fall vibes, perfect for holiday gatherings.
If you’re in the mood for something fun, you can pair these Caramel Pretzels with a moist slice of Caramel Crunch Cake for a delightful dessert experience!
-
Salted Caramel: Before the caramel cools, sprinkle some sea salt over the top for that trendy salted caramel effect. The saltiness complements the sweet caramel beautifully!
-
Chewy Texture: For a chewy take, try using soft caramel candies instead of homemade caramel. This method will create a delightful chewiness that contrasts with the pretzels’ crunch.
Expert Tips for Caramel Pretzels
-
Temperature Control: Monitor the caramel closely to avoid burning, especially as it hits the hard crack stage at 305°F.
-
Coat Evenly: Ensure each pretzel is fully coated in the caramel mixture. This guarantees every bite of your Caramel Pretzels bursts with flavor.
-
Spreading Space: When transferring coated pretzels to the cooling rack, make sure they’re spread out without overlapping. This allows them to dry and become crunchy.
-
Cooling Time: Let the pretzels cool completely before storing. If still warm, they may stick together, ruining their delightful texture.
-
Ingredient Quality: Use fresh, high-quality ingredients like pure vanilla extract for the best flavor outcome in your Caramel Pretzels.
What to Serve with Caramel Pretzels?
Looking to enhance your Caramel Pretzels experience? These delightful pairings will elevate your snack game and create a memorable spread.
-
Creamy Hot Chocolate: The rich, velvety texture of hot chocolate beautifully complements the crunchy, sweet-salty pretzels, offering a cozy drink pairing for chilly evenings.
-
Spiced Apple Cider: Warm spiced cider brings a touch of autumn flavor that pairs harmoniously with the caramel coating, making it an inviting choice for holiday gatherings.
-
Whipped Cream Dip: A fluffy, sweet whipped cream dip adds another layer of lightness and sweetness, inviting everyone to indulge. It’s perfect for a fun sharing experience!
-
Nutty Trail Mix: A mix with nuts and dried fruits adds various textures and flavors, enhancing the munching experience with a satisfying crunch and natural sweetness.
-
Dark Chocolate Drizzle: Drizzling melted dark chocolate over your Caramel Pretzels introduces a bold, rich flavor that contrasts beautifully against the sweet caramel and saltiness of the pretzel.
-
Salted Caramel Ice Cream: This dreamy dessert mirrors the flavors of your Caramel Pretzels while adding a creamy dimension—a delightful way to end a meal or enjoy as a sweet treat!
-
Chilled White Wine: A crisp Sauvignon Blanc or a fruity Riesling offers a refreshing contrast to the sugary pretzels, enhancing the gourmet snacking experience for adult gatherings.
-
Mini Cheesecakes: These individual treats combine creamy decadence with a graham cracker base, creating a rich dessert contrast that makes for a delightful platter.
-
Fresh Fruit Platter: Adding slices of crisp apples, juicy pears, or vibrant berries introduces freshness to your spread, making it a well-rounded offering that balances sweetness with natural flavors.
Make Ahead Options
These Caramel Pretzels are a fantastic option for meal prep enthusiasts! You can prepare the caramel coating and coat the mini pretzels up to 24 hours in advance. Simply mix the caramel and coat the pretzels as instructed, then allow them to cool completely before storing them in an airtight container. To maintain their delightful crunch, ensure the container is kept in a cool, dry place. When ready to serve, bake your prepped caramel pretzels in a preheated oven at 200°F (93°C) for about 10-15 minutes until they are warm and crispy, ensuring that they remain just as delicious as when freshly made. This is perfect for busy weeknights or holiday snacking!

Caramel Pretzels Recipe FAQs
How do I know if my pretzels are fresh?
Absolutely! Fresh mini pretzels should be crisp and not have any signs of moisture or a stale smell. If you see any dark spots all over or if they have a soft texture, it might be time to toss them out!
What’s the best way to store Caramel Pretzels?
To maintain their delightful crunch, store your Caramel Pretzels in an airtight container at room temperature for up to 1 week. Make sure they’ve cooled completely before sealing; warm pretzels can stick together and lose that perfect texture.
Can I freeze my Caramel Pretzels? If so, how?
Yes, you can! For long-term storage, freeze your Caramel Pretzels in a single layer on a parchment-lined baking sheet until solid, then transfer them to a freezer-safe container or bag. They can be kept in the freezer for up to 3 months. Thaw them at room temperature when you’re ready to enjoy!
What if my caramel burns while cooking?
Very good question! If you notice that the caramel is starting to burn or darken too quickly, immediately remove it from the heat. To fix it, you can try whisking in a small amount of water to cool it down and prevent further burning. Always keep a close eye on the temperature as it approaches the hard crack stage.
Are Caramel Pretzels safe for kids and pets?
While Caramel Pretzels are a delicious treat for kids, remember moderation is key due to their high sugar content. For pets, it’s best to avoid sharing these snacks—especially dogs—as chocolate and sugar can be harmful. Enjoy your sweet treats with the family, but keep them away from furry friends!
Can I use alternative sugars for the caramel?
Certainly! If you’re looking for a healthier option, you can substitute granulated sugar with coconut sugar or brown sugar for a richer flavor. Just be mindful that different sugars may alter the texture slightly, and keep an eye on the cooking process to prevent burning.

Caramel Pretzels: Sweet-Salty Snack Bliss for Everyone
Ingredients
Equipment
Method
- Preheat your oven to 200°F (93°C). Line a baking sheet with aluminum foil and place a cooling rack on top. Lightly spray both with non-stick cooking spray.
- In a large saucepan, combine butter, sugar, and water. Heat over medium heat, stirring constantly until boiling. Once it reaches 305°F (hard crack stage), remove from heat and stir in vanilla extract.
- Pour the mini pretzels into the caramel mixture and mix thoroughly to ensure each pretzel is completely coated.
- Transfer the coated pretzels to the cooling rack in a single layer without overlapping.
- Bake in the preheated oven for about 20-30 minutes until they appear dry and golden.
- Remove from the oven and let cool completely on the rack before enjoying or storing.

Leave a Reply