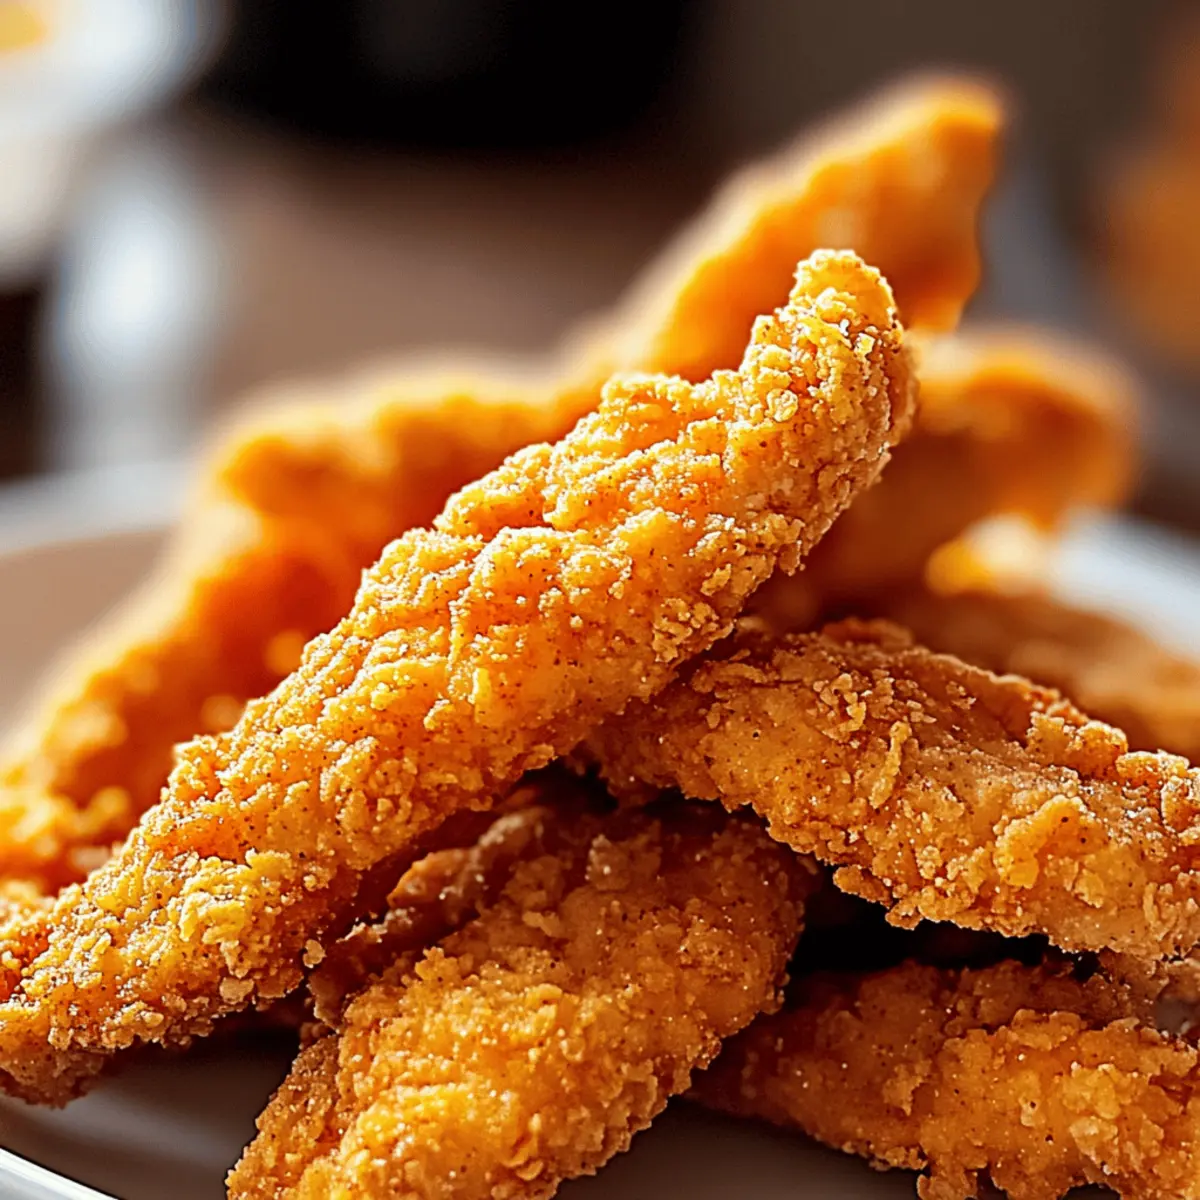
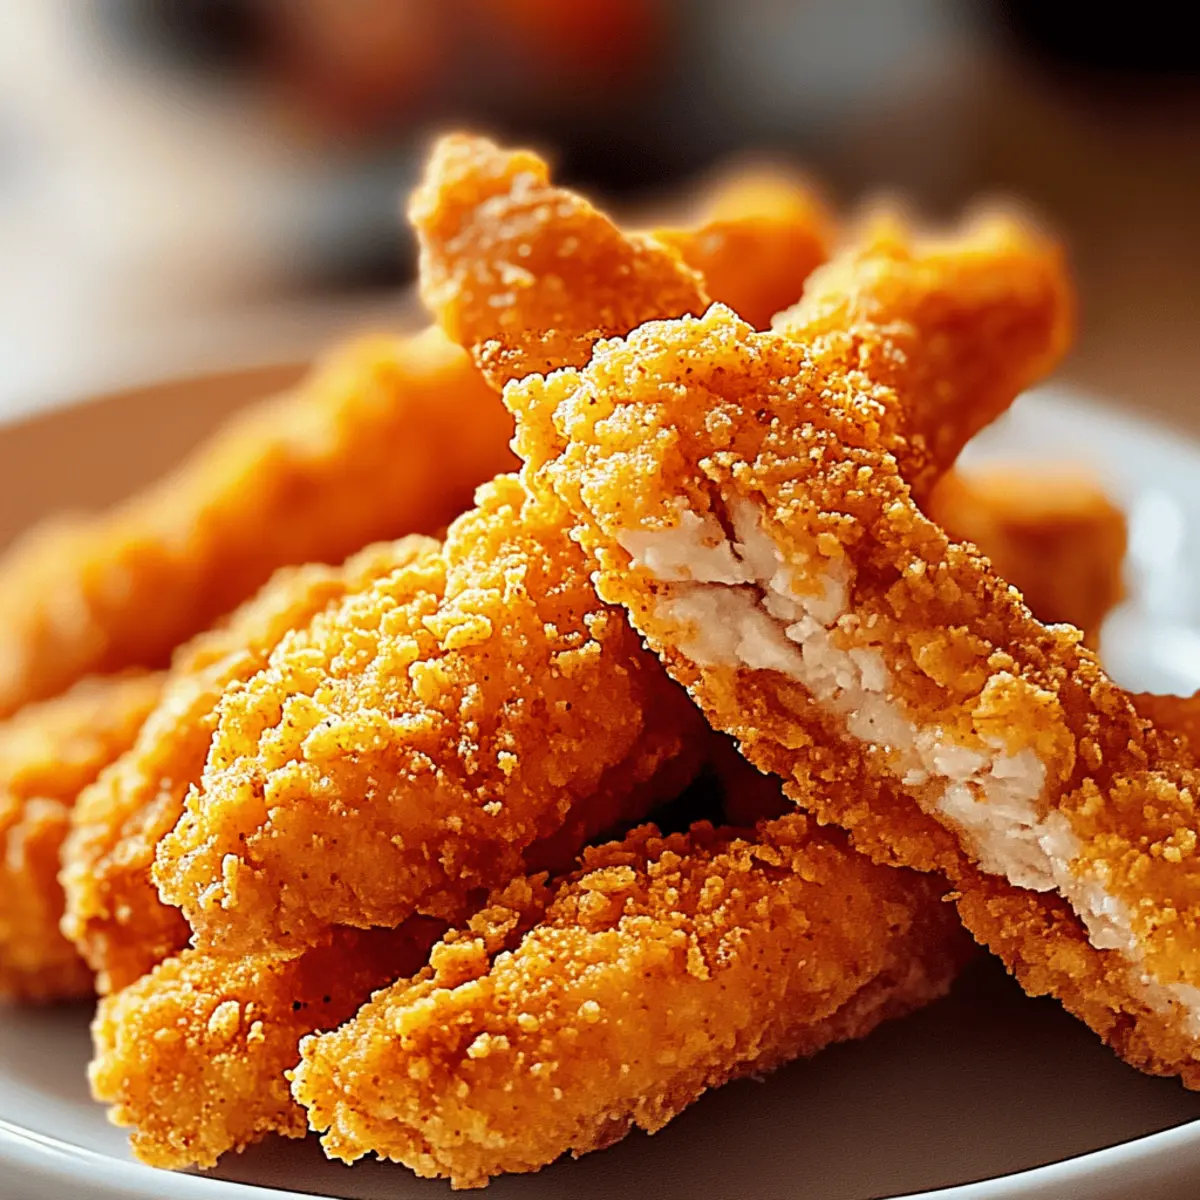
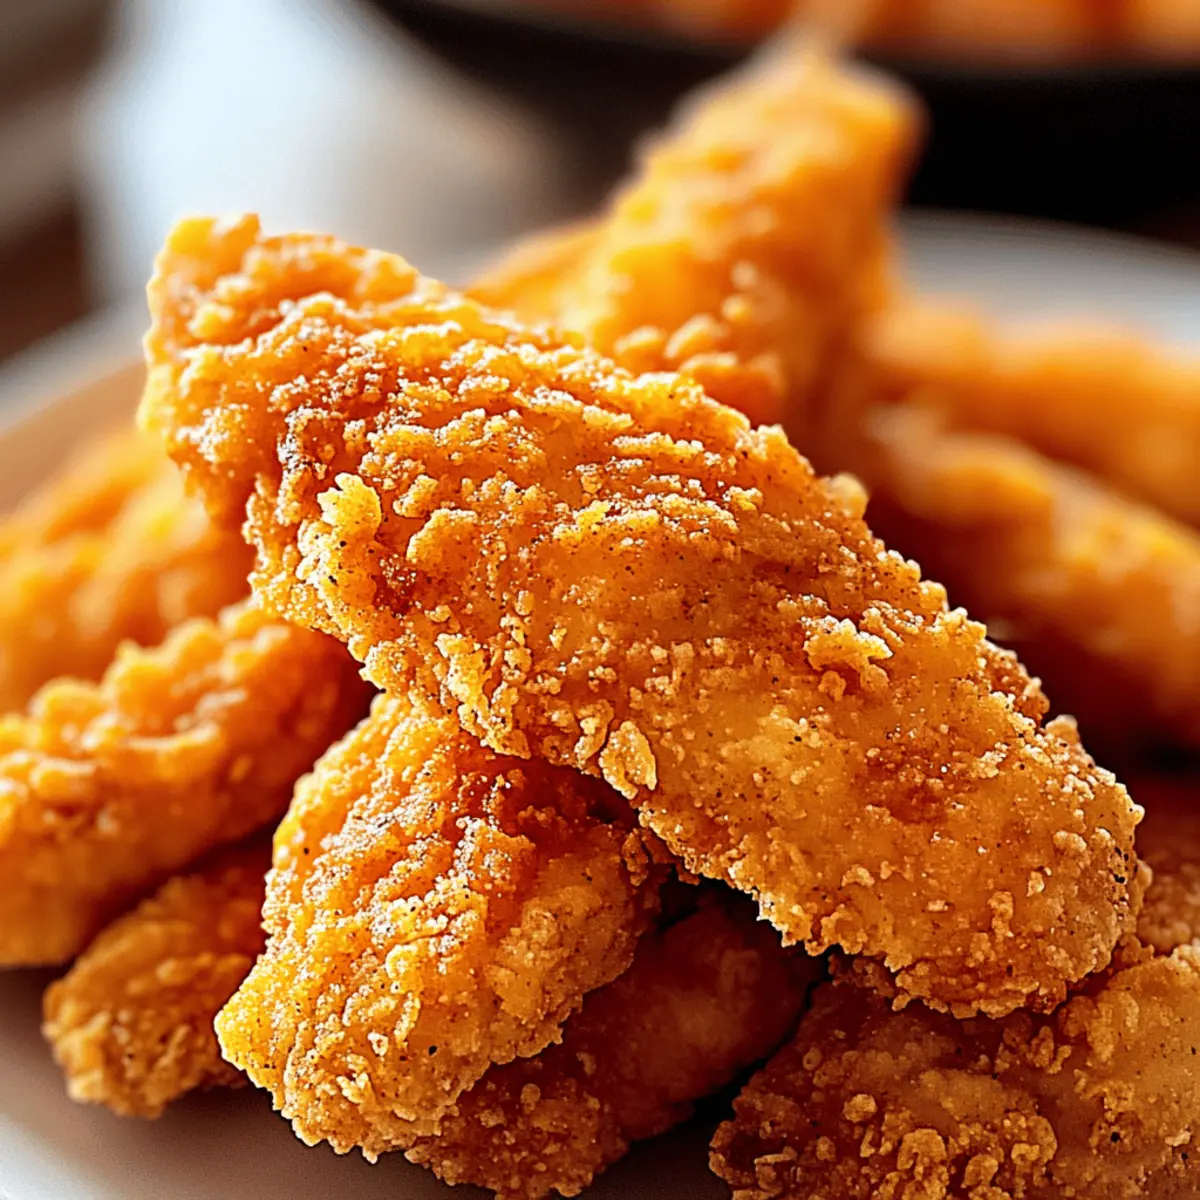
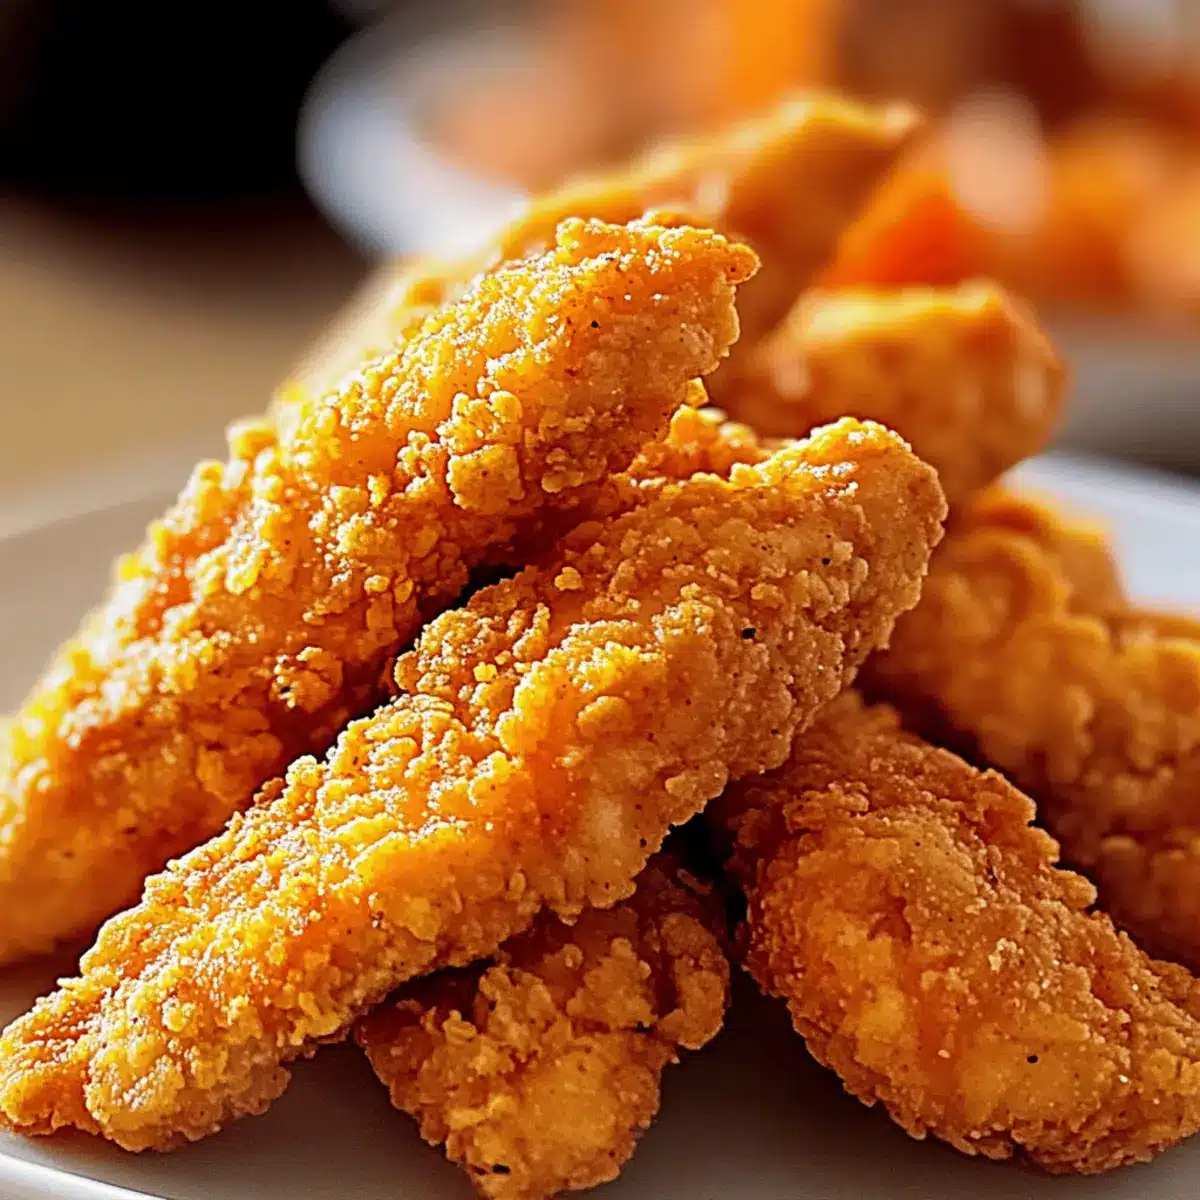
The sizzling sound of crispy chicken frying mingles with an unmistakable cheesy aroma, instantly transporting me back to my favorite childhood snacks. It’s time to shake up your dinner routine with these delightful Cheetos Chicken Strips! This easy recipe isn’t just a treat for the taste buds; it comes together in under 30 minutes, making it the perfect solution for busy weeknights or impromptu gatherings. Plus, with customizable options for Flamin’ Hot or classic Cheetos, you can cater to every craving. These strips are not only budget-friendly but also a guaranteed crowd-pleaser that will impress friends and family alike. Ready to take your snack game to the next level? Dive in and discover the addictive crunch of these crispy strips!

Why are Cheetos Chicken Strips so addictive?
Irresistible Crunch: Each bite of these Cheetos Chicken Strips delivers a satisfying crunch that will leave you craving more.
Customizable Flavor: Choose between classic or Flamin’ Hot Cheetos for a personalized spin. You can even swap in cheese puffs for a new twist!
Quick & Easy: With less than 30 minutes from prep to plate, your busy weeknight dinners will never be boring again.
Crowd-Pleasing Appeal: Perfect for game nights or parties, these strips are sure to impress your friends and family. Serve them with your favorite sauces for the ultimate snack experience! Want more flavorful chicken? Check out my Garlic Butter Chicken for another recipe your loved ones will enjoy!
Cheetos Chicken Strips Ingredients
• Here’s what you’ll need to make these crunchy delights:
For the Chicken Strips
• Chicken Tenders – Quick-cooking and juicy, they form the perfect base for your Cheetos Chicken Strips.
• Eggs – Essential for binding the crunchy coating to the chicken; can be swapped with buttermilk for an extra layer of flavor.
For the Coating
• Cheetos (Flamin’ Hot or Regular) – The star ingredient that adds outrageous flavor and crunch; try cheese puffs for a fun twist!
• All-Purpose Flour – Helps the coating stick well to the chicken; feel free to substitute with corn starch or gluten-free flour if needed.
Optional Spices
• Spices (like taco seasoning or cajun spice blends) – Add a personal touch to make your Cheetos Chicken Strips even more flavorful; consider adding a hint of heat!
Get your ingredients ready and let the deliciousness begin with these Cheetos Chicken Strips!
Step‑by‑Step Instructions for Cheetos Chicken Strips
Step 1: Prep the Chicken
Start by cutting your chicken tenders into strips if they aren’t already. Aim for uniform sizes, about 1 inch wide, to ensure even cooking. This step is crucial for the Cheetos Chicken Strips to cook through perfectly and achieve that delightful juicy center.
Step 2: Crush the Cheetos
Next, place your Cheetos, whether regular or Flamin’ Hot, into a food processor and pulse until you achieve a fine crumb. If you don’t have a processor, simply seal the Cheetos in a zip bag and crush them with a rolling pin until finely ground. This crunchy coating is what makes your Cheetos Chicken Strips irresistible!
Step 3: Set Up the Breading Station
Prepare your breading station with three bowls: one with all-purpose flour, another with beaten eggs, and a third filled with your crushed Cheetos. Arrange them in this order for easy access. Creating this assembly line makes coating your chicken strips a breeze and keeps things organized for the Cheetos Chicken Strips.
Step 4: Bread the Chicken
To coat your chicken, begin by dredging each strip in the flour, shaking off the excess. Dip it into the egg, making sure it’s fully coated, then roll it in the crushed Cheetos until well covered. This three-step process ensures that every strip is flavor-packed and ready for cooking.
Step 5: Cook the Chicken Strips
Heat your oven to 400°F (200°C) and place the breaded chicken strips on a wire rack set over a baking sheet to allow airflow. Bake them for 18–20 minutes, or until they are golden brown and crispy, flipping halfway through for even cooking. If you prefer frying, heat oil in a deep skillet over medium heat and fry the strips for 4–5 minutes per side until they’re beautifully golden and cooked through.
Step 6: Serve the Cheetos Chicken Strips
Once cooked, take your Cheetos Chicken Strips out of the oven or skillet and let them rest for a few moments. Serve them hot with your favorite dipping sauces like ranch or BBQ, and delight in the crispy, cheesy goodness that’s sure to be a hit with everyone!

What to Serve with Cheetos Chicken Strips
Elevate your dining experience by pairing these crispy strips with delectable sides and drinks that complement their cheesy crunch.
- Creamy Coleslaw: The tangy crunch of coleslaw balances the savory richness of the strips, making for a refreshing side dish.
- Loaded Nachos: Pile on the cheese and toppings for a fun, shareable dish that pairs perfectly with the bold flavors of the chicken.
- Garlic Butter Fries: Crispy fries drizzled with garlic butter provide an irresistible pairing and the ultimate comfort food experience.
- Buffalo Cauliflower Bites: For a spicy veggie option, these bites offer a perfect kick, echoing the heat of Flamin’ Hot Cheetos while adding a nutritious flair.
- Sweet Corn on the Cob: The sweetness of corn contrasts beautifully with the savory chicken, offering a delightful burst of flavor and color on your plate.
- Mango Salsa: This vibrant, fruity salsa’s brightness cuts through the richness of the chicken, adding a refreshing element to each bite.
- Sparkling Lemonade: A fizzy, citrusy drink refreshes the palate and complements the addictive crunch of the Cheetos Chicken Strips.
- Chocolate Chip Cookies: End your meal on a sweet note with soft, warm cookies, providing a nostalgic nod to snack-time treats.
Make Ahead Options
These Cheetos Chicken Strips are perfect for meal prep enthusiasts! You can prepare and freeze the raw, breaded strips up to 3 days in advance. Simply follow the breading steps, then arrange the strips on a baking sheet in a single layer and freeze until solid. Once frozen, transfer them to a zip bag for longer-term storage. To maintain quality, avoid stacking them before fully freezing to prevent sticking. When you’re ready to enjoy your delicious Cheetos Chicken Strips, bake them straight from the freezer at 400°F (200°C) for about 25-30 minutes, adding a few extra minutes if needed, for that irresistible crunch and juicy interior!
Expert Tips for Cheetos Chicken Strips
• Coat Evenly: Ensuring each chicken strip is coated evenly is key for achieving that signature crunch—don’t rush this step!
• Temperature Matters: Preheat your cooking method—oven, air fryer, or oil—before adding the chicken; this helps lock in moisture while achieving a crisp exterior.
• Avoid Crowding: When baking or frying, give your chicken strips space to breathe. Overcrowding the pan can lead to soggy Cheetos Chicken Strips instead of crispy perfection.
• Chill Before Cooking: If possible, let your coated chicken sit in the fridge for about 15 minutes before cooking. This helps the coating adhere better and enhances the overall crunch.
• Try Variations: Don’t hesitate to switch up the flavors! Experimenting with different types of Cheetos or spices can lead to unique variations of these Cheetos Chicken Strips that everyone will love.
Cheetos Chicken Strips Variations
Feel free to let your creativity shine and customize these Cheetos Chicken Strips to suit your taste!
- Dairy-Free: Use dairy-free Cheetos and substitute eggs with almond milk for a delicious twist.
- Spicy Kick: Add cayenne pepper to the flour mixture or use Flamin’ Hot Cheetos for an extra punch of heat.
- Different Chips: Experiment with different brands like Doritos or tortilla chips for a new flavor profile.
- Pork Option: Try using sliced pork tenderloin in place of chicken for a unique version of these strips.
- Healthy Twist: Air fry the strips for a lighter, healthier alternative without sacrificing that unbeatable crunch.
- Sweet Vibes: Swap out Cheetos for sweet cinnamon chips and serve with a cream cheese dipping sauce for a dessert-like experience.
- Herb-Infused: Mix dried herbs like oregano or thyme into the flour for an aromatic twist that complements the Cheetos perfectly.
- Meal Prep: Make a big batch and freeze some for busy weeknights; just bake them straight from the freezer!
With these variations, your Cheetos Chicken Strips can transform every time you make them! If you’re craving a different chicken delight, give my Garlic Butter Chicken a try for another tasty option.
Storage Tips for Cheetos Chicken Strips
Fridge: Store any cooked Cheetos Chicken Strips in an airtight container for up to 3 days to maintain their crunch and flavor.
Freezer: For long-term storage, freeze raw, breaded chicken strips in a freezer-safe bag for up to 3 months. Thaw before cooking for the best results.
Reheating: Reheat leftovers in an air fryer or bake in the oven at 375°F (190°C) for about 10–15 minutes to restore crispness, avoiding the microwave to prevent sogginess.

Cheetos Chicken Strips Recipe FAQs
What type of Cheetos should I use?
You can use either classic Cheetos or Flamin’ Hot Cheetos, depending on your spice preference. If you’re feeling adventurous, cheese puffs or even Doritos can be delicious alternatives for coating your chicken!
How should I store leftovers?
Store your cooked Cheetos Chicken Strips in an airtight container in the refrigerator for up to 3 days. This ensures they stay fresh and ready to enjoy as snacks or part of another meal!
Can I freeze Cheetos Chicken Strips?
Absolutely! For best results, freeze the raw, breaded chicken strips in a single layer on a baking sheet until solid, then transfer them to a freezer-safe bag. They can last for up to 3 months. When you’re ready to cook, simply thaw in the fridge overnight and then bake or fry as usual.
What if the Cheetos coating is falling off during cooking?
To avoid this common issue, make sure you coat each strip evenly and press the crushed Cheetos firmly onto the chicken. It’s also helpful to chill the coated strips in the refrigerator for about 15 minutes before cooking. This resting time helps the coating adhere better during baking or frying.
Are Cheetos Chicken Strips suitable for my gluten-free diet?
Definitely! You can easily make these Cheetos Chicken Strips gluten-free by using a gluten-free all-purpose flour instead of regular flour. Just check the ingredient list on the Cheetos to ensure they are gluten-free as well, or opt for a different coated snack that meets your dietary needs.
How do I ensure my Cheetos Chicken Strips are crunchy after storing?
To preserve their crunch when reheating, I recommend using an air fryer or baking in the oven at 375°F (190°C) for about 10-15 minutes after storing. Avoid the microwave, as it tends to make the coating soggy. Keep them crispy for the perfect snack experience!

Cheetos Chicken Strips: The Ultimate Crispy Snack Sensation
Ingredients
Equipment
Method
- Prep the Chicken: Cut chicken tenders into strips about 1 inch wide.
- Crush the Cheetos: Use a food processor or rolling pin to achieve fine crumbs.
- Set Up the Breading Station: Prepare three bowls for flour, beaten eggs, and crushed Cheetos.
- Bread the Chicken: Dredge each strip in flour, dip in egg, and roll in crushed Cheetos.
- Cook the Chicken Strips: Bake at 400°F (200°C) for 18–20 minutes or fry for 4–5 minutes per side.
- Serve the Cheetos Chicken Strips: Let rest and serve hot with dipping sauces.

Leave a Reply