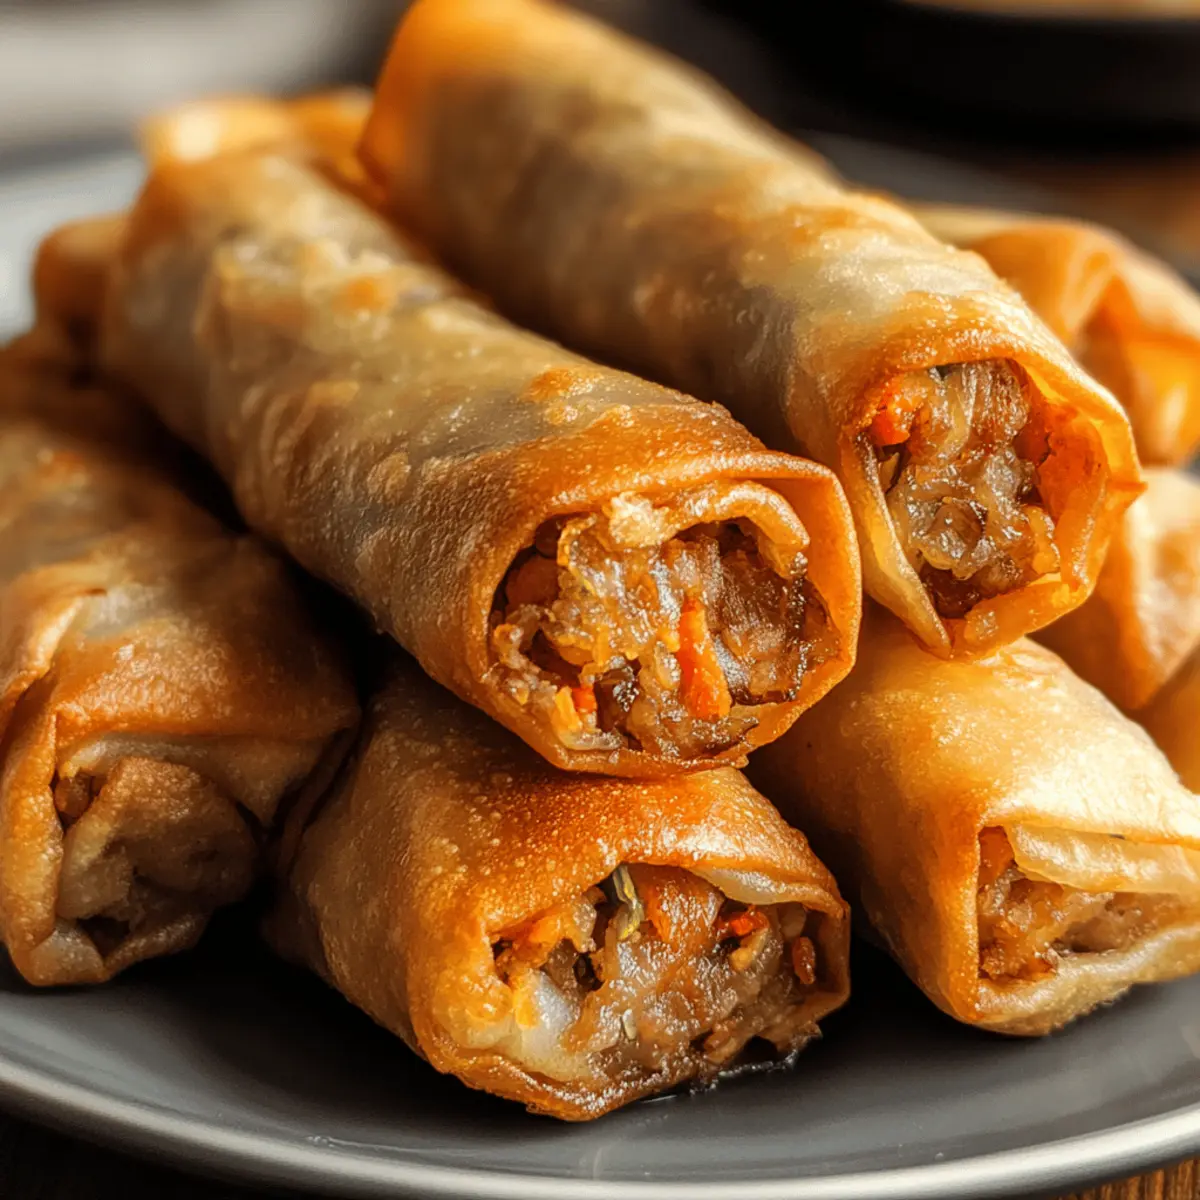
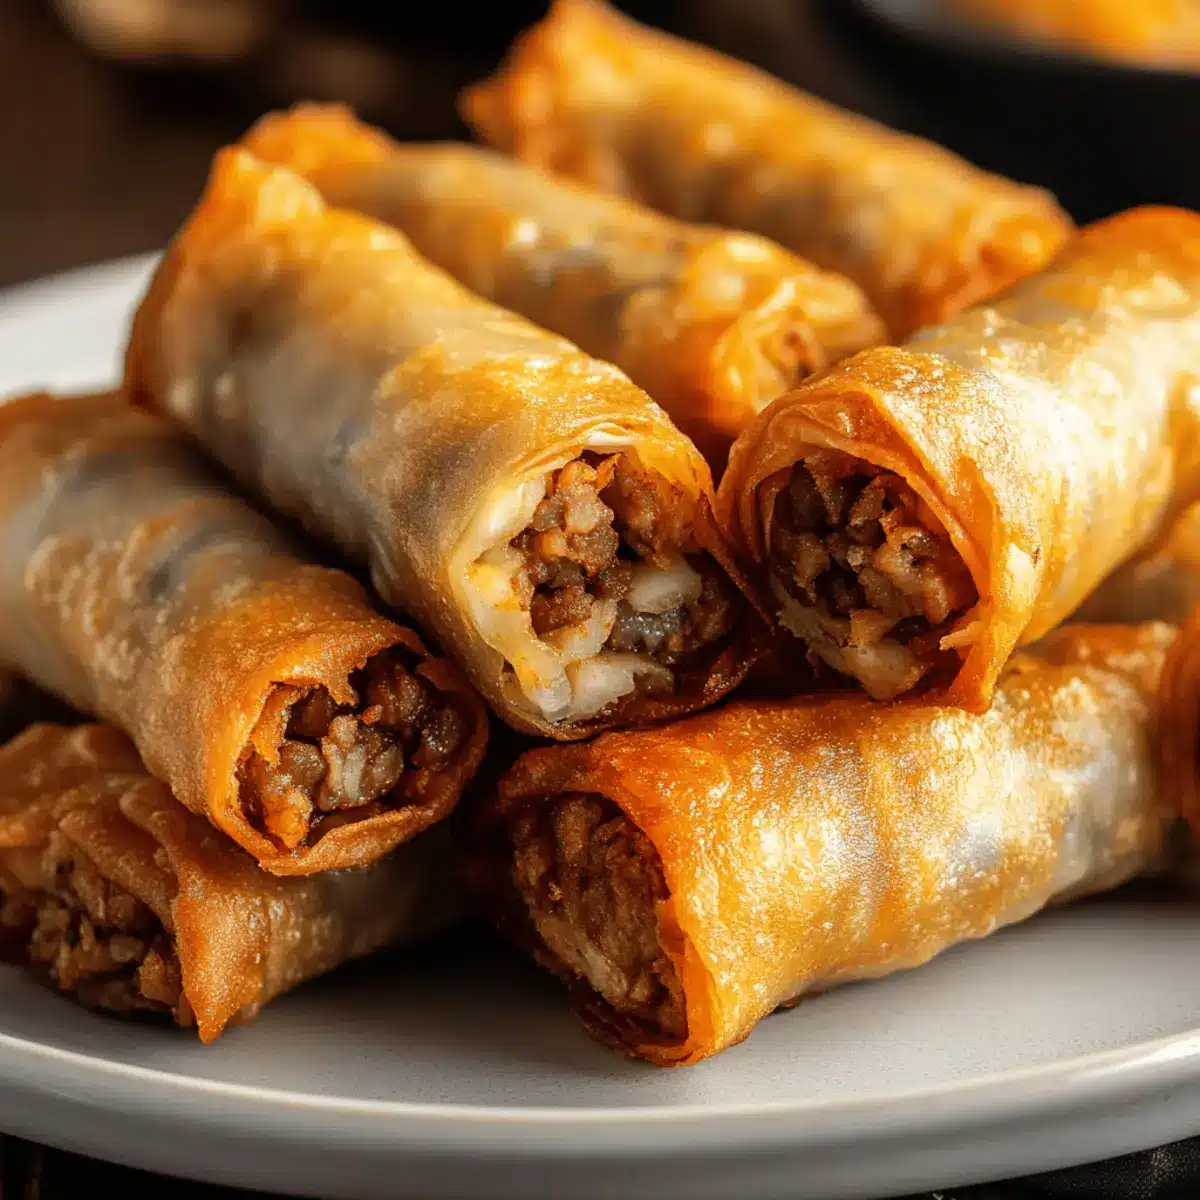
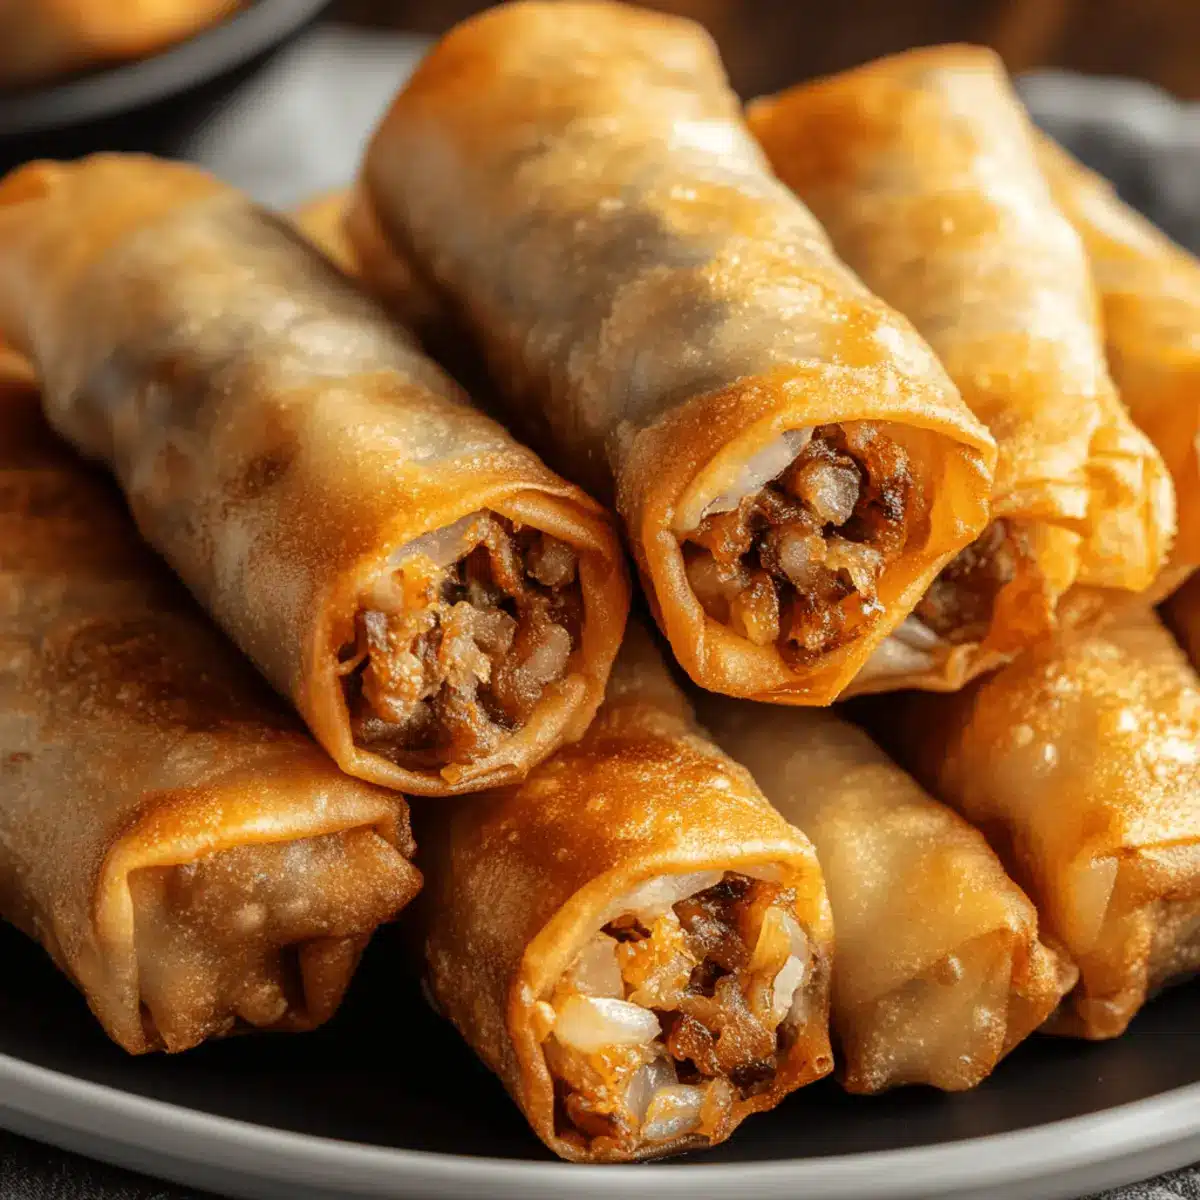
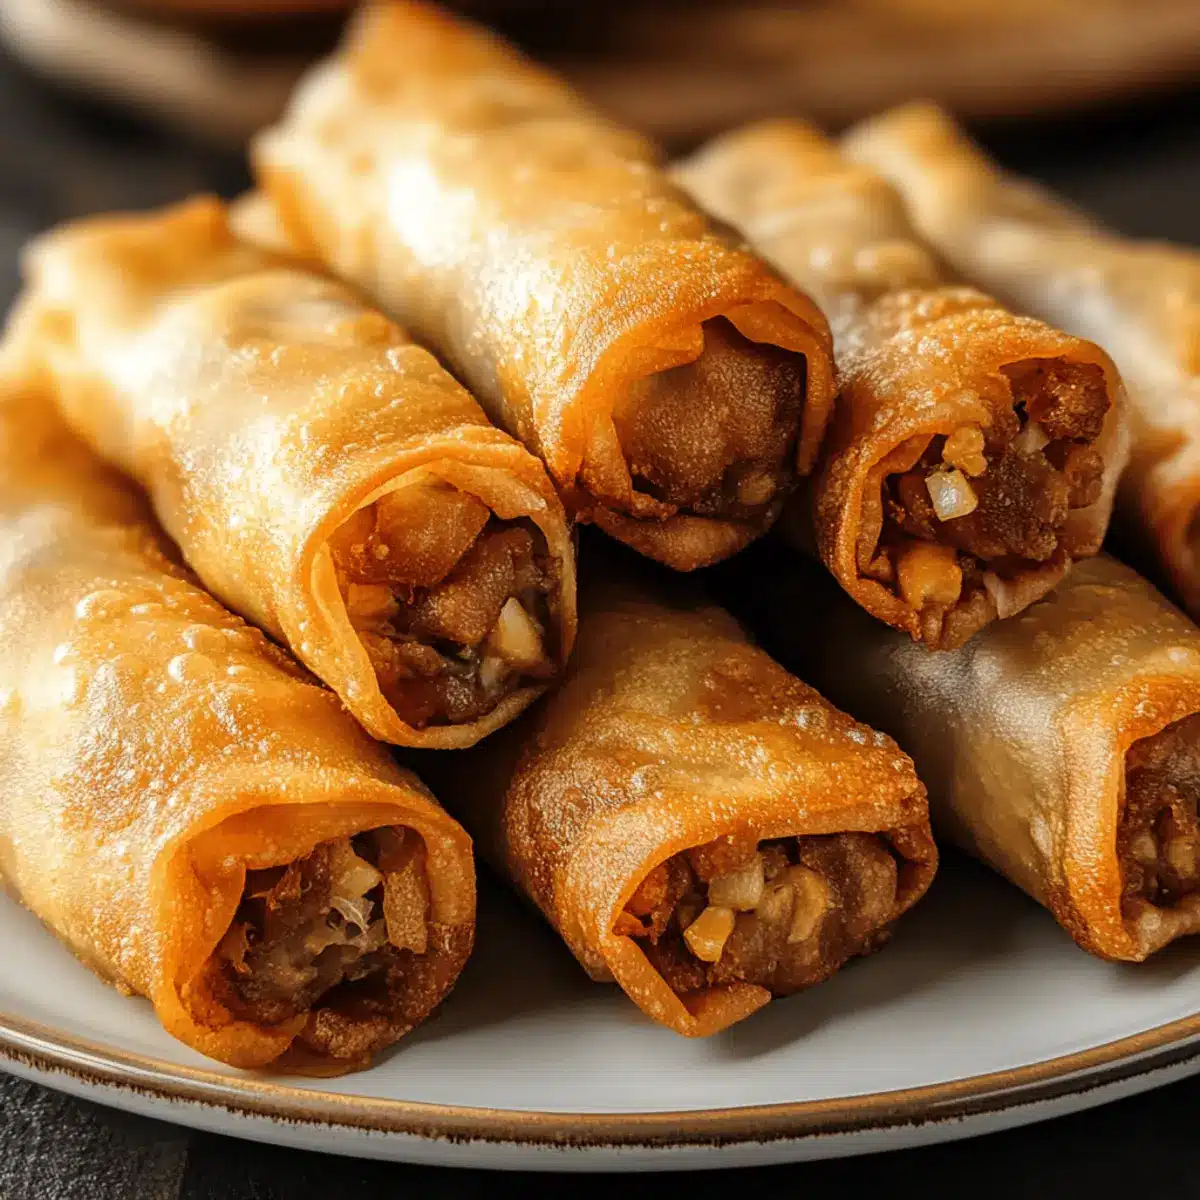
As I sift through family recipe cards, the delightful crunch of crispy Filipino Lumpia always pops up to the forefront—a true celebration on any table. These irresistible egg rolls, stuffed with a savory blend of ground pork and fresh vegetables, are not just mere snacks; they’re a warm hug of flavor and nostalgia. What I love most is how quick they are to whip up, making them ideal for unexpected guests or as the star of a weekend gathering. Plus, with the ability to swap in chicken, turkey, or even beef, you’ll find a variant to please every palate. Ready to uncover the secrets behind this Filipino favorite? Let’s dive into the magic of making lumpia that will have everyone reaching for seconds!

Why Try Filipino Lumpia Today?
Crispy Perfection: The golden, crunchy exterior is irresistible, giving you that satisfying crunch with every bite.
Savory Comfort: Stuffed with a delicious mix of ground pork and fresh veggies, each roll bursts with flavor, recalling cherished family meals.
Quick to Make: Perfect for last-minute gatherings, these easy-to-prepare appetizers allow you to impress your guests without hours in the kitchen.
Endless Variability: Whether you prefer chicken, turkey, or beef, this recipe adapts to any preference, ensuring a delightful experience for everyone.
Crowd-Pleasing Appeal: Serve them with sweet chili sauce or a tangy vinegar dip, and watch them disappear at parties, family gatherings, or game nights.
Have a look at how to elevate your cooking with delicious variations to suit any taste bud!
Filipino Lumpia Ingredients
For the Filling
• Ground Pork – the main protein providing flavor; can substitute with chicken, turkey, or beef.
• Finely Chopped Carrots – adds sweetness and texture; fresh or frozen can be used.
• Finely Chopped Green Beans/Cabbage – contributes crunch and bulk; choose based on your preference.
• Small Onion (Minced) – enhances flavor and moisture in the filling.
• Garlic (Minced) – infuses the filling with aromatic depth.
• Egg – acts as a binder for the filling; use a vegan substitute like flax egg if desired.
• Soy Sauce – provides umami flavor; use tamari for a gluten-free option.
• Ground Black Pepper – adds a touch of heat; adjust according to taste.
For the Wrapping
• Lumpia Wrappers (25-30) – essential for crispiness; keep them under a damp towel to prevent drying.
• Neutral Oil (for frying) – canola, vegetable, or peanut oil are great for frying.
• Water/Egg Wash – used to securely seal the wrappers.
For the Dipping
• Sweet Chili Sauce – a traditional dipping sauce that provides sweetness and a slight kick.
• Vinegar Dip – mix cane or white vinegar with salt, pepper, and minced garlic for a tangy contrast.
With these ingredients, crafting your very own Filipino Lumpia will be an enriching experience that fills your home with warmth and flavor!
Step‑by‑Step Instructions for Filipino Lumpia
Step 1: Prepare the Filling
In a large mixing bowl, combine the ground pork, finely chopped carrots, green beans or cabbage, minced onion, garlic, egg, soy sauce, and ground black pepper. Use your hands to mix everything thoroughly until well-blended and seasoned. This step is essential for ensuring your Filipino Lumpia has a rich and delightful flavor profile that everyone will enjoy.
Step 2: Check the Seasoning
To ensure your filling is just right, cook a small spoonful in a skillet over medium heat for about 2-3 minutes until fully cooked. Taste the filling and adjust the seasoning by adding more soy sauce or pepper if desired. This will guarantee that your Filipino Lumpia is bursting with just the right amount of savory goodness.
Step 3: Assemble the Lumpia
Lay a lumpia wrapper on a clean, flat surface in a diamond shape, keeping the rest covered with a damp cloth. Spoon approximately 1 tablespoon of the filling onto the bottom corner of the wrapper. Folding it tightly at the bottom ensures the filling is fully encased, making each piece a satisfying bite of goodness.
Step 4: Roll and Seal
Fold the bottom corner over the filling and tuck in tightly. Next, fold in the left and right corners like an envelope, then roll it upwards towards the top corner. Use water or an egg wash on the tip to secure it well—this will keep your Filipino Lumpia intact while frying and enhance the overall presentation.
Step 5: Repeat and Prepare for Frying
Continue assembling the remaining lumpia, placing each one seam-side down on a tray lined with parchment paper. Keep the assembled Filipino Lumpia covered with a damp towel to prevent them from drying out. This will help maintain their crispiness when fried, ensuring they turn out golden and delicious.
Step 6: Heat the Oil
In a deep pot or Dutch oven, heat the neutral oil to 350°F (175°C) over medium heat. Use a thermometer for accuracy, as the oil temperature is crucial for achieving the perfect crunchy exterior. You should see small bubbles forming when it’s ready, signaling that it’s time to fry your Filipino Lumpia.
Step 7: Fry in Batches
Carefully place a few lumpia in the hot oil, seam-side down, avoiding overcrowding. Fry for about 3-5 minutes or until they turn a lovely golden brown and are crispy. Keep an eye on them, turning occasionally for even cooking. This step will bring out that signature crunch, leaving everyone craving for more.
Step 8: Drain and Serve
Once fried to perfection, remove the Filipino Lumpia from the oil and place them on a wire rack set over a baking sheet to drain excess oil. This method helps keep them crispy. Serve your delicious lumpia hot, paired with sweet chili sauce or a tangy vinegar dip for the ultimate flavor experience.
Step 9: Garnish if Desired
For a visual pop, sprinkle freshly chopped green onions or cilantro over the finished lumpia before serving. This adds an appealing touch and enhances the overall flavor profile, inviting everyone to enjoy your homemade Filipino Lumpia style!

What to Serve with Crispy Filipino Lumpia
Crafting the perfect meal means finding delightful pairings that complement the flavors of your crispy egg rolls, enhancing both taste and experience.
-
Sweet Chili Sauce: This traditional dipping sauce adds a perfect balance of sweetness and spice, enhancing the lumpia’s savory filling.
-
Vinegar Dip: A mix of vinegar, garlic, salt, and pepper provides a tangy contrast that brightens up each crunchy bite.
-
Coconut Rice: The creamy sweetness of coconut rice complements the crispy texture of lumpia for a comforting, island-inspired combo.
-
Asian Slaw: Crunchy vegetables tossed in a sesame dressing not only add color but also a refreshing, crunchy element to your meal.
-
Spring Rolls: Offer your guests a delightful variety with these equally crispy bites, showcasing different flavor profiles while maintaining the crunchy theme.
-
Garlic Fried Rice: Savory garlic rice holds up to the deliciousness of lumpia, creating a satisfying and hearty meal experience.
-
Fruit Salad: A light, tropical fruit salad adds a fresh and juicy contrast, cleansing the palate between bites of rich and savory lumpia.
-
Green Tea: Pair with this soothing drink to balance the crunchiness, offering a subtle earthiness that complements the lumpia perfectly.
Make Ahead Options
These Filipino Lumpia are perfect for busy home cooks who want to save time without sacrificing flavor! You can assemble the lumpia and refrigerate them for up to 8 hours before frying. To do this, simply roll them as instructed, then place them seam-side down on a tray, covering them with a damp cloth to prevent drying. Alternatively, freeze the uncooked lumpia for up to 3 months—just layer them in an airtight container with parchment paper in between each layer. When ready to serve, fry the frozen lumpia directly from the freezer for quick snacks that are just as delicious as fresh. Enjoy the convenience of meal prep while treating your loved ones to a delightful treat!
Expert Tips for Filipino Lumpia
Keep Wrappers Moist: Always cover the lumpia wrappers with a damp towel while assembling to prevent them from drying and cracking.
Heat Matters: Ensure your oil is at 350°F (175°C) before frying. This temperature guarantees a crisp exterior and prevents greasy outcomes.
Avoid Overcrowding: Fry only a few lumpia at a time to allow even cooking and achieve that perfectly crispy Filipino Lumpia everyone loves.
Taste Test: Always cook a small sample of your filling to taste and adjust the seasoning before wrapping; this makes all the difference.
Make-Ahead Magic: Assemble lumpia in advance and store them in the refrigerator for up to 8 hours, or freeze them to fry later for quick snacks.
Seal Well: Use the water or egg wash generously to properly seal your wrappers, ensuring the filling stays inside while frying.
Storage Tips for Filipino Lumpia
Room Temperature: Wrapped Filipino Lumpia can be kept at room temperature for up to 2 hours; beyond that, store in the fridge to maintain freshness.
Fridge: Store leftovers in an airtight container for up to 3 days. If you plan to eat them later, reheat in a hot oven for the best crispiness.
Freezer: Raw lumpia can be frozen for up to 3 months. Place them in a single layer on a baking sheet to freeze, then transfer to a freezer bag. Fry directly from frozen for quick snacks!
Reheating: To reheat cooked lumpia, place them in an oven set to 375°F (190°C) for about 10-12 minutes until crispy again.
Filipino Lumpia: Customizable Delights
Feel free to get creative and put your spin on these delicious Filipino Lumpia! Each variation brings a new twist to this beloved dish and enhances its satisfying crunch.
-
Chicken Option: Swap ground pork for ground chicken for a lighter alternative that still delivers on flavor.
-
Turkey Twist: For a leaner choice, use ground turkey to create a healthier version without sacrificing taste. The filling remains juicy and delicious!
-
Vegetarian Delight: Substitute the meat with finely chopped mushrooms and extra vegetables for a satisfying veggie lumpia that has its own unique flavor profile.
-
Spicy Kick: Add finely chopped jalapeños or red pepper flakes to the meat mixture for an exciting heat that complements the savory filling beautifully.
-
Sweet Thai: Mix in a bit of brown sugar or finely diced bell peppers for a hint of sweetness, balancing the savory elements and creating a delightful contrast in every bite.
-
Herb-Infused: Incorporate fresh herbs such as cilantro or basil into the filling for a fragrant twist that packs an aromatic punch, elevating your lumpia experience.
-
Nutty Surprise: Toss in a handful of finely chopped water chestnuts or peanuts for an unexpected crunch that adds texture and enhances the overall taste.
-
Crispy Baked Version: Try brushing the wrapped lumpia with a bit of oil and baking them in the oven instead of frying. This offers a healthier way to enjoy the crispy goodness!
With the flexibility to adapt this recipe, you’ll be able to create tempting treats that cater to your cravings while still enjoying the heartwarming essence of Filipino Lumpia. Don’t forget to explore the joy of serving them alongside a mix of dips, such as sweet chili sauce or a zesty vinegar dip, to complement every bite!

Filipino Lumpia Recipe FAQs
What type of ground meat is best for lumpia?
Absolutely! While ground pork is the traditional choice for Filipino Lumpia, you can easily swap it for ground chicken, turkey, or beef based on your family’s preference. Each option brings a unique flavor, allowing you to customize your lumpia to suit everyone’s taste buds!
How should I store leftover lumpia?
Very! Leftover lumpia can be stored in an airtight container in the fridge for up to 3 days. To maintain their crunchiness when reheating, place them in a hot oven set to 375°F (190°C) for about 10-12 minutes. This will help them crisp back up beautifully!
Can I freeze lumpia?
Of course! You can freeze raw lumpia for up to 3 months. To do this, lay them out in a single layer on a baking sheet and freeze until solid. Afterward, transfer them to a freezer-safe bag. When you’re ready to enjoy them, fry them directly from frozen for a quick and satisfying snack.
What should I do if my lumpia wrappers crack?
Oh no! If your wrappers are cracking, it’s likely because they’re too dry. Always keep unused lumpia wrappers covered with a damp towel while you assemble them. If they break while rolling, embrace it! Even if not perfect, they will still taste delicious. Just seal the filling securely to avoid any spills.
Are there any dietary considerations for lumpia?
Absolutely! If you have dietary restrictions, you can easily adjust this recipe. For a gluten-free option, use tamari instead of soy sauce. Additionally, you can create a vegan version by substituting the egg with a flax egg and using plant-based protein or mushrooms as the filling. Just be mindful of any specific allergies to vegetables or wraps.
How long can I keep cooked lumpia at room temperature?
Make sure to only keep cooked lumpia at room temperature for a maximum of 2 hours. Beyond that, they should be refrigerated to ensure they stay fresh and safe to eat. This way, you can enjoy them over those delightful family gatherings without worry!

Filipino Lumpia: Crunchy Bites of Heaven You’ll Crave
Ingredients
Equipment
Method
- In a large mixing bowl, combine the ground pork, finely chopped carrots, green beans or cabbage, minced onion, garlic, egg, soy sauce, and ground black pepper. Mix thoroughly until well-blended.
- Cook a small spoonful of the filling in a skillet over medium heat for 2-3 minutes. Taste, adjusting seasoning as necessary.
- Lay a lumpia wrapper in a diamond shape and spoon approximately 1 tablespoon of the filling onto the bottom corner. Fold tightly.
- Fold in the left and right corners and roll up towards the top corner, sealing with water or egg wash.
- Continue assembling remaining lumpia, placing seam-side down on a lined tray covered with a damp towel.
- Heat the neutral oil to 350°F (175°C) over medium heat. Use a thermometer to check.
- Fry lumpia in batches for 3-5 minutes or until golden brown, turning occasionally.
- Remove from oil and drain on a wire rack. Serve hot with dipping sauces.
- Garnish with chopped green onions or cilantro if desired.

Leave a Reply