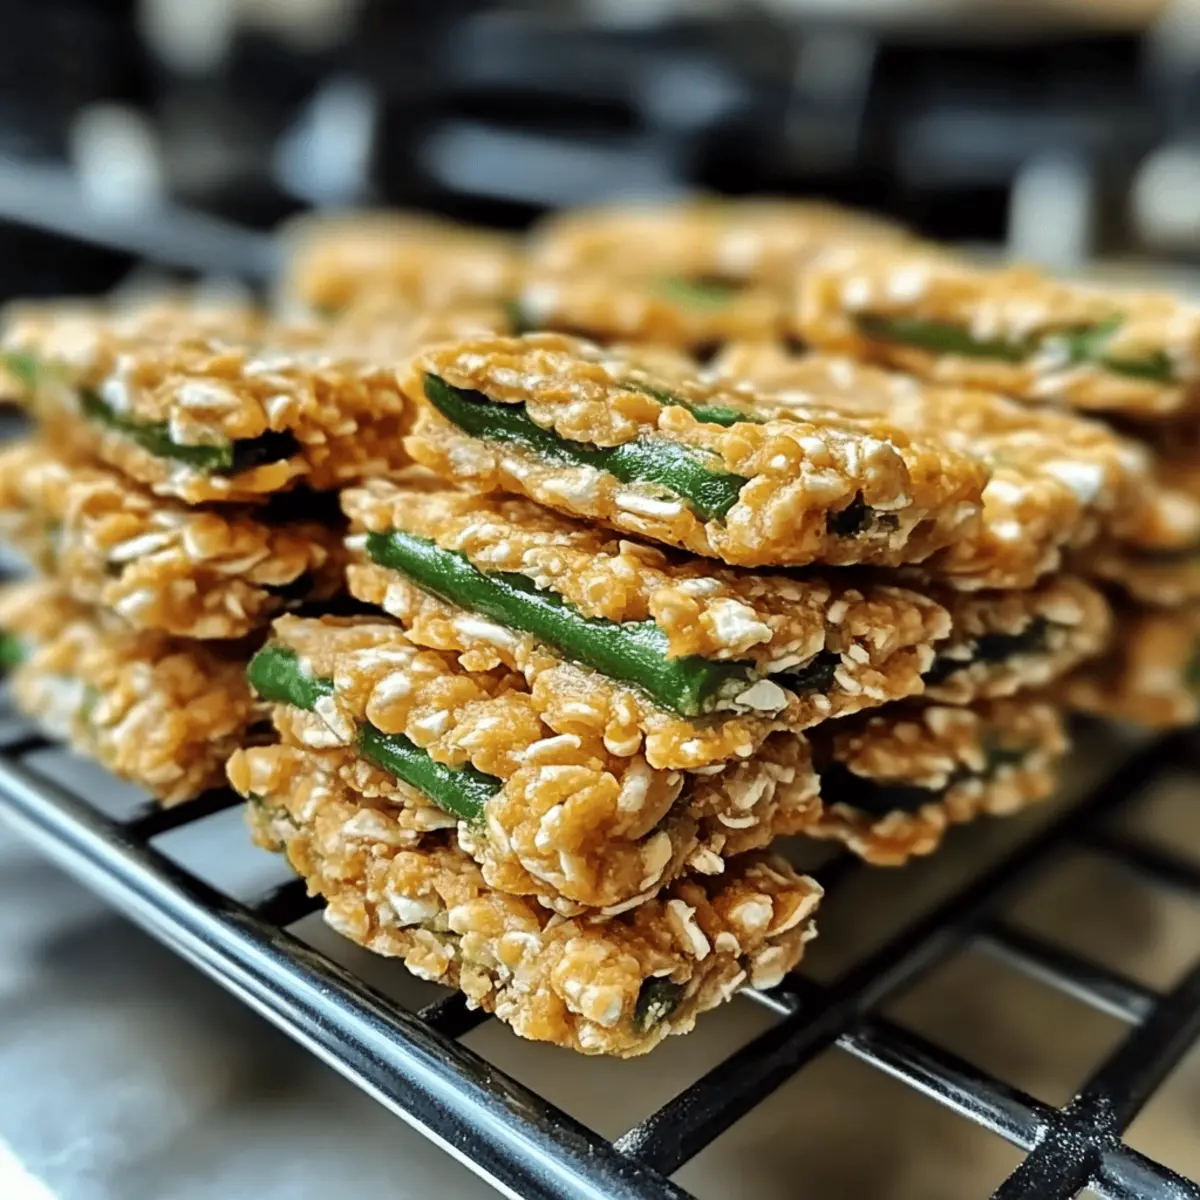
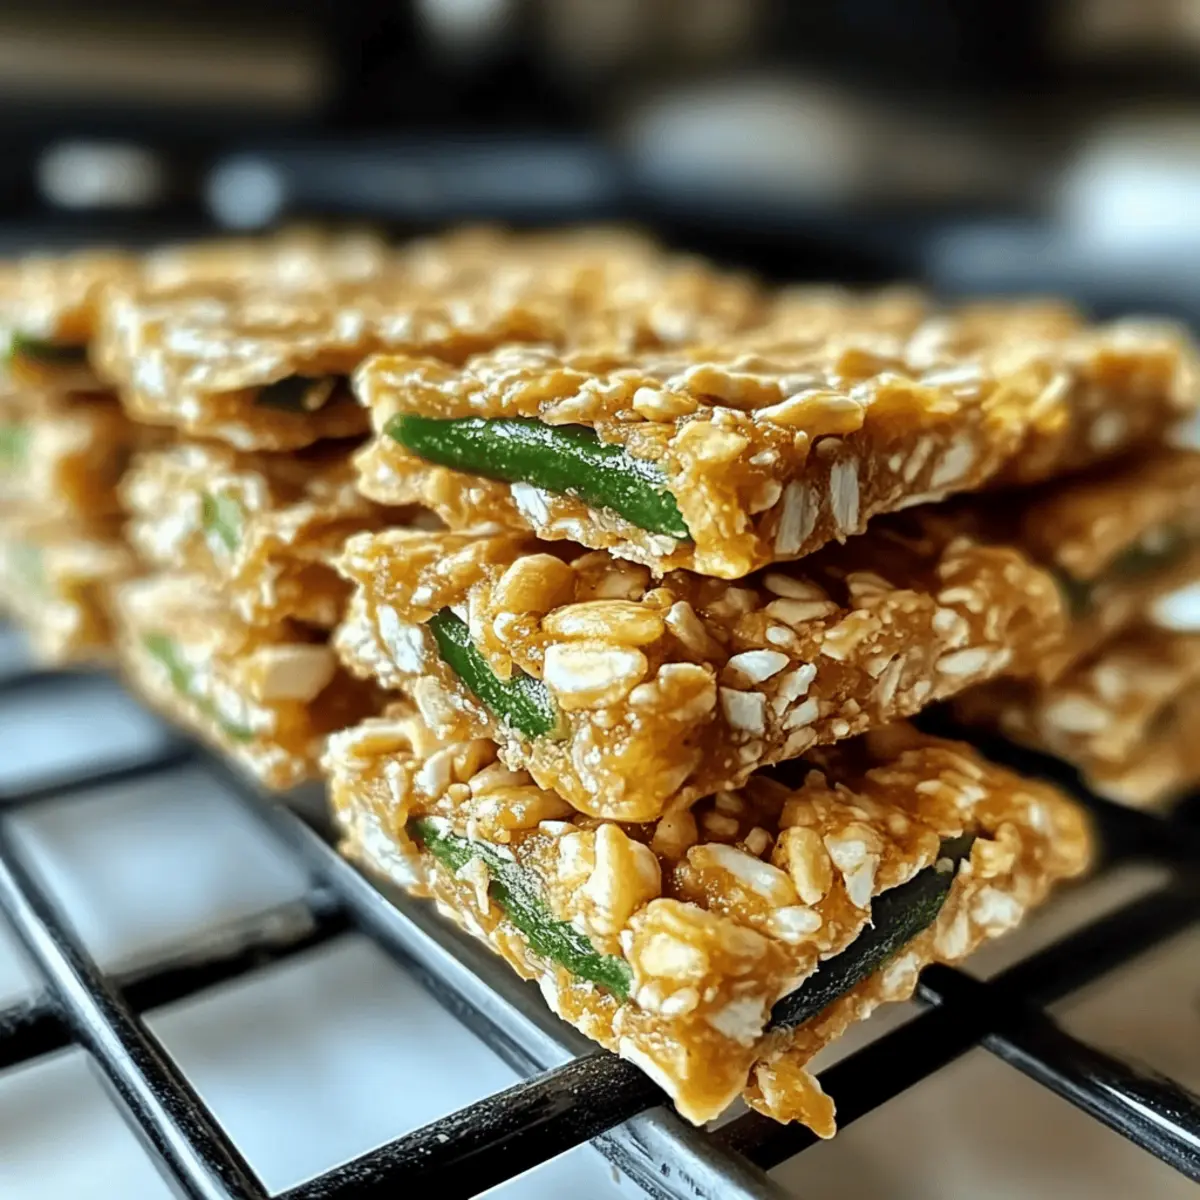
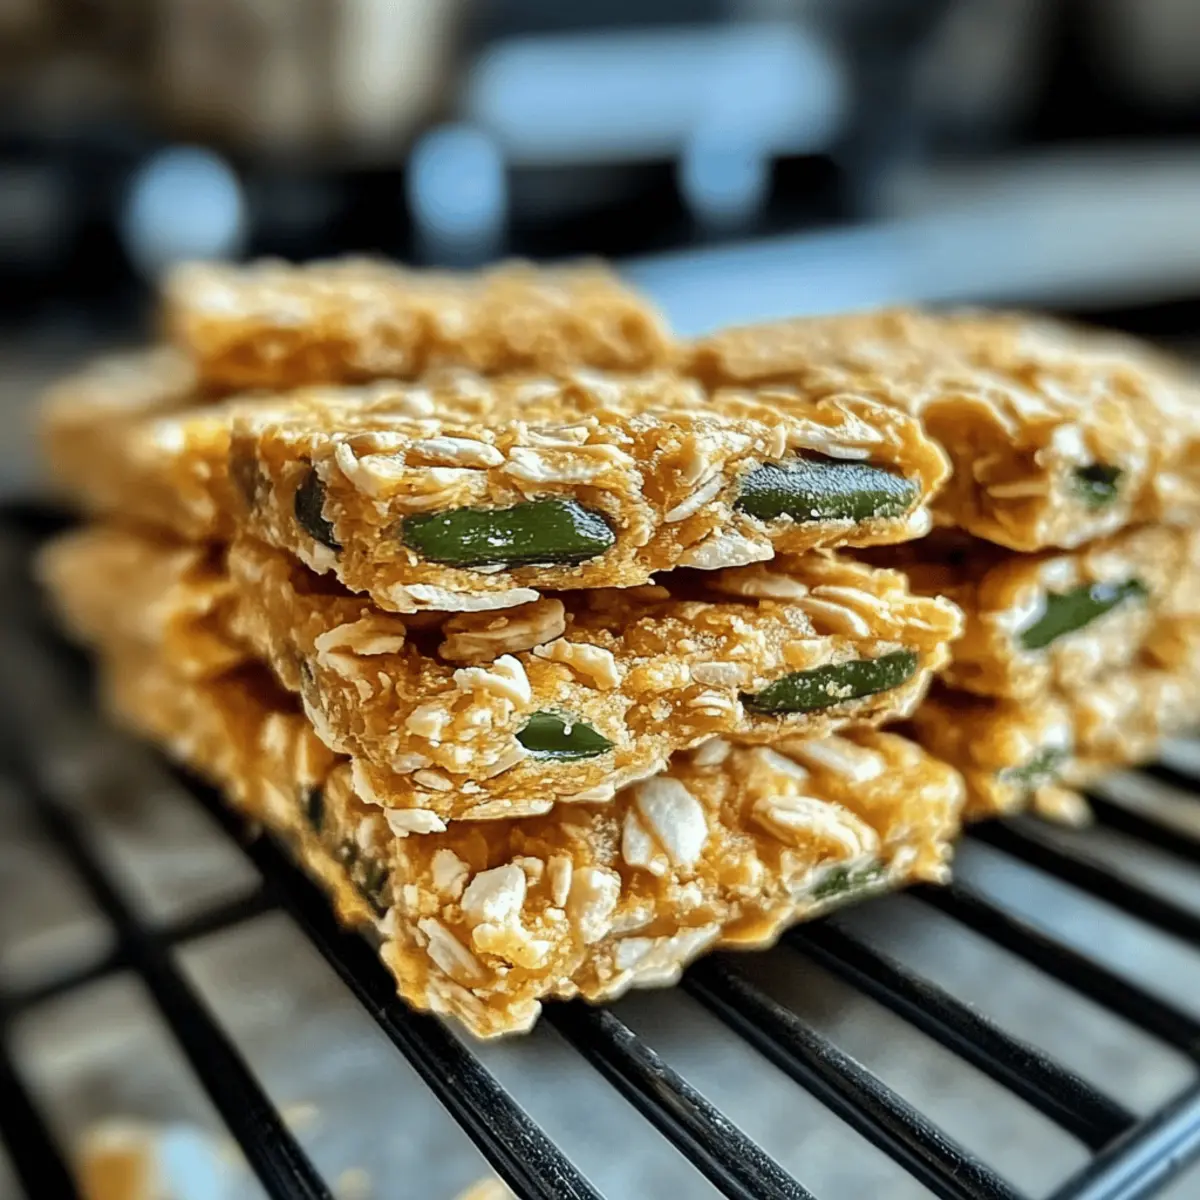
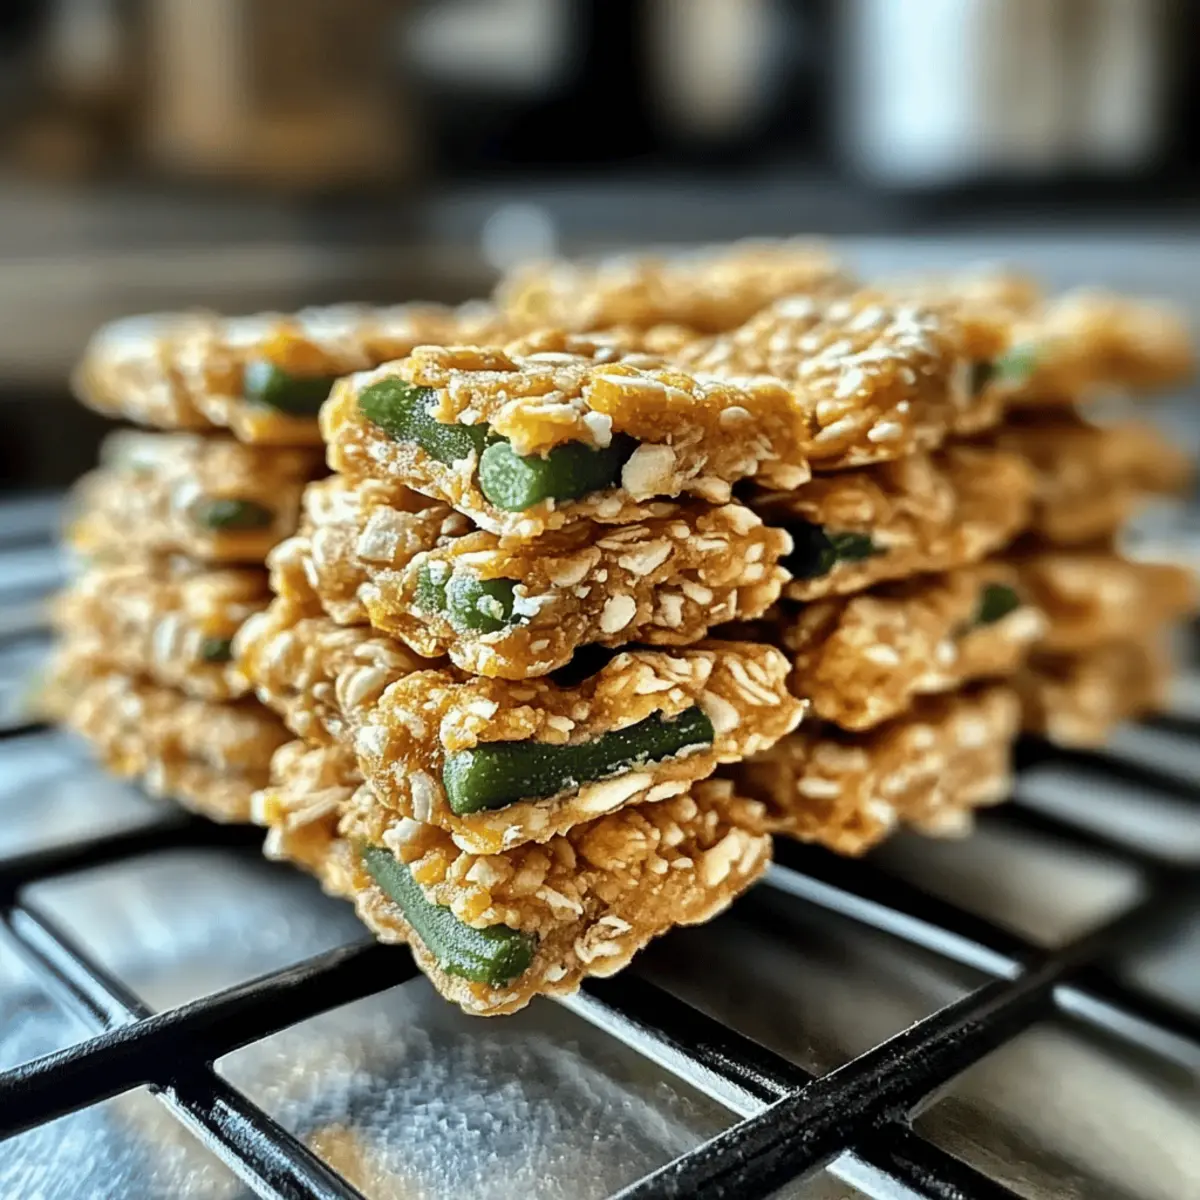
“Why settle for store-bought when you can whip up something extraordinary for your furry friend? With these homemade Green Bean and Chicken Crunchies, you’ll not only be treating your pup to a delectable snack but also ensuring they’re receiving wholesome, nutritious ingredients. Packed with protein and fiber, these crunchy delights are a wonderful way to promote dental health while keeping mealtime exciting. Plus, the best part? They’re incredibly easy to make and customizable to fit your dog’s unique dietary needs. Get ready to transform mealtime into a tail-wagging celebration! What special twist will you add to your pup’s treat today?”

Why Try These Crunchy Dog Treats?
Wholesome Ingredients: You’ll love knowing exactly what’s in each bite, unlike store-bought options filled with fillers.
Customizable Options: Tailor the recipe to suit your dog’s dietary needs by swapping proteins or adding veggies!
Simple Preparation: Whip these up in no time with just a few ingredients, making them perfect for busy pet parents.
Crowd-Pleaser: Your pup will be begging for more with these crunchy, flavor-packed snacks—great for training rewards or just because!
Try them today and see the joy on your furry friend’s face! Plus, if you’re looking for more homemade ideas, check out our Cheesy Chicken Garlic treats that are equally delightful!
Green Bean and Chicken Crunchies Ingredients
• Create irresistible snacks with these wholesome Green Bean and Chicken Crunchies!
For the Crunchies
- Cooked, shredded chicken (2 cups) – This boneless, skinless chicken is the main source of protein in these treats, ensuring they’re both safe and tasty for your furry friend.
- Fresh green beans (1 cup) – Steaming or blanching these beans before use keeps them crunchy and adds a wonderful fiber boost.
- Oat flour (1½ cups) – A gluten-free staple, this ingredient provides structure; you can easily make it by grinding rolled oats if needed.
- Eggs (2) – Essential for binding the ingredients together, eggs add moisture and richness to the mixture.
- Chicken broth (½ cup) – Use low-sodium broth for flavor and moisture; it enhances the overall taste without too much salt.
- Coconut oil or olive oil (2 tablespoons) – These healthy fats not only contribute to the texture but also offer beneficial nutrients for your dog.
- Optional additions (turmeric or ground flaxseed) – These can enhance the nutritional value of the treats, providing added health benefits without fuss.
Enjoy making these delightful crunchies for your pup, knowing they’re made with love and care!
Step‑by‑Step Instructions for Green Bean and Chicken Crunchies
Step 1: Preheat the Oven
Begin by preheating your oven to 350°F (175°C). While the oven heats up, prepare a baking sheet by lining it with parchment paper. This not only prevents sticking but makes cleaning a breeze later on. You’ll want the oven nice and hot to ensure your Green Bean and Chicken Crunchies bake evenly and achieve that delightful, crunchy texture.
Step 2: Prepare the Chicken
Cook and shred 2 cups of boneless, skinless chicken until it’s finely broken down. You can use leftover roasted chicken or boil fresh chicken for this step. The shredded chicken will serve as the main protein source in your treats, so ensure it’s cooked thoroughly and cool enough to handle. This step will add a savory flavor that your pup will love!
Step 3: Cook the Green Beans
Next, take 1 cup of fresh green beans and lightly steam or blanch them until they are bright green and slightly tender, which should take about 3-5 minutes. After steaming, quickly chop the green beans into small, bite-sized pieces. This will incorporate essential fiber into your Green Bean and Chicken Crunchies while maintaining a pleasant crunch that dogs enjoy.
Step 4: Mix the Dry Ingredients
In a large mixing bowl, combine the shredded chicken, chopped green beans, and 1½ cups of oat flour. Stir well to evenly distribute the ingredients. Oat flour serves as a gluten-free base, providing structure to your treats. The mixture should have a fragrant aroma as you mix, indicating that your delicious snacks are coming together beautifully.
Step 5: Incorporate the Wet Ingredients
Add 2 eggs, ½ cup of low-sodium chicken broth, and 2 tablespoons of coconut oil or olive oil to the dry mixture. Blend everything together until a sticky dough forms. This step is crucial as the eggs bind all the ingredients, while the chicken broth and oil add moisture and enhance the flavor. The dough should be slightly tacky but manageable to work with.
Step 6: Roll Out the Dough
Lightly flour your work surface and roll out the dough to about ¼ inch thickness. This thickness will ensure that your Green Bean and Chicken Crunchies bake evenly and achieve that perfect crunch. Use a rolling pin to flatten the dough evenly, taking care to avoid sticking; add more flour if necessary to keep it manageable.
Step 7: Cut into Shapes
Using cookie cutters or a sharp knife, cut the rolled dough into your desired shapes. This could be in the form of bones, circles, or whatever fun shapes you fancy! This step adds a personal touch to your treats and makes them visually appealing for your pup. Ensure the shapes are not too large, as smaller sizes will bake more evenly.
Step 8: Arrange on the Baking Sheet
Place the shaped treats onto the lined baking sheet, ensuring there is adequate space between each piece. This will allow for proper air circulation during baking, ensuring that each Green Bean and Chicken Crunchy becomes nicely crispy. You should see your cute shapes lined up, ready to transform into delicious snacks for your dog.
Step 9: Bake to Perfection
Bake the treats in your preheated oven for 25-30 minutes, or until they are golden brown and crispy. Keep an eye on them towards the end; they should have a delightful crunch that your dog will love. The aroma filling your kitchen will be irresistible, signaling that tasty treats are on the way!
Step 10: Cool and Store
Once baked, remove your Green Bean and Chicken Crunchies from the oven and let them cool completely on a wire rack. This cooling step is essential for achieving the final crisp texture. Once cooled, store them in an airtight container in the refrigerator for up to two weeks or freeze for longer storage. Make sure they’re completely cool to keep their freshness!

Helpful Tricks for Green Bean and Chicken Crunchies
-
Cook Chicken Thoroughly: Always ensure the chicken is fully cooked and shredded finely for optimal integration with other ingredients and to enhance flavor.
-
Adjust Dough Consistency: If the dough feels too dry, add a bit more broth; too wet? Simply add more oat flour. This will help achieve perfect Green Bean and Chicken Crunchies.
-
Bake for Crunch: For an extra crunchy texture, consider baking at 300°F for a longer duration. This helps to dehydrate the treats beautifully.
-
Monitor Allergies: When introducing new ingredients, keep an eye on your dog for any allergic reactions. It’s best to start with small portions to gauge their tolerance.
-
Experiment with Add-ins: Feel free to customize the recipe by adding vegetables or spices like turmeric for added nutritional value and flavor—make it your dog’s signature treat!
What to Serve with Green Bean and Chicken Crunchies
Set your dog’s tail wagging with delicious treats that complement these crunchy delights, creating a wholesome snack time experience.
-
Crispy Baby Carrots:
Sweet and crunchy, baby carrots offer a low-calorie snack packed with vitamins to keep your dog healthy and happy. -
Pumpkin Puree:
A spoonful of pumpkin adds fiber and moisture, making it a delightful addition to your treat routine. Dogs adore its rich, earthy flavor! -
Peanut Butter Kong:
Fill a Kong with dog-safe peanut butter for an interactive treat. Its creamy texture enhances playtime while satisfying your pup’s cravings. -
Frozen Blueberries:
These bite-sized bursts of sweetness provide antioxidants. Frozen blueberries are a refreshing treat that dogs love, especially on warm days. -
Chicken Broth Ice Cubes:
Freeze low-sodium chicken broth in ice cube trays for a savory snack that can help cool your dog down during summer strolls. They’ll be begging for more! -
Natural Yogurt:
A dollop of plain, unsweetened yogurt can aid digestion while being a creamy treat that your dog can enjoy. Plus, it pairs perfectly with crunchy treats!
Pair these options alongside your homemade Green Bean and Chicken Crunchies for a delightful and nutritious treat platter your furry friend will adore!
Make Ahead Options
These Green Bean and Chicken Crunchies for Dogs are perfect for meal prep enthusiasts! You can prepare the dough up to 24 hours in advance by mixing the ingredients and then storing it tightly wrapped in the fridge. To maintain their quality, shape the treats right before baking. You can also assemble the cut shapes and refrigerate them for up to 3 days; just make sure to place them on a parchment-lined baking sheet for easy access. When you’re ready to serve these crunchy delights, simply preheat the oven and bake as directed—this way, your furry friend will enjoy fresh, homemade treats with minimal effort on busy days!
Storage Tips for Green Bean and Chicken Crunchies
Room Temperature: Store leftovers in an airtight container for up to 3 days at room temperature, keeping them fresh for your pup’s enjoyment.
Fridge: For longer freshness, keep the treats in an airtight container in the refrigerator for up to 2 weeks. This helps maintain their crispy texture and flavor.
Freezer: To extend their shelf life, freeze the Green Bean and Chicken Crunchies for up to 3 months. Thaw them in the fridge or at room temperature before serving to your furry friend.
Reheating: If desired, warm the treats briefly in the oven at 350°F (175°C) for about 5 minutes to restore their crunchiness before serving.
Green Bean and Chicken Crunchies Variations
Feel free to customize these treats to create delightful flavors and textures that your dog will absolutely love!
-
Protein Swap: Replace shredded chicken with turkey, lean beef, or even salmon to cater to your pup’s palate. Each protein brings a unique taste, keeping mealtime exciting!
-
Vegetable Boost: Incorporate grated carrots, sweet potatoes, or even peas for extra vitamins and minerals. Your furry friend will enjoy the added crunch and nutrition!
-
Grain-Free Option: Use coconut flour or almond flour in place of oat flour to create a delightful grain-free treat. This is perfect for pups with grain sensitivities or those on a special diet.
-
Flavorful Additions: A spoonful of dog-safe peanut butter can elevate the richness of the treats, making them irresistibly tasty. Just be sure to choose a peanut butter without xylitol!
-
Herb Infusion: Add a pinch of dried parsley or basil to enhance the flavor and promote fresh breath. Your dog will love the extra aroma in their crunchy snacks!
-
Chew Factor: For a chewier texture, consider lightly pureeing some fresh sweet potatoes and mixing them into the dough. This not only adds moisture but also amps up flavor!
-
Spice it Up: If your dog enjoys a bit of kick, sprinkle in some turmeric or ginger for an anti-inflammatory boost. The spices are beneficial and will introduce wonderful flavors to the treats!
Remember, if you’re excited about more homemade pet treats, try serving these with the Cheesy Chicken Garlic treats for an enjoyable snack variety! Let your creativity shine while making these crunchy delights that show your pup just how much you care.

Green Bean and Chicken Crunchies Recipe FAQs
What type of green beans should I use?
Absolutely! Fresh green beans are best for this recipe. Look for bright green beans without dark spots or blemishes, as these indicate ripeness. Lightly steaming or blanching them helps retain their crunch and nutritional value, making them perfect for your pup’s treats.
How should I store the Green Bean and Chicken Crunchies?
For maximum freshness, store the treats in an airtight container in the refrigerator for up to 2 weeks. If you want to keep them longer, pop them in the freezer, where they can last up to 3 months. Just remember to thaw them at room temperature before serving!
Can I freeze these dog treats?
Yes, indeed! To freeze, allow the treats to cool completely after baking. Once cooled, place them in a freezer-safe airtight bag or container, separating layers with parchment paper. This prevents sticking and keeps them fresh. When you’re ready to treat your pup, thaw them in the fridge and serve!
What if my dog has allergies?
Very important! If your dog has food allergies, always start by checking the ingredients used. For example, you can substitute chicken with turkey or beef, ensuring it’s lean and cooked thoroughly. If your pup is gluten-sensitive, you can use almond flour instead of oat flour, making this recipe fully customizable!
How do I know when the treats are done baking?
Keep an eye on your crunchy creations! They should be golden brown and crispy—this usually takes about 25-30 minutes at 350°F (175°C). If you prefer them even crunchier, reduce the oven temperature to 300°F (150°C) and bake them a bit longer. The more the merrier, as this extra time helps to dehydrate them nicely!
Do I need to dehydrate the treats after baking?
While not necessary, dehydrating can enhance the crunchiness! If you opt for this, after baking, turn off the oven and let the treats sit inside with the door ajar for an extra 30 minutes to 1 hour to allow moisture to escape. This will leave you with irresistibly crunchy Green Bean and Chicken Crunchies!

Green Bean and Chicken Crunchies Your Pup Will Love
Ingredients
Equipment
Method
- Preheat your oven to 350°F (175°C) and prepare a baking sheet lined with parchment paper.
- Cook and shred 2 cups of boneless, skinless chicken until finely broken down.
- Lightly steam or blanch 1 cup of fresh green beans until bright green and slightly tender, then chop into small pieces.
- In a large mixing bowl, combine shredded chicken, chopped green beans, and oat flour, stirring well.
- Add eggs, chicken broth, and oil to the dry mixture and blend until a sticky dough forms.
- Roll out the dough to about ¼ inch thickness on a floured surface.
- Cut the rolled dough into desired shapes using cookie cutters or a sharp knife.
- Place shaped treats onto the lined baking sheet with adequate space between each piece.
- Bake treats for 25-30 minutes, until golden brown and crispy.
- Let baked treats cool completely on a wire rack before storing.

Leave a Reply