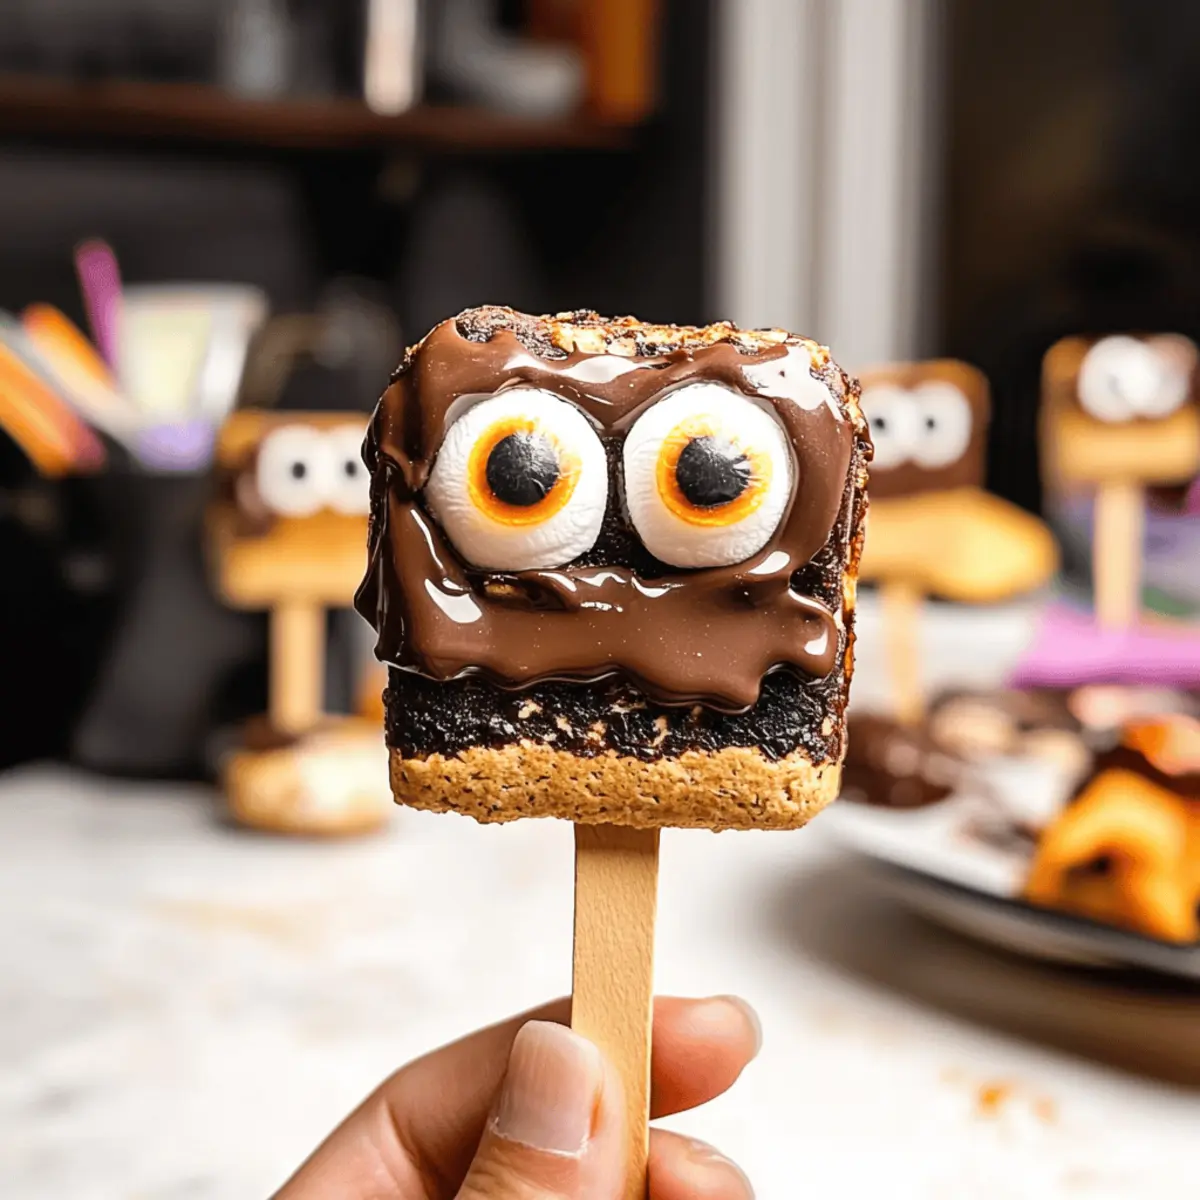
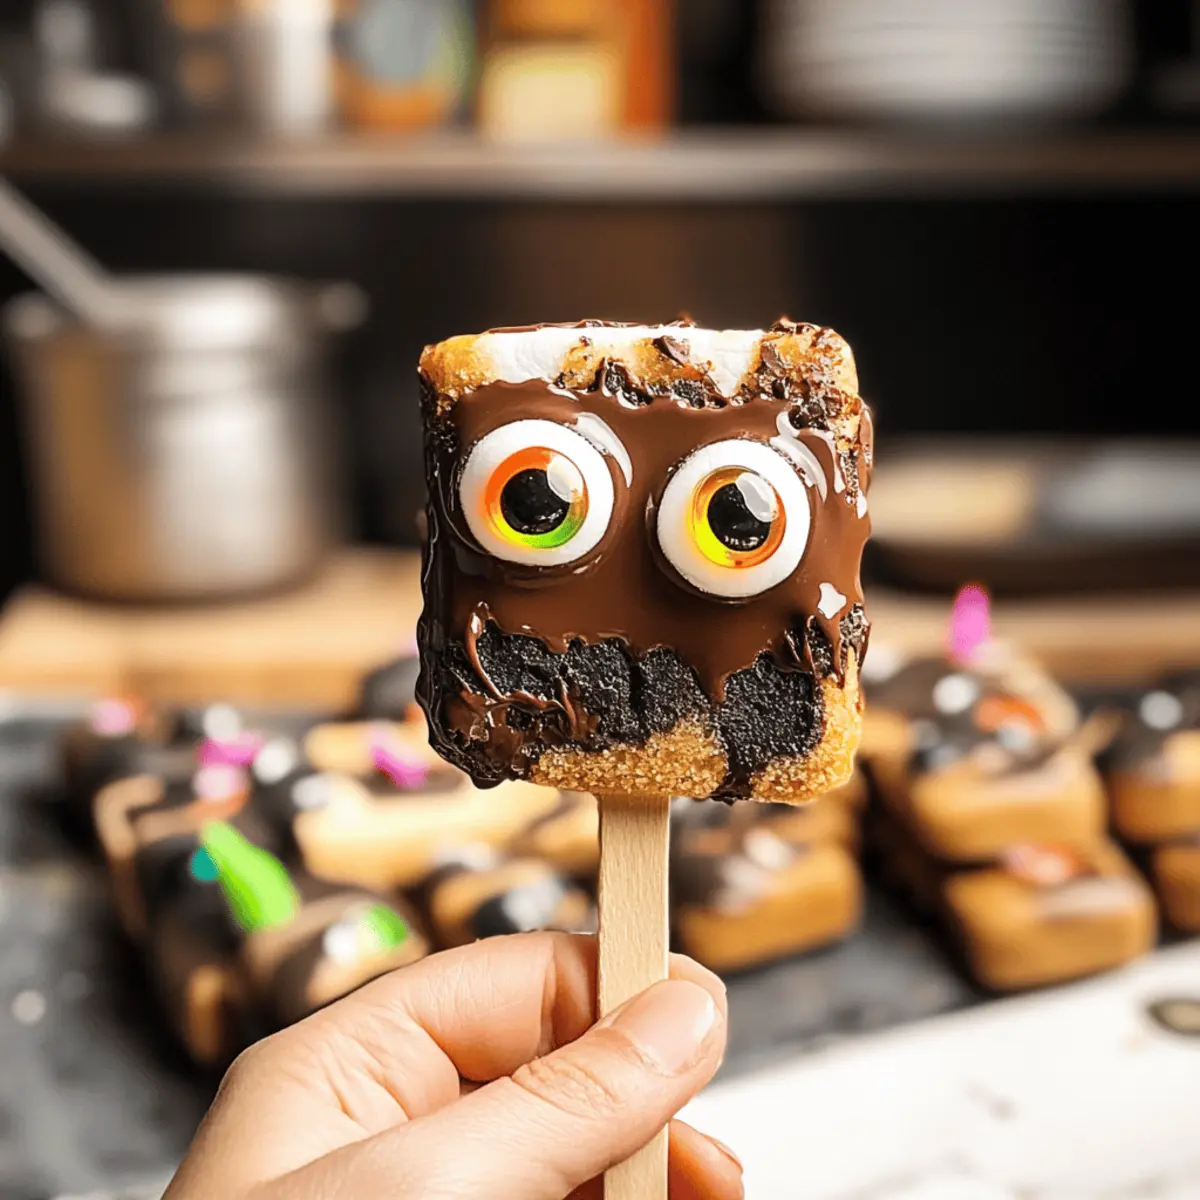
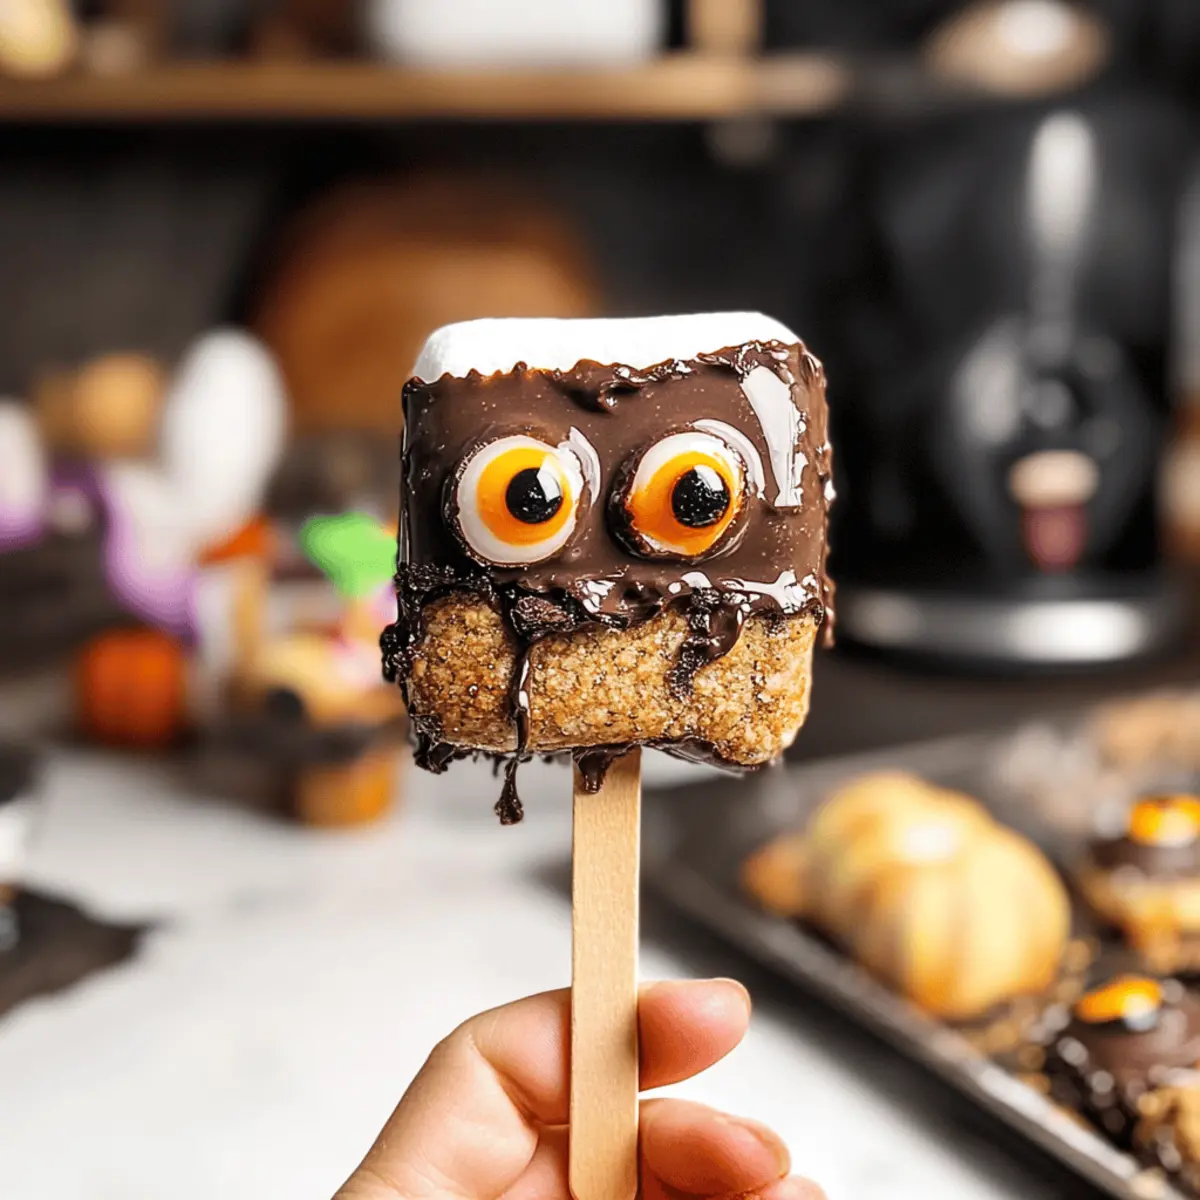
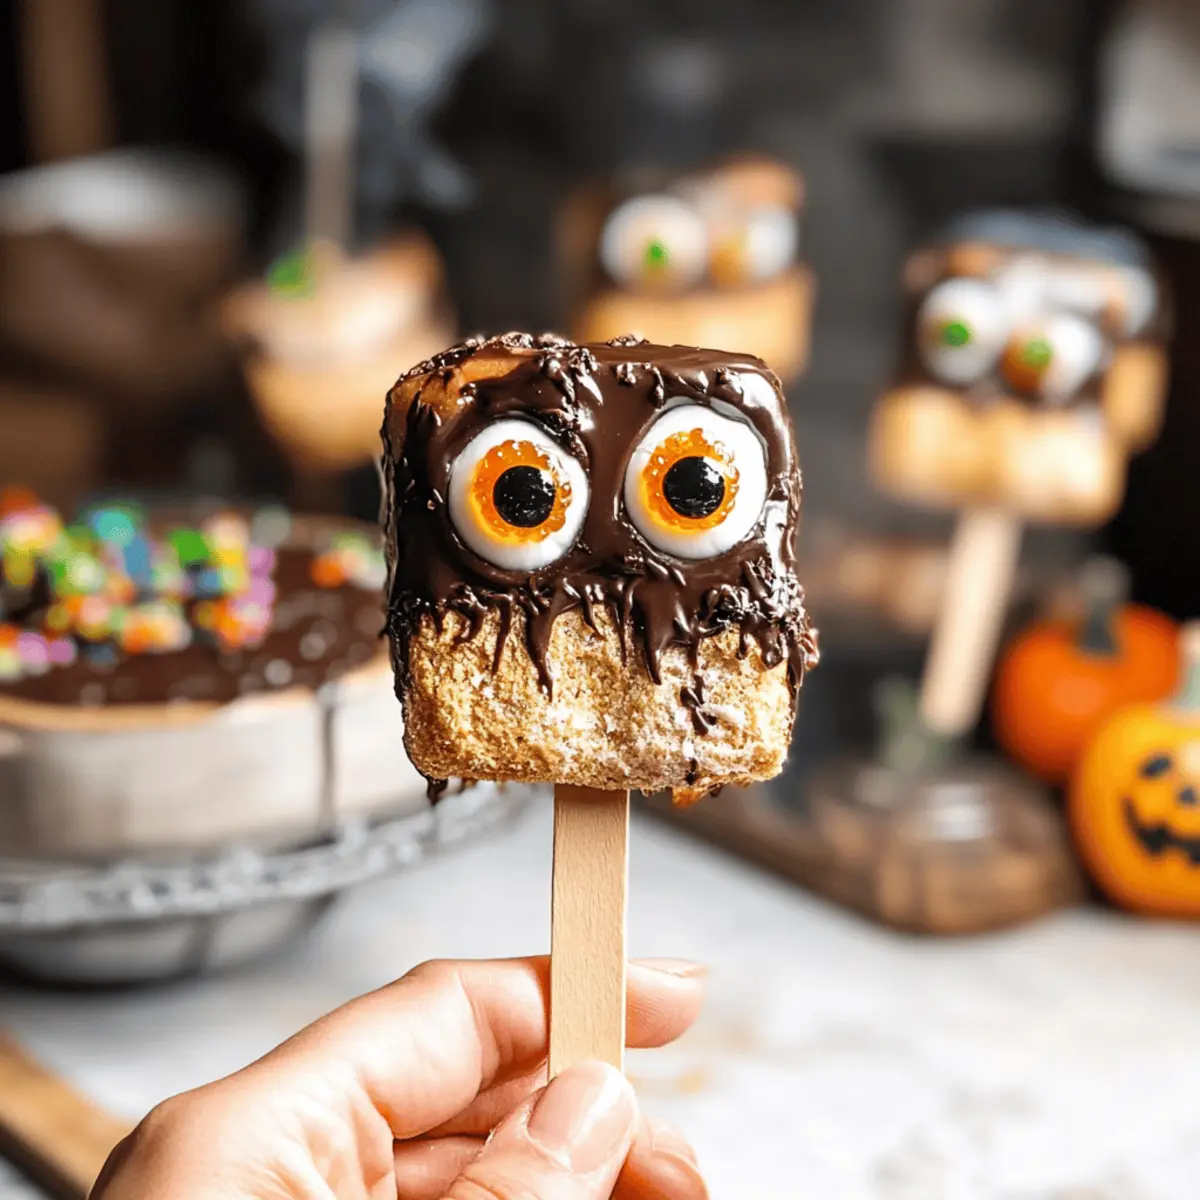
As the leaves turn and the air gets crisp, there’s something magical about Halloween that makes me yearn for treats that are both fun and spooky! Enter the Halloween S’mores Pops – a delightful no-bake creation that combines the s’mores we adore with a playful twist perfect for all ages. These treats are not only easy to whip up, but they also bring a sense of creativity to the kitchen, making them an ideal project for family bonding. With their fluffy marshmallow centers and chocolate-dipped graham cracker bases decorated with gummy eyes, they’re guaranteed to be a hit at any Halloween gathering. Curious about how to create these eerie yet delicious pops? Let’s dive into this fun recipe that will surely become a seasonal favorite!

Why Are Halloween S’mores Pops So Fun?
Delightful DIY Fun: These Halloween S’mores Pops are a no-bake treat that invites everyone into the kitchen for some spooky fun! Creative Decoration: With gummy eyes and marshmallows, you can let your imagination run wild as you design each pop. Crispy and Chewy: Enjoy the satisfying contrast of crunchy graham crackers and chewy marshmallows drizzled in melted chocolate. Perfect for All Ages: They’re an ideal activity for families, making memorable Halloween moments together. Versatile Variation: Feel free to experiment with different flavored chocolates, just like in Smores Crescent Rolls, to suit everyone’s tastes!
Halloween S’mores Pops Ingredients
• Here’s everything you need to make these spooky treats.
For the Base
- Graham Crackers – These provide a satisfying crunch; substitute with gluten-free crackers if needed.
- Chocolate – Melted chocolate acts as both glue and coating for your pops; candy melts are a convenient alternative for easy melting.
For the Marshmallow Filling
- Square Marshmallows – Essential for classic s’mores flavor and texture; mini marshmallows can be used instead if preferred.
For the Spooky Decoration
- Gummy Eyes – They add that festive spooky touch; any edible candy can work if gummy eyes aren’t available.
With these ingredients in hand, you’re all set to craft your delicious Halloween S’mores Pops that will enchant your family and friends!
Step‑by‑Step Instructions for Halloween S’mores Pops
Step 1: Prepare the Marshmallows
Begin by carefully cutting a small slit in each square marshmallow to insert gummy eyes. Using a kitchen torch, roast the marshmallows until they turn golden brown, which should take about 15-20 seconds per side. Watch them closely to prevent burning. Once they are toasted, set them aside to cool while you prepare the graham cracker base.
Step 2: Arrange the Graham Crackers
On a baking sheet lined with parchment paper, spread a layer of melted chocolate across the top of each graham cracker. This will serve as the glue for your Halloween S’mores Pops. Utilize a spatula to ensure an even coating. Allow the chocolate to set slightly—about 5 minutes—before moving on to the next step for optimal adherence.
Step 3: Insert the Popsicle Sticks
Once the chocolate on the graham crackers is slightly firm, gently press a popsicle stick into the center of each cracker. Ensure that the stick goes about halfway through the cracker for stability. If desired, drizzle a bit more melted chocolate on top of the stick to secure it further.
Step 4: Add the Roasted Marshmallows
Carefully place the roasted marshmallow on top of the popsicle stick, ensuring it is centered. Press down gently to allow it to adhere to the chocolate layer. For an extra chocolate boost, drizzle additional melted chocolate over the marshmallow, creating a fun, gooey effect. Let this sit for a moment.
Step 5: Allow to Set
Transfer your Halloween S’mores Pops to the refrigerator for about 30 minutes, or until the chocolate has fully set and firmed up. This will ensure your treats maintain their shape and hold together well. During this time, you can also prepare any additional decorations.
Step 6: Final Touches and Presentation
Once set, add colorful sprinkles or extra gummy eyes to your Halloween S’mores Pops if desired. Place them on a festive platter for serving or package them individually in cute bags tied with ribbons for trick-or-treaters. These delightful treats will not only tantalize taste buds but also spread Halloween cheer!

Storage Tips for Halloween S’mores Pops
Room Temperature: Store your Halloween S’mores Pops in an airtight container at room temperature for up to one week to keep them fresh and tasty.
Fridge: If you prefer a cooler treat, you can refrigerate them in an airtight container for up to two weeks, but they may become slightly firmer.
Freezer: For longer storage, freeze the pops for up to a month. Wrap each pop individually in plastic wrap, then place them in an airtight freezer bag to prevent freezer burn.
Reheating: No need to reheat; simply enjoy them straight from the fridge or freezer for a spooky, refreshing bite at any time!
Halloween S’mores Pops Variations
Feel free to let your imagination run wild with these fun twists on our Halloween S’mores Pops!
-
Flavor Variations: Experiment with flavored chocolate, like peanut butter or mint, for a new taste sensation. Each bite will surprise and delight!
-
Gluten-Free: Swap out traditional graham crackers for gluten-free alternatives, ensuring everyone can enjoy these spooky treats without worry.
-
Mini Marshmallows: Use mini marshmallows for an adorable twist. These bite-sized bits can make your pops easier to eat and share at any gathering.
-
Spooky Sprinkles: Add colorful sprinkles or festive Halloween-themed candies to amp up the festive flair. Your pops will be dressed perfectly for the occasion!
-
Nutty Crunch: Incorporate crushed nuts into the chocolate coating for a delightful crunch. This adds texture and enhances the overall flavor profile.
-
Spicy Surprise: For those who enjoy a kick, add a sprinkle of cayenne or chili powder to the melted chocolate. It’s a daring twist that will impress your adventurous guests!
-
Merry Mallow Mix: Mix in flavored marshmallows, like strawberry or caramel, to create a playful variety. These flavors can elevate your S’mores Pops to new heights.
-
Decorative Drizzle: Use different colors of candy melts for a beautiful drizzle effect on top of your pops. Not only does it look festive, but it also adds an extra layer of sweetness!
By combining these variations, you’ll not only make your Halloween S’mores Pops uniquely yours but also spread even more festive joy! You’ll find that it’s the perfect treat to accompany spooky gatherings, much like the iconic Smores Crescent Rolls that appeal to both kids and adults alike!
Expert Tips for Halloween S’mores Pops
-
Chill Before Serving: Refrigerate your pops for at least 30 minutes to ensure that the chocolate sets well, preventing melting and ensuring they hold together.
-
Dry Utensils: Always use dry utensils when melting chocolate. Moisture can lead to graininess, compromising your Halloween S’mores Pops’ smooth texture.
-
Watch the Marshmallows: Use a kitchen torch to roast marshmallows carefully, keeping an eye on them to avoid burning. Rotate them slowly for even toasting.
-
Creative Additions: Don’t hesitate to experiment with flavored chocolates like white chocolate or peanut butter to enhance the taste of your Halloween S’mores Pops!
-
Parchment Paper Reminder: Line your baking sheet with parchment paper for easy removal and clean-up. This ensures your Halloween treats come off smoothly without sticking.
Make Ahead Options
These Halloween S’mores Pops are ideal for busy home cooks looking to save time! You can prepare the roasted marshmallows up to 24 hours in advance; just store them in an airtight container at room temperature to maintain their fluffy texture. Additionally, you can assemble the graham cracker bases and pop in the sticks 3 days ahead of time—simply keep them covered in the refrigerator after coating them with chocolate. When you’re ready to serve, just follow the final steps by adding the roasted marshmallow and any decorative elements. This way, you’ll have your spooky treats ready to delight friends and family without the last-minute rush!
What to Serve with Halloween S’mores Pops
Elevate your Halloween festivities with delightful accompaniments that will enhance these fun-filled treats and create a festive atmosphere.
-
Crispy Potato Wedges: Pairing crispy potato wedges offers a savory contrast to the sweetness, perfect for balancing flavors on your spooky spread.
-
Pumpkin Spice Hot Chocolate: Embrace the season with this warming drink that combines rich chocolate and cozy pumpkin spice for a comforting sip alongside your pops.
-
Caramel Apple Slices: Sweet and tart apple slices drizzled with caramel add a refreshing crunch and a classic fall flavor that complements the sweetness of your pops.
-
Candy Corn Trail Mix: Combine nuts, pretzels, and candy corn for a playful and crunchy snack that echoes the Halloween theme while providing a fun, shareable addition.
-
Witch’s Brew Punch: A vibrant, fruity punch that’s easy to make and adds a whimsical touch to your gathering, delighting guests of all ages when paired with your pops.
-
Ghostly Cupcakes: Frosted with white icing and adorned with gummy eyes, these festive cupcakes add a sweet touch to your event, creating a perfect dessert pairing for your pops.
-
Spooky Cheese Platter: Create a versatile cheese platter featuring an assortment of cheeses, crackers, and spooky-shaped cheeses to provide a salty, savory counterbalance to the sweetness of the pops.
Let your imagination soar and create table settings that make the Halloween S’mores Pops a star attraction at your celebration!

Halloween S’mores Pops Recipe FAQs
How do I select the best graham crackers?
When choosing graham crackers, look for ones that are fresh and crunchy, avoiding any that have visible dark spots or crumbs. If you want a gluten-free option, there are several brands available that replicate the classic taste and texture.
What is the best way to store Halloween S’mores Pops?
To keep your Halloween S’mores Pops fresh, store them in an airtight container at room temperature for up to one week. If you want to enjoy them for longer, they can also be refrigerated for up to two weeks, although they might become slightly firmer.
Can I freeze Halloween S’mores Pops?
Absolutely! To freeze your Halloween S’mores Pops, wrap each pop individually in plastic wrap and then place them in an airtight freezer bag, ensuring to remove as much air as possible to prevent freezer burn. They can be stored in the freezer for up to one month. When you’re ready to enjoy them, just take them out and let them sit at room temperature for a few minutes.
What if my melted chocolate is grainy?
If your melted chocolate turns out grainy, it may have come into contact with water. To fix it, add a teaspoon of vegetable shortening to the chocolate and stir it in over low heat. This should help restore its smooth consistency. Avoid water when melting to keep everything creamy!
Are there any allergies I should be aware of?
Yes! While the base ingredients are generally safe, always consider potential allergens. Marshmallows often contain gelatin, which may not be suitable for vegetarians or those with specific dietary restrictions. Also, be cautious of any added ingredients—like chocolate—that may contain nuts or gluten. Always check the labels if you’re cooking for someone with food allergies.
Can pets share in the treat-making fun?
While it’s tempting to let your furry friends join in the fun, it’s best to keep these Halloween S’mores Pops away from pets. Ingredients like chocolate and certain types of candy can be harmful to dogs and cats, so save their treats for pet-friendly options!

Creepy Halloween S’mores Pops for Spooktacular Treats
Ingredients
Equipment
Method
- Carefully cut a small slit in each square marshmallow to insert gummy eyes. Roast the marshmallows with a kitchen torch until golden brown, about 15-20 seconds per side. Set aside to cool.
- Spread a layer of melted chocolate across the top of each graham cracker on a parchment-lined baking sheet. Allow the chocolate to set slightly for about 5 minutes.
- Gently press a popsicle stick into the center of each cracker about halfway through for stability. Optional: drizzle more melted chocolate on top of the stick to secure it.
- Place the roasted marshmallow on the popsicle stick, gently pressing down. Drizzle additional melted chocolate over the marshmallow for a gooey effect.
- Refrigerate the pops for about 30 minutes, until the chocolate has fully set.
- Add colorful sprinkles or extra gummy eyes for decoration. Serve on a festive platter or package individually for trick-or-treaters.

Leave a Reply