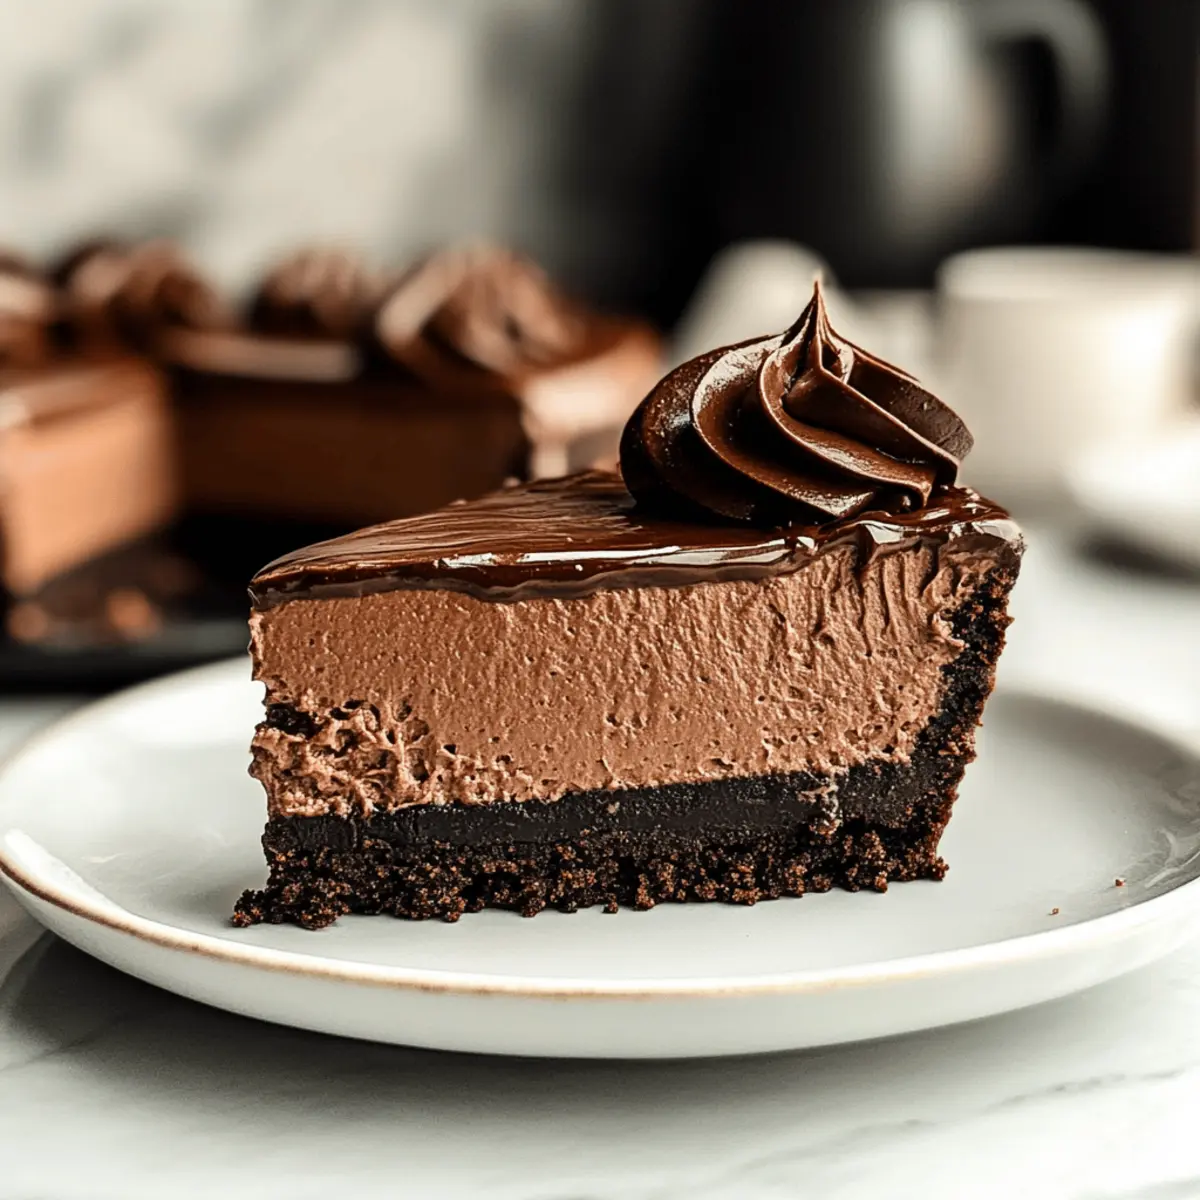
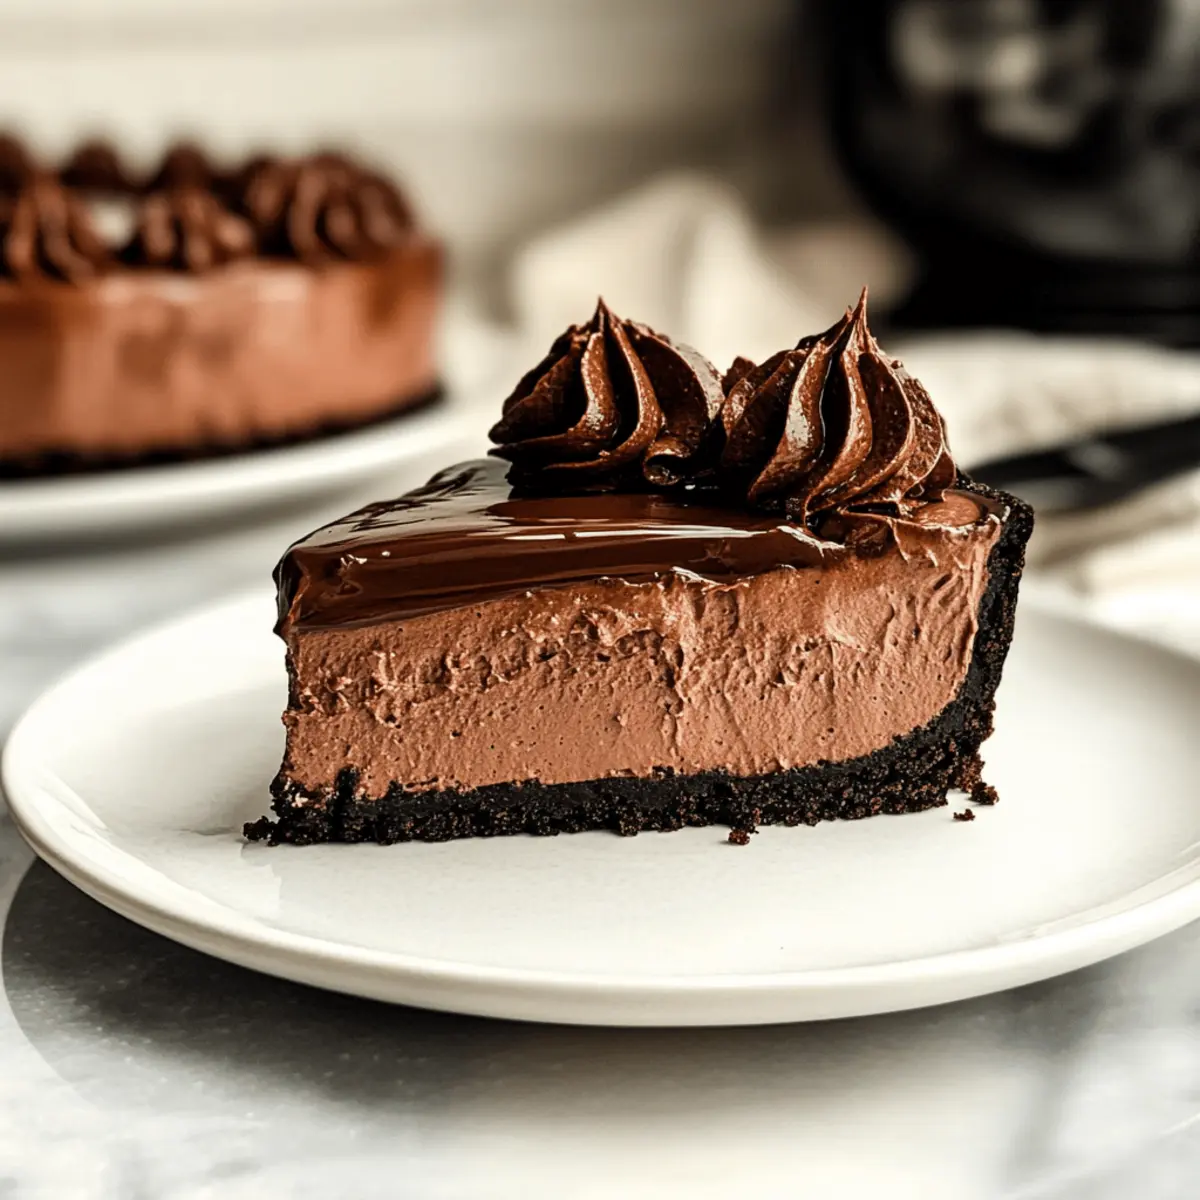
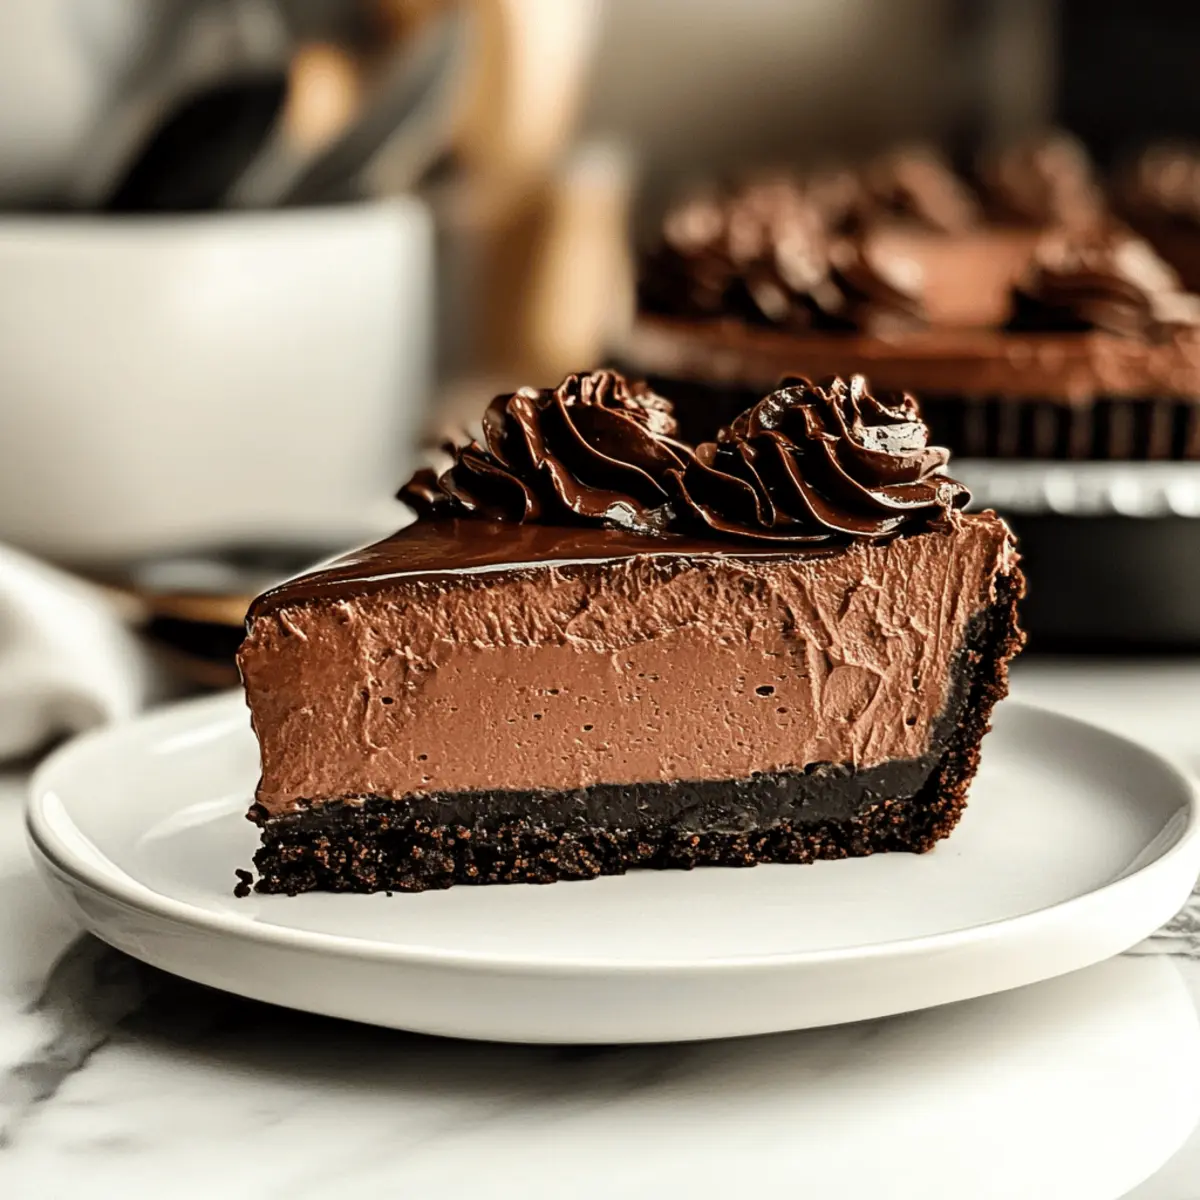
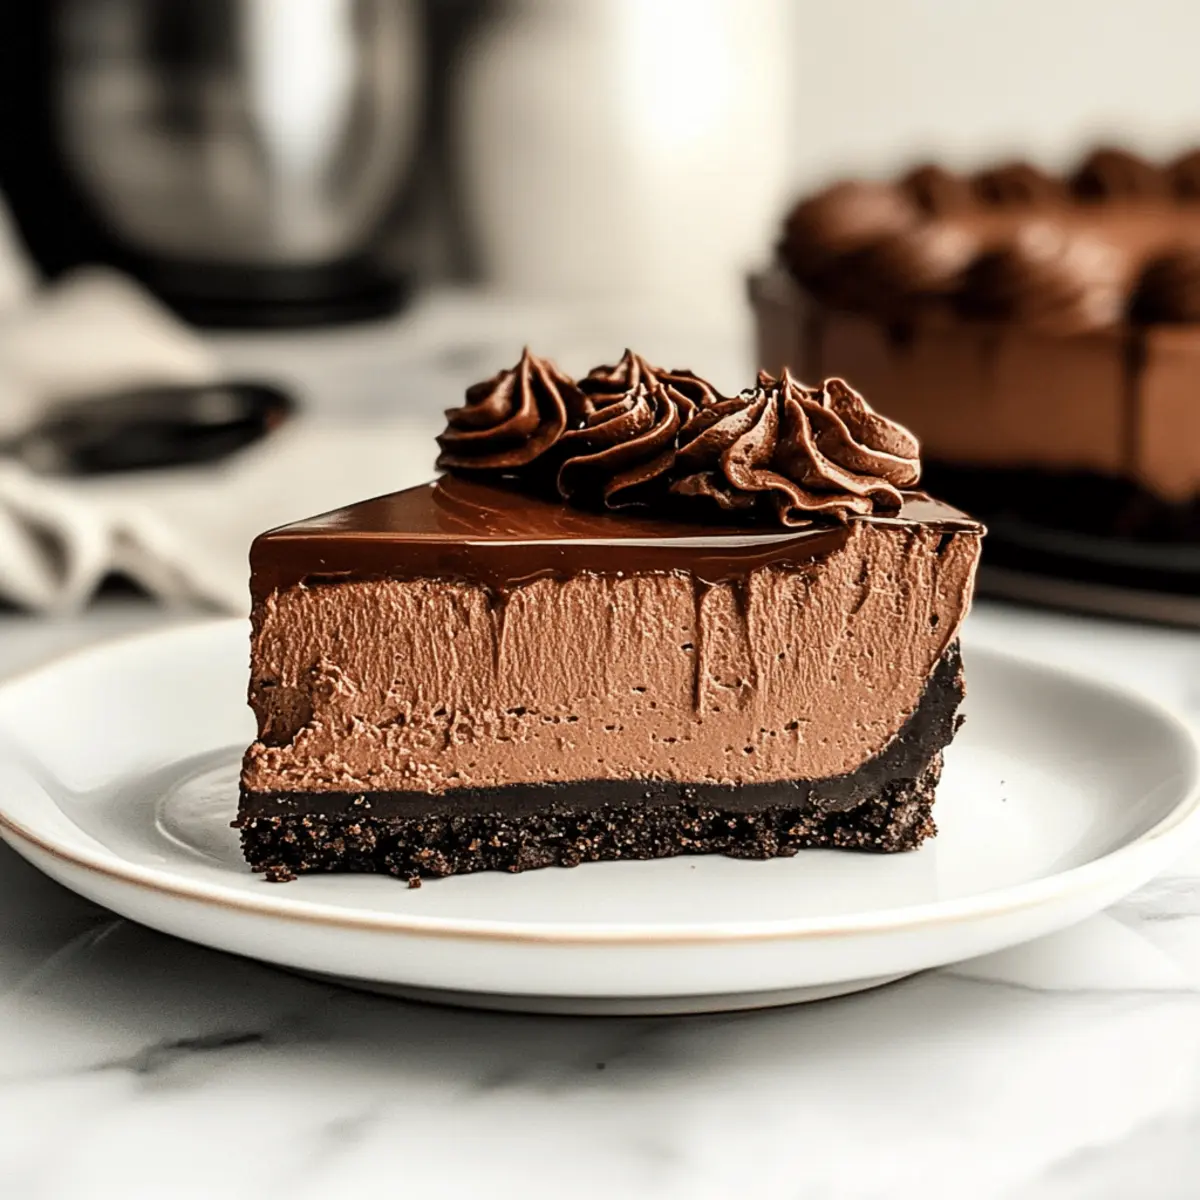
“Can you believe it?” my friend exclaimed, eyeing my dessert spread with disbelief. “You made a no-bake chocolate cheesecake?!” Yes, my kitchen magic led to creating this rich & creamy chocolate cheesecake, a treat that captures the hearts of chocolate lovers. With its irresistible Oreo crust and glossy ganache topping, this dessert doesn’t just look enticing—it’s a breeze to whip up, making it the perfect crowd-pleaser for any gathering. Whether you’re hosting a dinner party or craving something sweet after a long day, this make-ahead marvel meets your needs with minimal fuss but maximum wow. Imagine serving it to guests and witnessing their delighted expressions as the first slice disappears. Now, are you ready to dive into this luscious world of no-bake indulgence?

Why is this cheesecake a must-try?
Effortless Preparation: With just a few simple steps, you’ll have a stunning dessert ready to impress your friends and family with no need for baking.
Decadent Chocolate Flavor: Rich & creamy chocolate cheesecake delivers an explosion of chocolatey goodness in every bite, sure to satisfy any sweet tooth.
Versatile Variations: Feel free to experiment by swapping out the crust for nutty bases or using different chocolates to tailor the flavor to your liking.
Perfect Make-Ahead Dessert: Ideal for busy schedules, you can prepare this treat a day in advance, allowing the flavors to meld beautifully.
Crowd-Pleasing Delight: Whether it’s a family dinner or a party, this dessert is sure to be the star of the show, just like my favorite Chocolate Snickerdoodles Chewy or Chocolate Peanut Butter.
Rich & Creamy Chocolate Cheesecake Ingredients
For the Crust
- Oreo Cookies – The perfect base for your cheesecake; feel free to use any chocolate cookie as a substitute.
- Melted Butter – Binds the crust together beautifully; margarine is a great alternative if needed.
For the Filling
- Cream Cheese – The star of the filling, giving it that lush creaminess; mascarpone can be swapped for even richer flavor.
- Powdered Sugar – Sweetens the filling while ensuring a smooth texture; granulated sugar works if that’s what you have on hand.
- Vanilla Extract – Enhances the dessert’s flavor; consider almond extract for a fun twist.
- Semi-Sweet/Dark Chocolate – Adds that rich chocolate base; high-quality chocolate will elevate the taste significantly.
- Heavy Whipping Cream – Creates airy fluffiness in the filling; coconut cream is a dairy-free option.
For the Ganache
- Chopped Semi-Sweet Chocolate – This forms the glossy topping that adds elegance; dark chocolate can be used for a more intense chocolate experience.
- Heavy Cream – Essential for a luxurious ganache; full-fat coconut milk can substitute if you prefer dairy-free.
Dive into this rich & creamy chocolate cheesecake and watch it become a cherished staple at your table!
Step‑by‑Step Instructions for Irresistible No-Bake Chocolate Cheesecake
Step 1: Prepare the Crust
Start by crushing Oreo cookies into fine crumbs using a food processor or a zip-lock bag and a rolling pin. Combine the crumbs with melted butter until the mixture resembles wet sand. Press this mix firmly into the bottom of a 9-inch springform pan to create a solid crust. Place the pan in the refrigerator for 30 minutes to set.
Step 2: Make the Filling
In a microwave-safe bowl, melt the semi-sweet or dark chocolate in 30-second intervals, stirring until smooth. In a separate mixing bowl, beat the cream cheese, powdered sugar, and vanilla extract together until creamy and fluffy. Allow the melted chocolate to cool for a few minutes, then fold it into the cream cheese mixture until fully incorporated, creating a luscious filling for your chocolate cheesecake.
Step 3: Incorporate Whipped Cream
In another bowl, whip the heavy cream until stiff peaks form, which should take about 2-3 minutes. Gently fold the whipped cream into the chocolate cream cheese mixture in two batches, ensuring you maintain the light and airy texture. This step adds the signature richness to your rich & creamy chocolate cheesecake without deflating the whipped cream.
Step 4: Assemble and Chill
Carefully pour the chocolate filling over the chilled Oreo crust, smoothing the top with a spatula to ensure an even layer. Cover the cheesecake with plastic wrap and refrigerate it for at least 6 hours, or even better, overnight. This chilling time allows the filling to firm up and the flavors to meld beautifully.
Step 5: Prepare Ganache
To make the ganache, heat the heavy cream in a small saucepan over medium heat until it begins to steam but not boil. Remove from heat and pour it over the chopped semi-sweet chocolate in a bowl. Let it sit for a minute, then stir until the mixture is smooth and glossy. Allow it to cool slightly before drizzling it over the cheesecake.
Step 6: Final Chill
Once the ganache is ready, drizzle it evenly over the top of the chocolate cheesecake. Place the cheesecake back in the refrigerator for an additional 30 to 60 minutes to let the ganache set properly. After it’s firmed up, slice the cheesecake with a hot knife for clean cuts, and it’s ready to serve.

How to Store and Freeze Rich & Creamy Chocolate Cheesecake
Fridge: Store your cheesecake covered in the refrigerator for up to 5 days, ensuring it remains fresh and ready for serving.
Freezer: For longer storage, you can freeze the cheesecake (without ganache) for up to 2 months. Wrap it tightly in plastic wrap, then in aluminum foil to prevent freezer burn.
Thawing: When ready to enjoy, transfer the cheesecake from the freezer to the fridge and allow it to thaw overnight for the best texture.
Reheating: This dessert is best served chilled and does not require reheating, preserving the rich & creamy chocolate cheesecake’s delightful qualities.
Expert Tips for Making the Best No-Bake Chocolate Cheesecake
-
Room Temperature Cream Cheese: Ensure your cream cheese is at room temperature for a smooth filling. Cold cream cheese can lead to a lumpy texture in your rich & creamy chocolate cheesecake.
-
Whipping Cream Mastery: Whip the heavy cream to stiff peaks, which is crucial for achieving a light and airy texture in the cheesecake. Over-whipping can result in a grainy filling.
-
Chill for Perfection: Allow the cheesecake to chill for at least 6 hours or overnight. This resting time is essential for the perfect texture and flavor development.
-
High-Quality Chocolate: Use high-quality semi-sweet or dark chocolate for the ganache to enhance the overall chocolate flavor of the cheesecake. Cheaper chocolates can have a waxy taste.
-
Smooth Ganache: Let the heavy cream cool slightly before pouring it over the chocolate. This will help you achieve a glossy and smooth ganache topping without seizing up.
Rich & Creamy Chocolate Cheesecake Variations
Feel free to get creative and customize your cheesecake to make it uniquely yours!
-
Gluten-Free: Use gluten-free chocolate cookies to substitute for Oreos, ensuring everyone can enjoy this delicious dessert.
-
Vegan Option: Replace cream cheese with a dairy-free alternative and use coconut whipped cream for a completely plant-based delight. It’s surprisingly creamy!
-
Nutty Crust: Swap the Oreo crust for a blend of crushed nuts and dates to create a healthier, chewy base. This offers a delightful contrast in texture.
-
Flavor Infusion: Try adding a hint of espresso or coffee to the filling for a mocha twist that amplifies the chocolate flavor beautifully.
-
Fruity Additions: Fold in fresh raspberries or strawberries into the cream cheese mixture for a fruity burst with every bite. The tartness pairs wonderfully with the rich chocolate.
-
Minty Freshness: Incorporate peppermint extract into the filling for a refreshing mint chocolate cheesecake that’s perfect for the holidays.
-
Boozy Bliss: For an adult version, mix in a tablespoon of coffee liqueur or whiskey for a lovely depth of flavor, creating a dessert that’s a conversation starter.
Once you’ve explored these variations, you’ll see just how versatile this rich & creamy chocolate cheesecake can be, making it a perfect treat for any occasion!
Make Ahead Options
Preparing this rich & creamy chocolate cheesecake ahead of time is a perfect strategy for busy weeknights or special occasions! You can make the crust and filling up to 24 hours in advance, refrigerating each component separately to maintain freshness. To do this, simply prepare the crust and press it into the pan, then wrap it tightly in plastic wrap to keep it crisp. The filling can be mixed and stored in an airtight container; just remember to fold in the whipped cream right before layering it over the crust. When you’re ready to serve, pour the ganache on top and allow it to chill for another 30-60 minutes until set, resulting in a show-stopping dessert that remains as delicious as if it were freshly made!
What to Serve with Irresistible No-Bake Chocolate Cheesecake
Imagine a table brimming with delicious options that beautifully complement each decadent slice of this rich & creamy chocolate cheesecake.
-
Fresh Berries: Bright, juicy berries like strawberries or raspberries offer a refreshing contrast to the chocolate’s richness, enhancing each bite. The burst of tartness will elevate your dessert experience.
-
Whipped Cream: A dollop of lightly sweetened whipped cream adds an airy texture that beautifully balances the dense cheesecake. It’s a classic pairing that promises indulgence.
-
Minty Chocolate Sauce: Drizzling a mint-infused chocolate sauce over the cheesecake adds a delightful layer of flavor. The fresh mint lifts the chocolate, creating a refreshing tasting experience.
-
Espresso or Coffee: A cup of bold espresso or perfectly brewed coffee pairs wonderfully with the cheesecake, grounding the sweetness and enhancing the dessert’s chocolate profile.
-
Chocolate Shavings: Adding chocolate shavings on top not only beautifies your cheesecake but also intensifies the chocolate flavor for fellow chocoholics.
-
Chocolate-Covered Strawberries: For a truly indulgent touch, serve chocolate-covered strawberries alongside the cheesecake. They’re deliciously decadent and capture the spirit of the dessert.
-
Hazelnut Liqueur: For an adults-only twist, serve a glass of hazelnut liqueur that complements the nutty flavors of the crust and the depth of chocolate.
-
Vanilla Ice Cream: Creamy vanilla ice cream is a classic pairing. The coolness of the ice cream balances the rich cheesecake, leaving your guests craving more.
-
Tart Lemon Sorbet: A scoop of lemon sorbet provides a refreshing palate cleanser that cuts through the richness of the cheesecake, making each bite feel lighter.

Rich & Creamy Chocolate Cheesecake Recipe FAQs
How do I choose the right Oreo cookies for the crust?
Absolutely! Use classic Oreo cookies for the base—this will give your cheesecake that iconic taste. If you’re feeling adventurous, any chocolate cookie works wonderfully as a substitute, such as chocolate graham crackers or even homemade cocoa cookies.
What’s the best way to store my cheesecake?
Definitely! To keep your rich & creamy chocolate cheesecake fresh, cover it with plastic wrap or aluminum foil and store it in the refrigerator for up to 5 days. If you’d like to save it for later, it can be frozen (without ganache) for up to 2 months. Just ensure it’s well-wrapped to prevent freezer burn.
Can I freeze the cheesecake? If so, how?
Certainly! To freeze your cheesecake, first, wrap it tightly in plastic wrap, then in aluminum foil to ensure it stays fresh. Avoid freezing with the ganache on top, as it might not freeze well. When you’re ready to enjoy it, simply move the cheesecake to the fridge, allowing it to thaw overnight before serving.
What should I do if the filling turns out lumpy?
Oh no! If your filling is lumpy, it might be because the cream cheese was too cold when you mixed it. To rescue it, simply let your cheesecake sit at room temperature for about 15 minutes, then beat it again vigorously. Ensure the cream cheese is at room temperature next time; about 30 minutes out of the fridge is best.
What are some allergy considerations I should be aware of?
For sure! If you’re making this cheesecake for someone with dietary restrictions, be mindful of potential allergens like dairy and gluten. You can substitute cream cheese with a dairy-free cream cheese alternative (like tofu-based) and opt for gluten-free chocolate cookies. Always check labels to ensure the ingredients meet your guests’ needs.
Can I make variations with different types of chocolate?
Very much so! You can switch up chocolate types to create unique flavors. For a richer experience, consider using dark chocolate. If you prefer something sweeter, milk chocolate is delightful too. And for a fun twist, white chocolate can provide a creamy sweetness that pairs well with the chocolate crust!

Decadent Rich & Creamy Chocolate Cheesecake to Dazzle You
Ingredients
Equipment
Method
- Crush Oreo cookies into fine crumbs and mix with melted butter. Press into a 9-inch springform pan and refrigerate for 30 minutes.
- Melt the chocolate in a microwave-safe bowl. In another bowl, beat cream cheese, powdered sugar, and vanilla until creamy. Fold in melted chocolate.
- Whip heavy cream until stiff peaks form and gently fold into the chocolate cream cheese mixture.
- Pour filling over chilled crust, smooth the top, cover, and refrigerate for at least 6 hours or overnight.
- Heat heavy cream; pour over chopped chocolate, stir until smooth, then cool slightly before drizzling over cheesecake.
- Refrigerate cheesecake for an additional 30 to 60 minutes to set ganache before slicing.

Leave a Reply