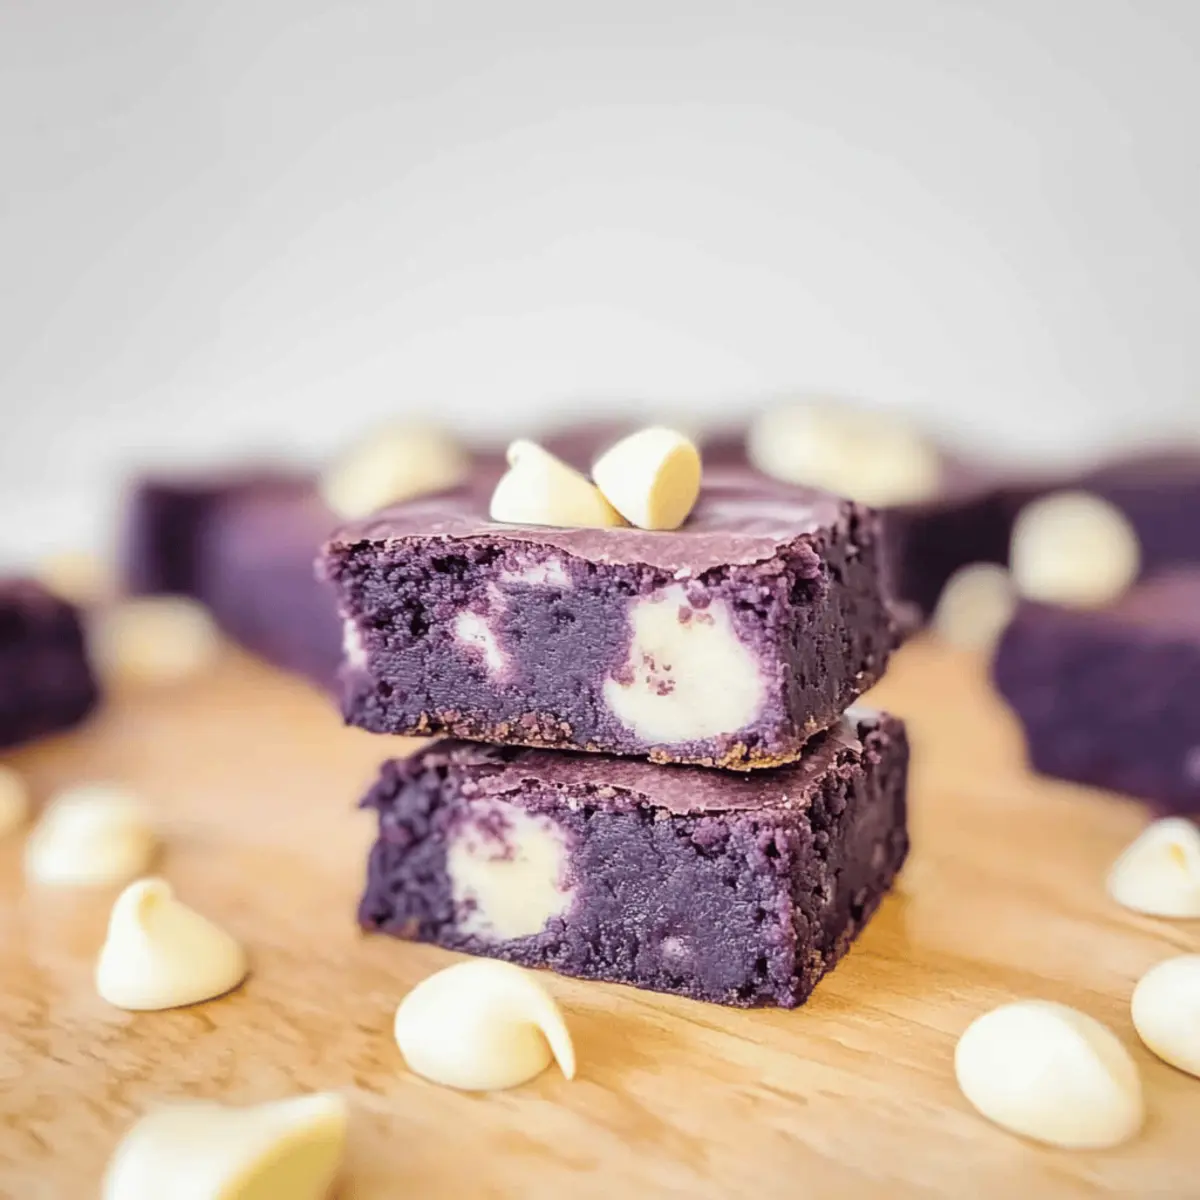
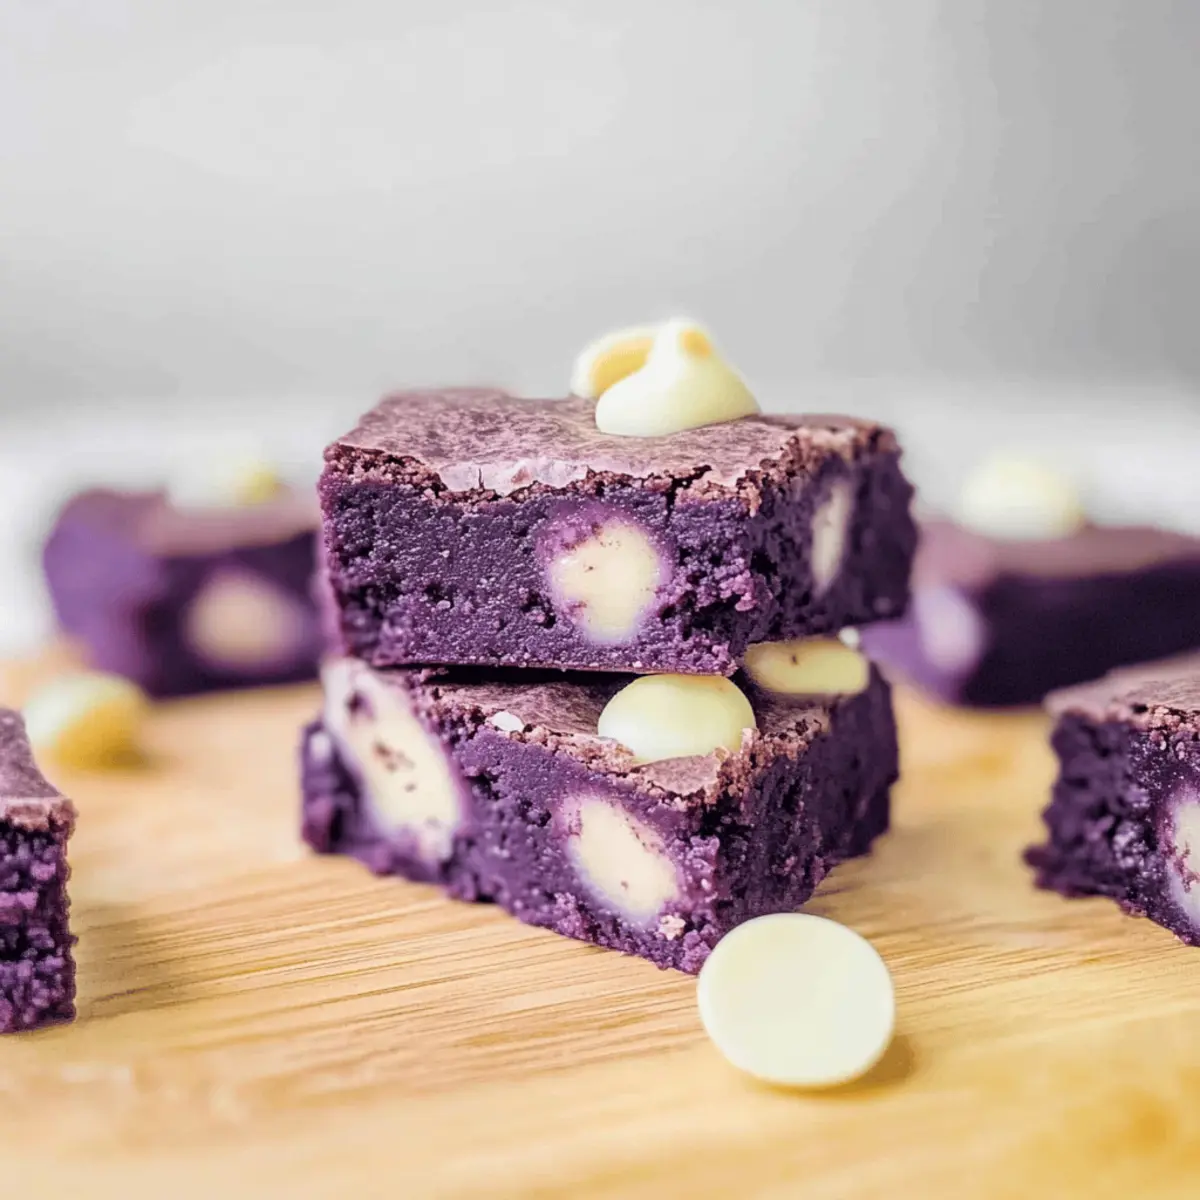
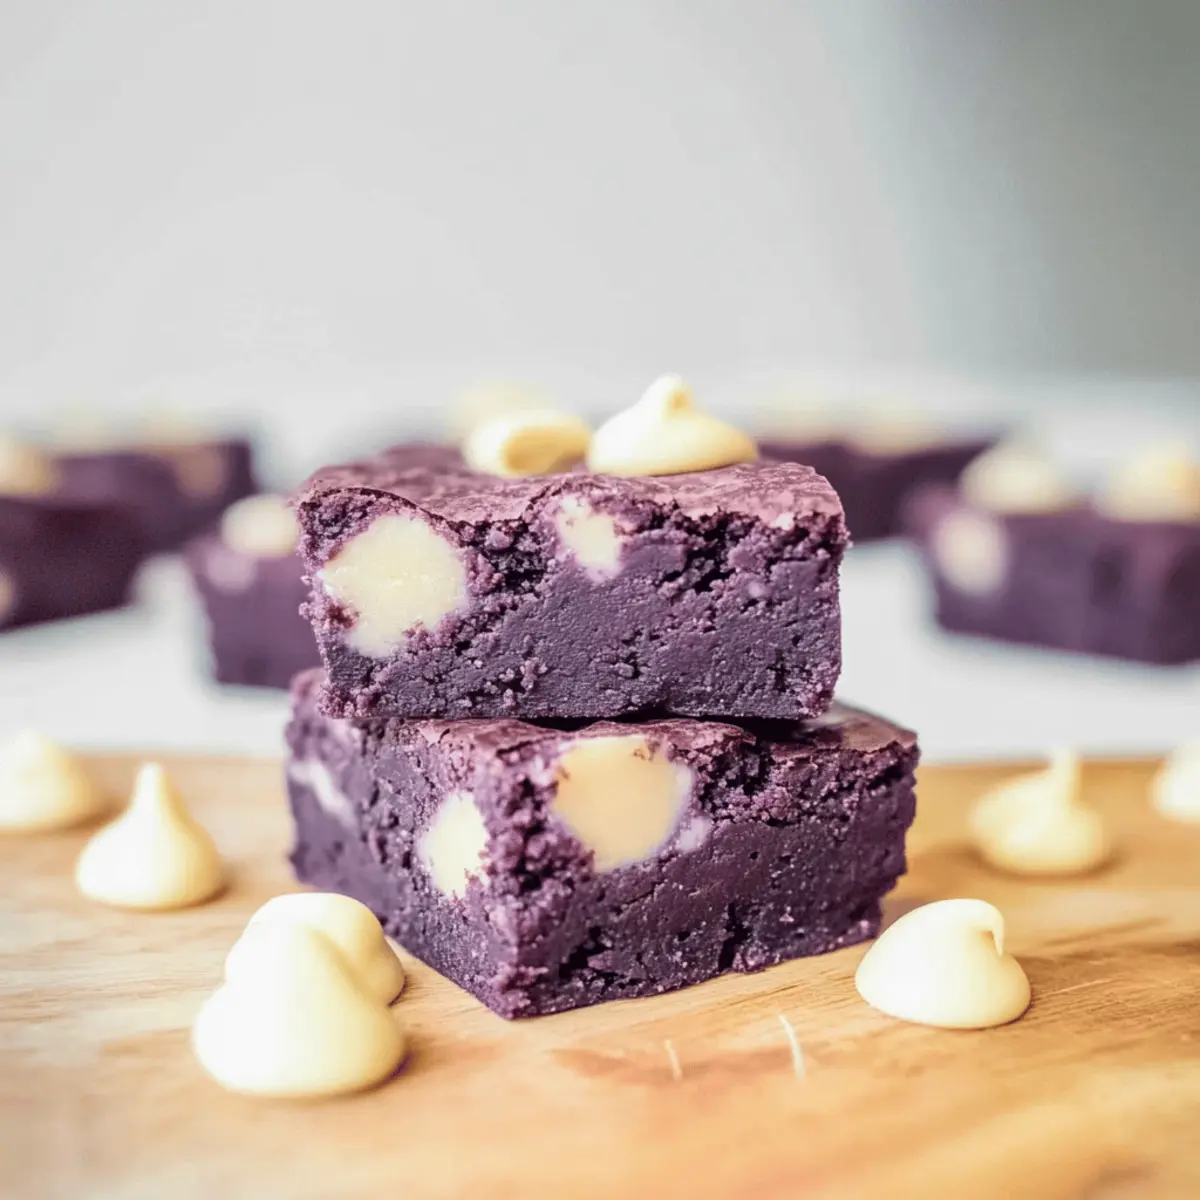
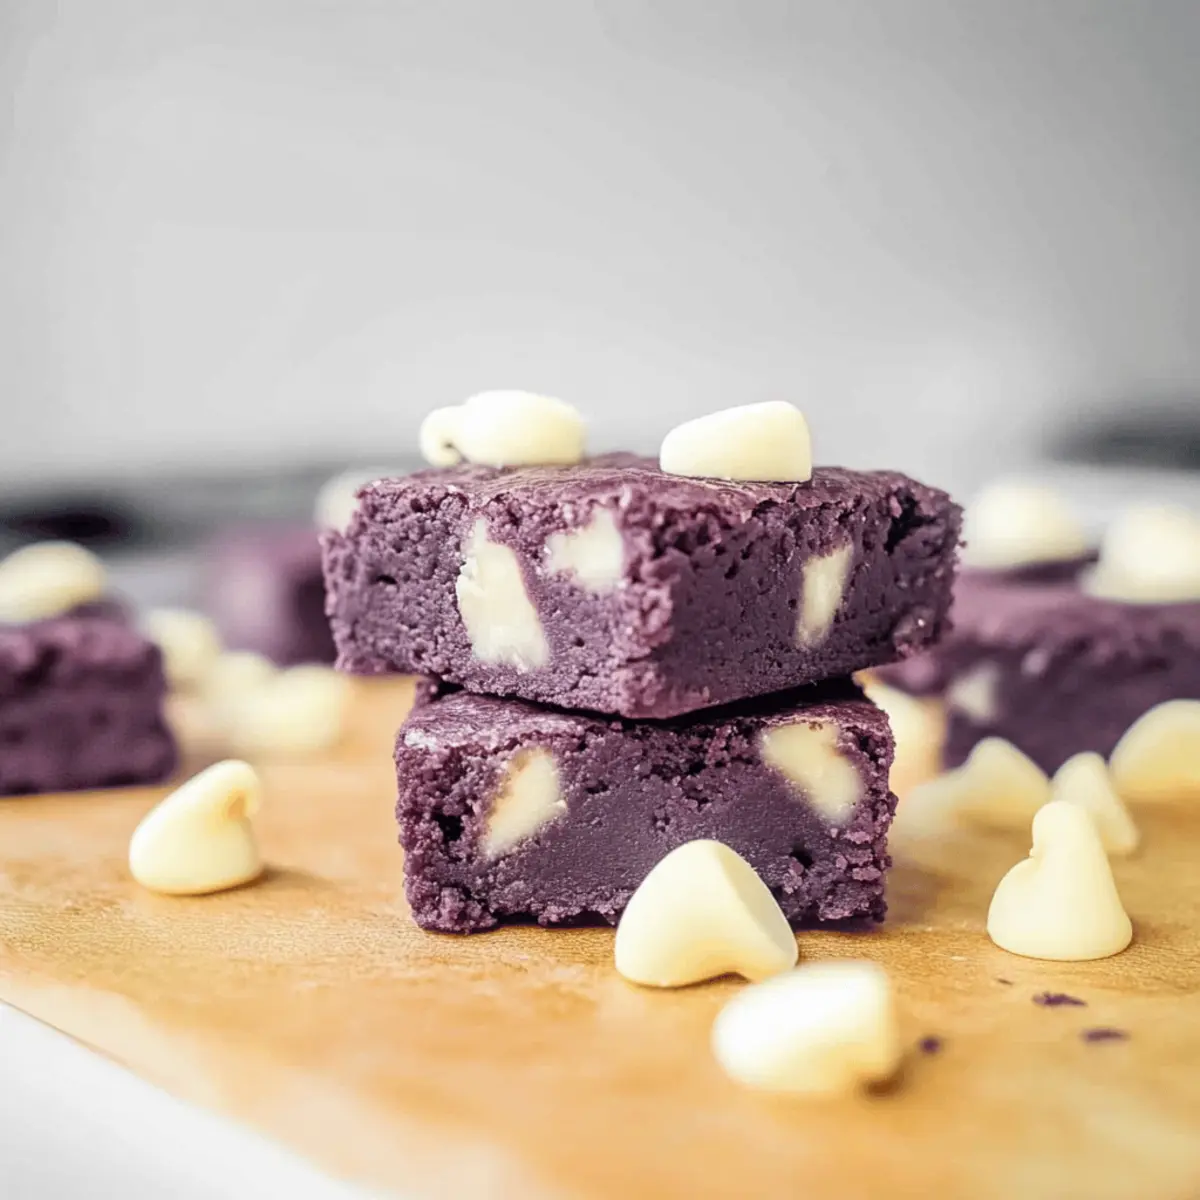
On a recent trip to a local Filipino market, the vibrant purple hue of ube practically called my name from the shelves. I couldn’t resist bringing home a bag, and that’s when the idea for these chewy ube brownies struck me. This easy one-bowl recipe combines the unique flavors of purple yam with sweet white chocolate chips, creating a dessert that’s not just visually stunning but also incredibly satisfying. Whether you’re gearing up for a summer picnic or simply looking to impress family and friends, these brownies can deliver their magic in no time. Plus, with gluten-free options available through simple substitutions, everyone can enjoy this delightful fusion treat. Whip up a batch and discover just how mouthwatering these ube brownies can be—how do you plan to personalize yours?

What makes ube brownies irresistible?
Unique Flavor: Ube, a vibrant purple yam, introduces an incredible sweetness that sets these brownies apart from traditional recipes.
One-Bowl Wonder: Convenience reigns supreme with this easy, one-bowl recipe, allowing you to whip up a treat in record time!
Versatile Options: Customizable with various chocolate, nut, and cheesecake swirls, you can tailor these brownies for any occasion or preference.
Gluten-Free Friendly: Substitutions make it a breeze to adapt this dessert to gluten-free diets without sacrificing taste.
Crowd Pleaser: Perfect for gatherings, these brownies will wow your guests with their stunning color and delicious flavor, making them disappear faster than you can say “ube”!
Indulge in the delightful world of ube by creating your perfect batch and if you’re curious about more fun twists, check out our guide on easy one-bowl recipes!
Ube Brownie Ingredients
Here’s everything you need to make these delectable ube brownies!
For the Brownies
- Unsalted Butter – Adds richness and moisture; feel free to swap with coconut oil for a dairy-free version.
- Light Brown Soft Sugar – Contributes moisture and a touch of caramel flavor; can be replaced with granulated white sugar for a milder sweetness.
- White Sugar – Sweetens while ensuring a fudgy texture; fine granulated sugar works best for achieving the perfect bite.
- Egg – Binds the ingredients together and enriches the batter; consider using flax eggs for a vegan alternative.
- Ube Extract – Provides the signature flavor of purple yam, making your ube brownies uniquely delicious; it’s an effortless alternative to using ube halaya or powder.
- Plain All-Purpose Flour – Gives the brownies structure; opt for gluten-free flour blends to make this recipe suitable for gluten-free diets.
- Cornstarch – Creates that soft, chewy texture we love; substitute with more all-purpose flour if preferred for a denser treat.
- Salt – Enhances the overall flavor; though optional, it perfectly balances the sweetness of the brownies.
- White Chocolate Chips – Adds sweetness and creaminess; you can switch these for milk or dark chocolate chips, or mix in half chips with half chopped nuts for added crunch.
Now that you have the ingredients, it’s time to bring your kitchen to life and create those delightful ube brownies!
Step‑by‑Step Instructions for Ube Brownies
Step 1: Preheat the Oven
Start by preheating your oven to 180°C (350°F). This step is crucial for ensuring your ube brownies bake evenly, developing that perfectly chewy texture. While the oven heats up, you can prepare your baking pan; greasing an 8-inch square pan will create a non-stick surface for easy brownie removal.
Step 2: Melt Butter
In a large mixing bowl, combine 1 cup of unsalted butter, melting it in the microwave for about 30-50 seconds. Ensure it’s completely melted but not bubbling, as too much heat can alter the butter’s properties. Once melted, allow it to cool for a minute before moving to the next step to avoid cooking the eggs.
Step 3: Mix Sugars
Add half a cup of light brown soft sugar and half a cup of white sugar into the melted butter. Stir vigorously until the mixture becomes smooth and glossy, indicating that the sugars are well blended. This should take about 1-2 minutes, and you’ll notice a slight thickening of the mixture, which is essential for the fudgy texture of the ube brownies.
Step 4: Add Egg and Ube Extract
Crack in one large egg and pour in 1 tablespoon of ube extract, whisking everything together thoroughly for about 1 minute. The color should transform into a lovely purple hue, and the mixture will feel creamy. This is the magic of ube brownies, where the flavors begin to unite beautifully.
Step 5: Incorporate Dry Ingredients
Sift in ¾ cup of plain all-purpose flour and 2 tablespoons of cornstarch into the wet mixture, gently folding with a spatula. Mix just until the dry ingredients are incorporated—overmixing can lead to dense brownies, and we want them to remain deliciously chewy. You’ll see a rich batter form as the dry ingredients blend in, creating a vibrant purple batter.
Step 6: Fold in Chocolate Chips
Gently fold in a pinch of salt and 1 cup of white chocolate chips, ensuring they’re evenly distributed throughout the brownie batter. This adds delightful sweetness and creaminess, balancing the flavor of the ube. Take care not to over-mix; simply combine until it feels just right and the chips are visible within the rich purple batter.
Step 7: Pour and Bake
Transfer your brownie batter into the greased pan, smoothing the top with a spatula for an even surface. Place the pan in the preheated oven and bake for 20-25 minutes. You’ll know the ube brownies are done when the edges pull away slightly from the sides and the center has a slight wobble—this indicates a perfect fudgy consistency.
Step 8: Cooling
Once baked, remove the pan from the oven and let it cool completely in the pan on a wire rack. This cooling step is essential for the brownies to firm up, making them easier to slice. After about 20-30 minutes, you can cut them into squares and serve, showcasing the beautiful marbling of ube goodness.

Expert Tips for Ube Brownies
Measure Accurately: Weigh your ingredients for precise results that guarantee those chewy ube brownies everyone will love.
Don’t Overmix: After adding dry ingredients, mix just until combined. Overmixing can make your brownies dense instead of chewy.
Oven Timing: Keep an eye on your brownies while baking. If using a different pan size, adjust the baking time accordingly for the best results.
Cool Completely: Allow the brownies to cool in the pan before cutting to ensure clean edges and the perfect chewy texture.
Customize Freely: Don’t hesitate to Experiment! Try adding nuts or a swirl of cheesecake for a delicious twist on the original ube brownies.
What to Serve with Chewy Ube Brownies with White Chocolate Chips
Indulging in these vibrant ube brownies opens the door to a world of delightful pairings that enhance their unique flavors and textures.
-
Rich Vanilla Ice Cream: The creamy, cold texture of vanilla ice cream complements the warm, fudgy brownies beautifully, creating a blissful contrast.
-
Fruity Medley Salad: A refreshing fruit salad featuring mangoes, strawberries, and bananas adds a burst of brightness, balancing the sweetness of the brownies.
-
Cool Whipped Cream: Homemade whipped cream brings a light, airy texture that perfectly contrasts the richness of the brownies, enhancing their chewy indulgence.
-
Savory Nuts: A handful of lightly salted mixed nuts brings a delightful crunch that offsets the softness of the ube brownies, providing an enjoyable flavor contrast.
-
Chocolate Sauce Drizzle: A decadent drizzle of chocolate sauce over the brownies amplifies the chocolate notes, taking each bite to new heights of indulgence.
-
Coconut Milk Latte: Pair with this creamy, warm drink for a soothing contrast, allowing the ube flavor to shine through with every sip.
-
Filipino Halo-Halo: For an authentic twist, serve the brownies alongside halo-halo, a colorful Filipino dessert with crushed ice and sweet toppings, celebrating the cultural heritage of ube.
With these delightful companions, you can create a well-rounded dessert experience that guests will rave about!
Storage Tips for Ube Brownies
Room Temperature: Store ube brownies in an airtight container at room temperature for up to 4 days to maintain their deliciously chewy texture.
Fridge: For a fudgier consistency, refrigerate the brownies. They can last up to a week when properly stored in an airtight container.
Freezer: Wrap the brownies tightly in cling film and then in foil to freeze for up to 3 months. Thaw in the fridge before serving for optimal flavor and texture.
Reheating: If you’d like to enjoy them warm, simply microwave individual pieces for 10-15 seconds to regain that fresh-out-of-the-oven experience!
Ube Brownies Variations & Substitutions
Feel free to transform these enchanting ube brownies into your own masterpiece!
-
Vegan Option: Replace the egg with a flax egg made from 1 tablespoon flaxseed meal and 2.5 tablespoons water.
-
Dairy-Free Delight: Use coconut oil instead of butter and dairy-free chocolate chips for a fantastic dairy-free treat.
-
Nutty Addition: Fold in ½ cup of chopped walnuts or pecans for a lovely crunch that balances the chewy texture beautifully.
-
Cheesecake Swirl: Create a luscious layer of cream cheese by mixing 4 oz of softened cream cheese with 1 egg yolk and ¼ cup sugar, then swirl it into the batter.
-
Gluten-Free Swap: Instead of all-purpose flour, reach for a good gluten-free flour blend to keep it friendly for gluten-sensitive friends.
-
Flavor Infusion: Spice things up by adding a teaspoon of vanilla extract or a pinch of cinnamon for an unexpected twist in flavor.
-
Extra Chocolatey: Substitute half of the white chocolate chips with dark chocolate chips for a richer taste experience.
-
Mochiko Flour Twist: Replace half of the plain flour and all cornstarch with mochiko flour for an ube mochi brownie sensation.
Customize to your heart’s content and explore the delightful realm of ube. If you’re searching for more easy variations, check out our guide on easy one-bowl recipes that can inspire your next culinary adventure!
Make Ahead Options
These decadent ube brownies are perfect for meal prep enthusiasts! You can prepare the batter up to 24 hours in advance by mixing all the ingredients (except for the chocolate chips) and storing it in an airtight container in the fridge. Just remember to add the chocolate chips right before baking to maintain their melty goodness. If you plan to serve the brownies within 3 days, feel free to cool and store the cut pieces in an airtight container at room temperature, which keeps them delicious and chewy. For longer storage, wrap the cooled brownies tightly in plastic wrap and freeze for up to 3 months; simply thaw them overnight in the refrigerator before serving for taste that’s just as rich and satisfying!

Ube Brownies Recipe FAQs
What kind of ube extract should I use?
I recommend using high-quality ube extract for the best flavor. Look for a product that lists purple yam as the primary ingredient, ensuring you’re getting that authentic, sweet essence that makes these ube brownies shine! You can also try using ube halaya for a more intense flavor, but it will require a bit more adjustment to the liquid ratio in your recipe.
How should I store leftover ube brownies?
You can keep your ube brownies in an airtight container at room temperature for up to 4 days. For those who prefer a fudgier texture, refrigerating them will prolong their freshness for up to a week. If you go this route, simply stack them in the container with layers of parchment paper to prevent sticking!
Can I freeze ube brownies?
Absolutely! To freeze your ube brownies, wrap each piece tightly in cling film and then in foil—this double wrap helps prevent freezer burn. They can be kept in the freezer for up to 3 months. When you’re ready to enjoy them, simply thaw in the fridge overnight or at room temperature for a few hours before serving.
What if my brownies are too dry?
If your ube brownies turn out too dry, this can often be a result of overbaking. Make sure to check them at the minimum baking time. If they seem too set, you can save the batch by serving with a scoop of ice cream or a drizzle of chocolate sauce to add moisture back into each bite!
Can I make ube brownies gluten-free?
Yes, you can easily adapt this recipe! Just use a gluten-free flour blend instead of all-purpose flour, and make sure your other ingredients (like baking soda or powders) are certified gluten-free. This way, everyone can indulge in the joy of these delicious ube brownies without compromising their dietary needs.
Is ube safe for pets?
Generally speaking, ube can be safe for dogs in small amounts, as it’s just a type of yam. However, avoid sharing any sweetened or chocolate-infused brownies with your furry friends, as chocolate is toxic to dogs. Always consult with your veterinarian for specific dietary advice regarding your pets!

Decadent Ube Brownies You'll Crave Again and Again
Ingredients
Equipment
Method
- Preheat your oven to 180°C (350°F) and grease an 8-inch square pan.
- Melt your butter in a microwave for 30-50 seconds until completely melted, then let it cool.
- Mix the melted butter with light brown sugar and white sugar until smooth and glossy.
- Add the egg and ube extract, whisking until creamy and well combined.
- Sift in the flour and cornstarch, folding gently until just combined.
- Fold in a pinch of salt and white chocolate chips evenly into the batter.
- Pour the batter into the greased pan and bake for 20-25 minutes until edges slightly pull away.
- Cool in the pan on a wire rack for 20-30 minutes before cutting into squares.

Leave a Reply